
flutter firebase その1

firestoreでデータの保存、authでログイン認証機能を実装する。
1、まずプロジェクトを新規で作る。
2、iosで使えるようにする。
iOSのrunner.xcode
のやつを開き、bundleIdentifierなるものを登録する。
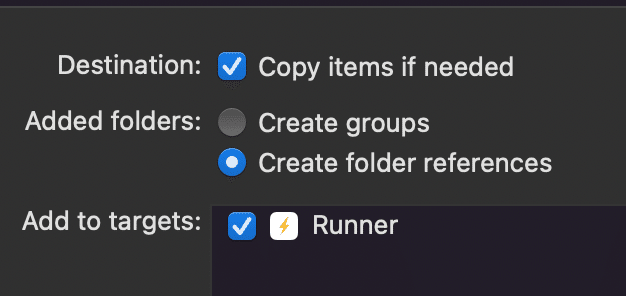
Googleserviceのplistなるものがダウンロードできるので、これをRunnerフォルダに入れ、チェックを確認し↓、Xcodeはこれで終了。
パッケージをインストールする。
core、auth、firestoreの三つ。
次にcocoapodsを最新版にする。 pod repo update
terminalにて flutter run --ignore-deprecationで実行。
できぬ。アンドロイドembedingが古いらしい。
もうええわ。一から作る。
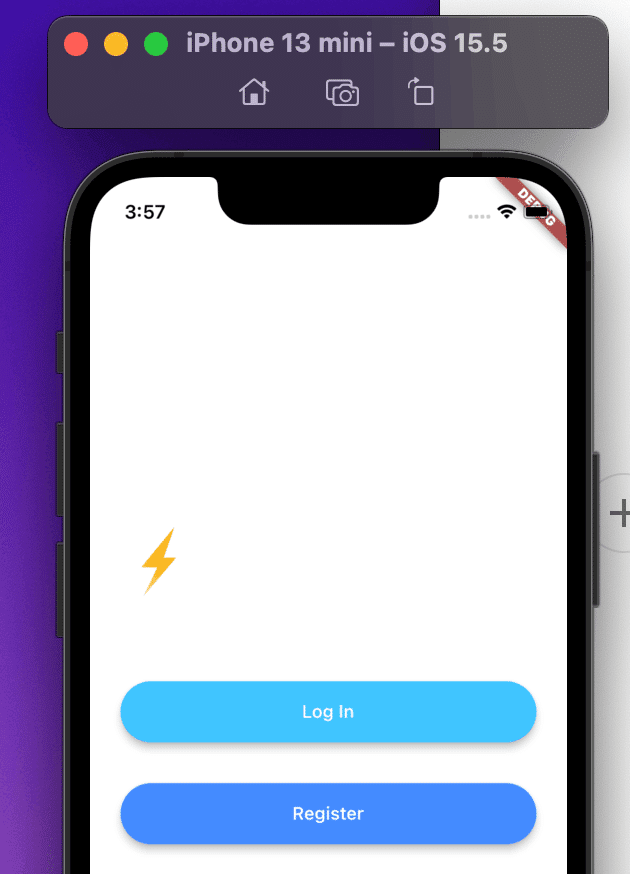
podfileとかでエラーが出たが、何とか実行まで漕ぎ着けた。
セットアップで時間取られるのが一番ムカつくぜ。
パスワード隠すには、
TextField(
  obscureText: true,
email用のキーボード
keyboardType: TextInputType.emailAddress,ようやく本番。パッケージをインポートした後に、認証するためのインスタンスを作る。
final _auth = FirebaseAuth.instance;登録ボタンにて、
onPressed: () async {
  try {
    final newUser =
        await _auth.createUserWithEmailAndPassword(
            email: email, password: password);
    if (newUser != null) {
      Navigator.pushNamed(context, ChatScreen.id);
    }
  } catch (e) {
    print(e);
  }
},
firebaseインスタンス _authのcreateuserで作ったuserをnewuserに入れて、chatscreenに行く。
chatscreenでもauthインスタンスを作る。
また、User変数もつくる
注意点というか、ビデオと違うのは、
firebaseuserがUserという名前に変わったこと。
あと、lateってキーワード、今度調べよう。
final _auth = FirebaseAuth.instance;
late User loggedInUser;
@override以下に
void initState() {
  super.initState();
  getCurrentUser();
}

void getCurrentUser() async {
  try {
    final user = await _auth.currentUser;
    if (user != null) {
      loggedInUser = user;
      print(loggedInUser.email);
    }
  } catch (e) {
    print(e);
  }
}
initstateの時に、_authのcurrentuserをuserに入れる。
ここでもエラーというか、ビデオと違うのは、
firebaseのinitializeApp();ってのをmainでやらなくてはならぬ。
coreをインポートしたのち、
void main() async {
  WidgetsFlutterBinding.ensureInitialized();
  await Firebase.initializeApp();
  runApp(FlashChat());
}
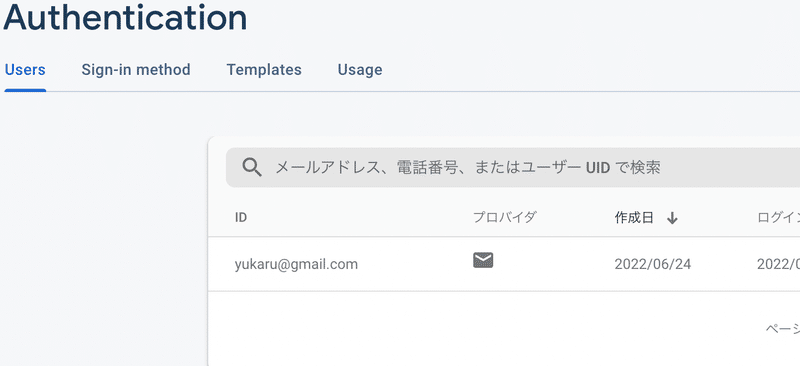
できたーーーーー!!
次回ようにまとめると、
1、Googleserviceのplistをrunnerに入れて、実機起動。
2、core authをget
3、mainで
void main() async {
WidgetsFlutterBinding.ensureInitialized();
await Firebase.initializeApp();
runApp(FlashChat());
}
4、登録画面で、
final _auth = FirebaseAuth.instance;
登録ボタンにて、
onPressed: () async {
  try {
    final newUser =
        await _auth.createUserWithEmailAndPassword(
            email: email, password: password);
    if (newUser != null) {
      Navigator.pushNamed(context, ChatScreen.id);
    }
  } catch (e) {
    print(e);
  }
5、ログイン後画面で、
final _auth = FirebaseAuth.instance;
late User loggedInUser;
@override以下に
void initState() {
  super.initState();
  getCurrentUser();
}

void getCurrentUser() async {
  try {
    final user = await _auth.currentUser;
    if (user != null) {
      loggedInUser = user;
      print(loggedInUser.email);
    }
  } catch (e) {
    print(e);
  }
}この記事が気に入ったらサポートをしてみませんか?