超簡単PythonでInfluxDB 2.0(時系列データベース)入門

超簡単にPythonでInfluxDB 2.0(時系列データベース)に入門
1. インストール
下記を参考に環境(macOS、Windows、Linux等)にあわせてインストール
2. 初期設定
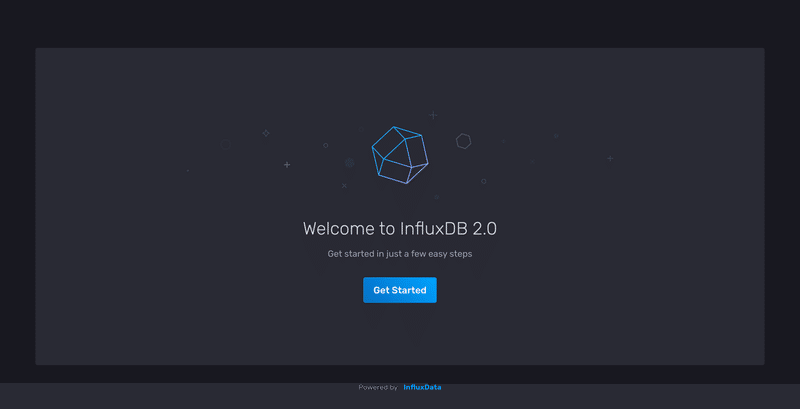
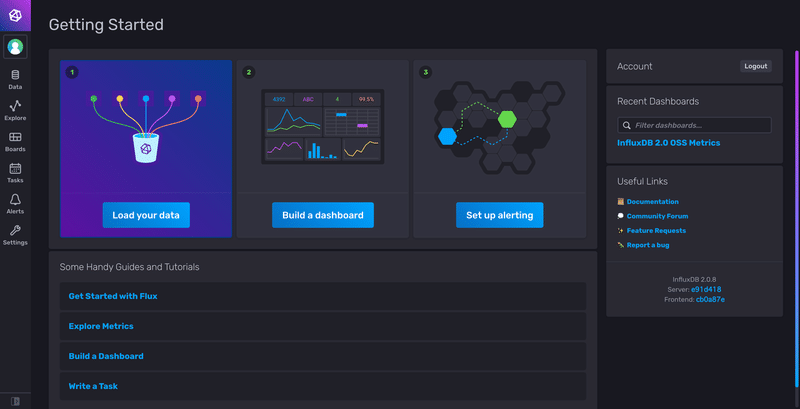
Get Started
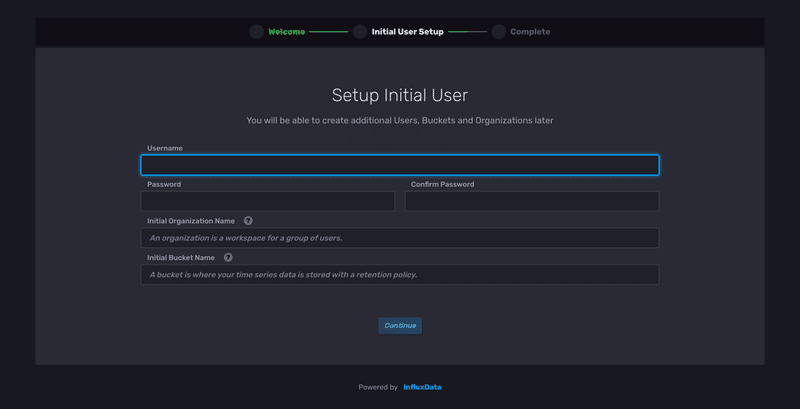
ユーザー名、パスワード、組織名、バケット名を設定
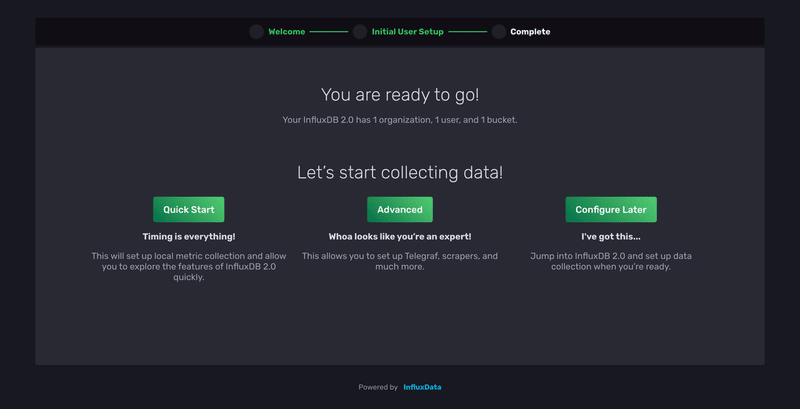
Quick Start
メニューから「Data」選択
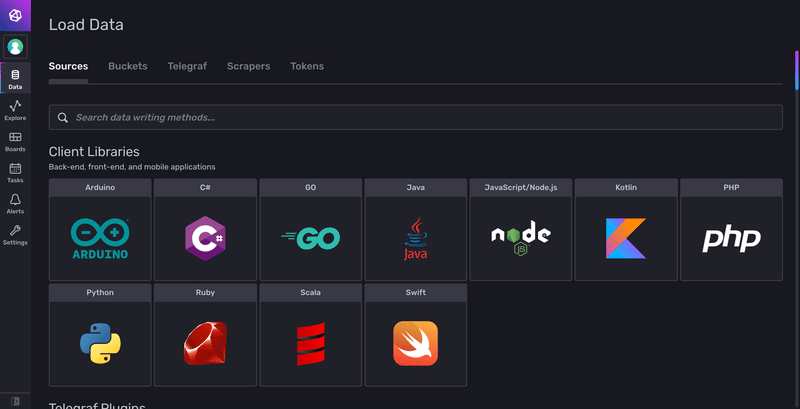
Python
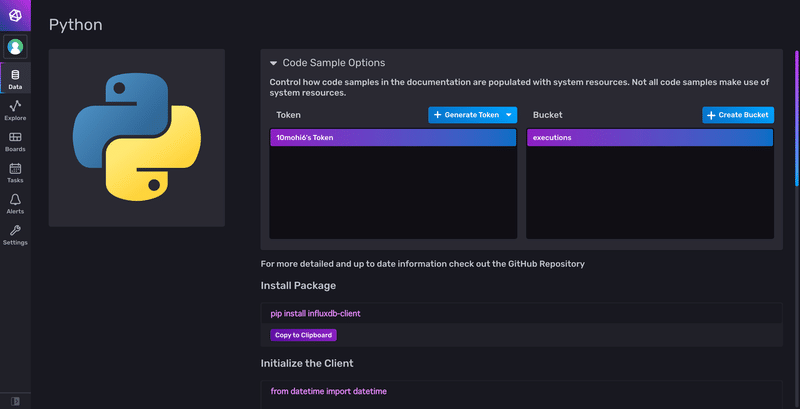
3. ツールインストール
$ pip install influxdb-client4. ファイル作成
client.py
from datetime import datetime

from influxdb_client import InfluxDBClient, Point, WritePrecision
from influxdb_client.client.write_api import SYNCHRONOUS

# You can generate a Token from the "Tokens Tab" in the UI
token = "<your-token>"
org = "<your-org>"
bucket = "<your-bucket>"

client = InfluxDBClient(url="http://localhost:8086", token=token)

write_api = client.write_api(write_options=SYNCHRONOUS)

data = "mem,host=host1 used_percent=23.43234543"
write_api.write(bucket, org, data)

query = f'from(bucket: "{bucket}") |> range(start: -1h)'
tables = client.query_api().query(query, org=org)
for table in tables:
   print(table)
   for row in table.records:
       print (row.values)
5. 実行
$ python client.py

FluxTable() columns: 9, records: 1
{'result': '_result', 'table': 0, '_start': datetime.datetime(2021, 9, 5, 11, 28, 16, 658141, tzinfo=tzutc()), '_stop': datetime.datetime(2021, 9, 5, 12, 28, 16, 658141, tzinfo=tzutc()), '_time': datetime.datetime(2021, 9, 5, 12, 7, 36, 46914, tzinfo=tzutc()), '_value': 23.43234543, '_field': 'used_percent', '_measurement': 'mem', 'host': 'host1'}
以上、超簡単!
6. 参考
この記事が気に入ったらサポートをしてみませんか?