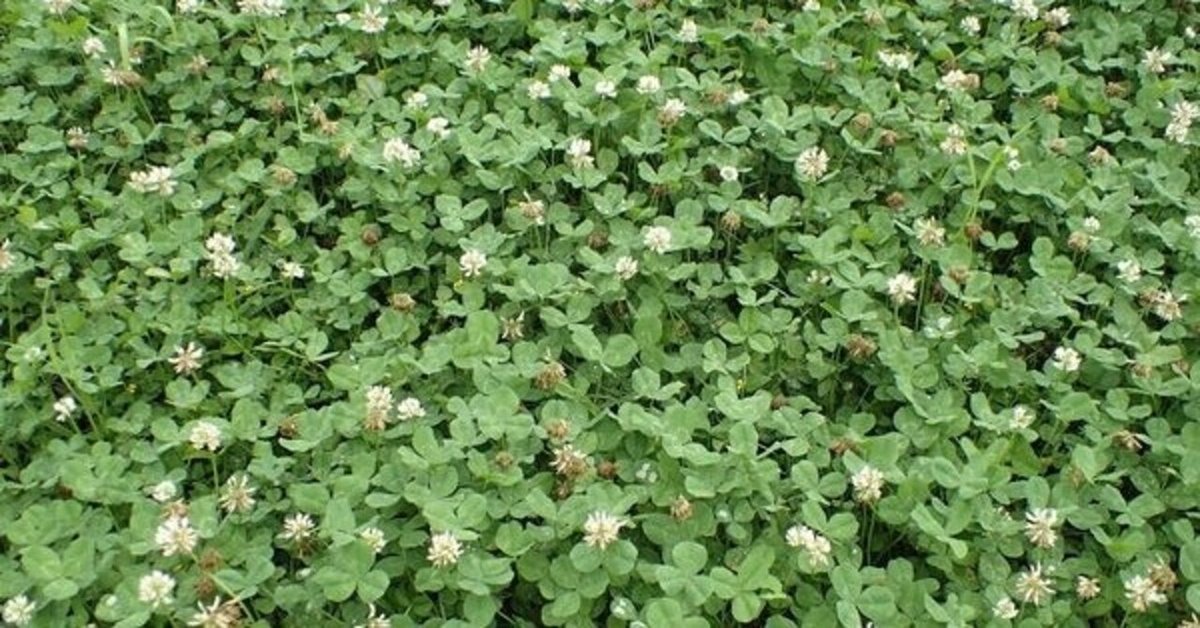
【Python】植物の分類器を作ってみた
こんにちは。プログラミング初心者が
Aidemyの「AIアプリ開発」コースを受講し、成果物を作ったのでまとめます。
今回作成した成果物は、講座の画像認識のプログラムを参考にしました。
今回作成した「植物の分類器」の完成までの流れは下記です。
① 画像収集
② 学習済みモデル構築
③ アプリ構築
④herokuへのデプロイ(公開)
まずは
①画像収集
まず始めに機械学習に必要な大量の画像を集めなければいけません。その為に植物のデータセットを探して、活用しました。20種類の植物のデータで学習用とテスト用の画像をダウンロードし、グーグルドライブ上に配置します。
②学習モデルの作成
ここが一番時間がかかりました。画像認識アプリに必要な画像認識モデルを構築します。データがあらかじめ、学習用とテスト用に分かれているため、それを使用し学習・評価を実施します。os.path()でグーグルドライブ上のファイルを取得し、画像処理ライブラリPillowを用いて画像の読み込み、リサイズを行っています。モデルにvggを使い、20クラスに分類する層を定義します。ハイパーパラメータの調整ですが、バッチサイズとエポック数は様々な値を試しましたが、クラス数が20種類と多いせいか、精度が40%前後までにしか上がりませんでした。
from tensorflow.keras.layers import Dense, Dropout, Flatten, Activation
from tensorflow.keras.layers import Conv2D, MaxPooling2D
from  tensorflow.keras.models import Sequential, load_model
from  tensorflow.keras.utils import to_categorical
from  tensorflow.keras.utils import plot_model
import numpy as np
import matplotlib.pyplot as plt
import category_encoders as ce

#モデルの保存
import os
from google.colab import files
from PIL import Image

 #False 読み込まない、True 読み込む
frag = False

X_train = [] #画像データ
y_train = [] #ラベルデータ
X_test = [] #画像データ
y_test = [] #ラベルデータ

if os.path.exists('/content/drive/MyDrive/plant_data/X_train.npy') and not frag:
 X_train = np.load('/content/drive/MyDrive/plant_data/X_train.npy')
 X_test = np.load('/content/drive/MyDrive/plant_data/X_test.npy')
 y_train = np.load('/content/drive/MyDrive/plant_data/y_train.npy')
 y_test = np.load('/content/drive/MyDrive/plant_data/y_test.npy')
else:
 #学習データの読み込み
 for x in os.walk('/content/drive/MyDrive/plant_data/PlantCLEF_Subset/train'):
     dirname, parent, files = x
     if len(parent) == 0:
         label = os.path.basename(dirname)
         files = [os.path.join(dirname, filename) for filename in files]
         #print(label, files)
         for file in files:
           img = Image.open(file)
           img = img.resize((64,64))
           img = np.asarray(img) #PIL オブジェクト → np.array オブジェクトに変換
            #if img.shape!=(64,64,3) :
           #  print(img.shape)
           #  print(file)
           X_train.append(img)
           y_train.append(label)


 #評価データの読み込み
 for x in os.walk('/content/drive/MyDrive/plant_data/PlantCLEF_Subset/val'):
     dirname, parent, files = x
     if len(parent) == 0:
         label = os.path.basename(dirname)
         files = [os.path.join(dirname, filename) for filename in files]
         #print(label, files)
         for file in files:
           img = Image.open(file)
           img = img.resize((64,64))
           img = np.asarray(img) #PIL オブジェクト → np.array オブジェクトに変換
            #if img.shape!=(64,64,3) :
           #  print(img.shape)
           #  print(file)
           X_test.append(img)
           y_test.append(label)

 X_train = np.array(X_train)
 y_train = np.array(y_train)
 X_test = np.array(X_test)
 y_test = np.array(y_test)

 #配列ndarrayをNumPy独自のバイナリファイル(npy, npz)で保存
 np.save('/content/drive/MyDrive/plant_data/X_train.npy',X_train)
 np.save('/content/drive/MyDrive/plant_data/X_test.npy',X_test)
 np.save('/content/drive/MyDrive/plant_data/y_train.npy',y_train)
 np.save('/content/drive/MyDrive/plant_data/y_test.npy',y_test)


#X_train = np.load('/content/drive/MyDrive/plant_data/X_train.npy')
 #X_test = np.load('/content/drive/MyDrive/plant_data/X_test.npy')

#y_trainのカテゴリをsklearnのLabelEncode()を使用した数値にエンコード
from sklearn import preprocessing
le = preprocessing.LabelEncoder()
y_train = le.fit_transform(y_train)
y_test = le.transform(y_test)

y_train = to_categorical(y_train)
y_test = to_categorical(y_test)


from tensorflow.keras import optimizers
from tensorflow.keras.models import Model, Sequential
from tensorflow.keras.layers import Dense, Dropout, Flatten, Input
from tensorflow.keras.applications.vgg16 import VGG16


# モデルの定義
input_tensor = Input(shape=(64,64,3))
vgg16 = VGG16(include_top=False, weights='imagenet', input_tensor=input_tensor)

top_model = Sequential()
top_model.add(Flatten(input_shape=vgg16.output_shape[1:]))
top_model.add(Dense(256, activation='relu'))
top_model.add(Dropout(rate=0.5))
top_model.add(Dense(20, activation='softmax'))

model = Model(inputs=vgg16.input, outputs=top_model(vgg16.output))

for layer in model.layers[:19]:
   layer.trainable = False

model.compile(loss='categorical_crossentropy',
             optimizer=optimizers.SGD(lr=1e-4, momentum=0.9),
             metrics=['accuracy'])

model.fit(X_train, y_train, batch_size=32, epochs=50)


# 精度の評価
scores = model.evaluate(X_test, y_test, verbose=1)
print('Test loss:', scores[0])
print('Test accuracy:', scores[1])

# データの可視化(テストデータの先頭の10枚)
for i in range(10):
   plt.subplot(2, 5, i+1)
   plt.imshow(X_test[i].reshape((64,64,3)))
plt.suptitle("10 images of test data",fontsize=20)
plt.show()

# 予測(テストデータの先頭の10枚)
pred = np.argmax(model.predict(X_test[0:10]), axis=1)
print(pred)

model.summary()

 #resultsディレクトリを作成 result_dir = 'results'
if not os.path.exists(result_dir):
   os.mkdir(result_dir)
# 重みを保存
model.save(os.path.join(result_dir, 'model.h5'))

#files.download( '/content/results/model.h5' )
③と④の詳細は省略しますが、無事に「植物分類器」アプリの作成をすることができました。(精度は良くありませんが、、)今後は精度をあげれるようにすることが課題です。
まとめ
受講期間を通して機械学習、画像処理について理解し、簡単ではあるものの実装までする事ができてよかったです。スクレイピングも講座で勉強できたので今後はデータ集めをしたりして、オリジナルのアプリ制作で経験を積んでいきたいです。
親切にご指導いただきましたチューターの方々ありがとうございました。
この記事が気に入ったらサポートをしてみませんか?
