Stimulus Handbookを写経しました

Stimulus is a JavaScript framework with modest ambitions. Unlike other frameworks, Stimulus doesn’t take over your application’s entire front-end. Rather, it’s designed to augment your HTML by connecting elements to JavaScript objects automatically.
Preface: The Origin of Stimulus
序文を翻訳されている方の下記ページが参考になりました。
ありがとうございます。
SPAじゃないプロジェクトのための控えめなJavaScriptフレームワーク「Stimulus」 - yuhei blog
1: Introduction
Connecting HTML to JavaScript
Separation of Concerns
A Readable Document
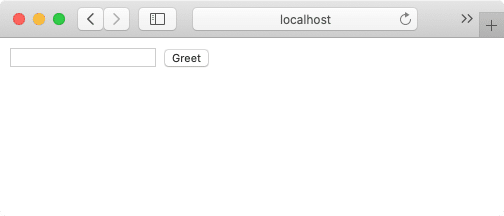
2: Hello, Stimulus
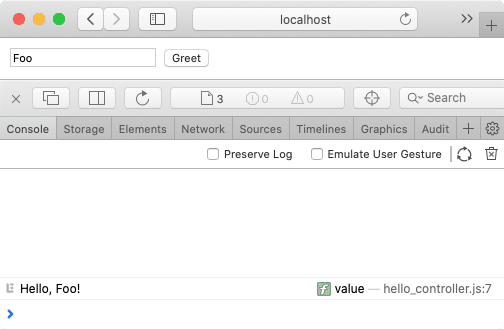
Greetボタンを押下すると、テキストフィールドに入力した文字列をコンソールに出力する。
Prerequisites
https://github.com/usutani/stimulus-starter/commits/handbook
git clone https://github.com/usutani/stimulus-starter.git
cd stimulus-starter

git checkout -b handbook

yarn install
yarn start
It All Starts With HTML
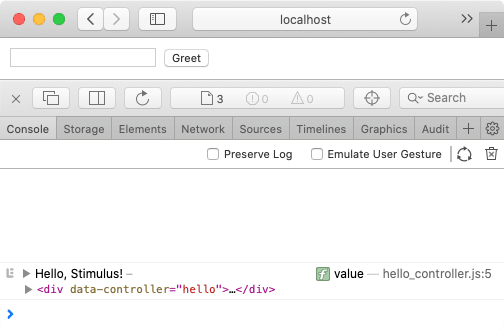
Is This Thing On?
接続確認。接続時にコンソールに文字列と対象要素を出力する。
// src/controllers/hello_controller.js
import { Controller } from "stimulus"

export default class extends Controller {
 connect() {
   console.log("Hello, Stimulus!", this.element)
 }
}
Targets Map Important Elements To Controller Properties
Controllers Simplify Refactoring
https://github.com/usutani/stimulus-starter/commits/handbook-2-hello-stimulus
所感: typoしていた時に接続確認のコンソール出力が役立った。Stimulusの命名規約は簡素なので、このハンドブックのコードを書いていたら慣れました。
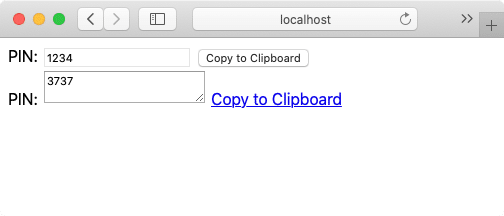
3: Building Something Real
テキストフィールドに入力した文字列(PIN番号)をクリップボードにコピーする。
一般的なイベントにはアクションの省略表記がある。
ウェブブラウザがコピー機能を提供しない場合は、コピーボタンを表示しない。
https://github.com/usutani/stimulus-starter/commits/handbook-3-building-something-real
所感: 処理をきれい追い出してただのHTMLになるため読みやすい。Awesome StimulusJSで紹介されていたModest Js E-BookとBetter Stimulusに目を通した。自分の場合どの程度複雑なことを無理なく書けるのかは実体験しないと把握できないなぁ。
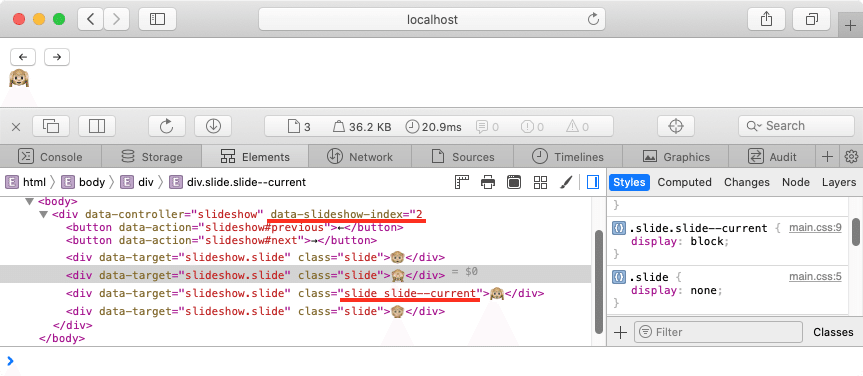
4: Managing State
矢印ボタンの押下で絵文字を変更する。
DOM側に絵文字の状態を持つ。
https://github.com/usutani/stimulus-starter/commits/handbook-4-managing-state
所感: 実務でもコントローラークラスや属性に適切な名前を付けることができればスッと読み下せそう。当たり前のことだけど適切な名前をつけるのは難しいな。ほんま名前重要かと。あとBetter Stimulusで紹介されているSingle Responsibility Principleという具合にコードを書くと良さそう。
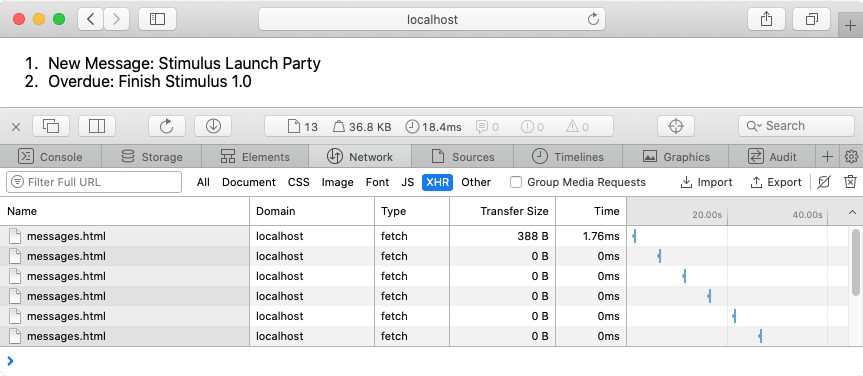
5: Working With External Resources
非同期にHTMLのパーツをロードする。
タイマーを用いて一定周期で上記の処理を行う。
切断イベントでタイマーを止める。
https://github.com/usutani/stimulus-starter/commits/handbook-5-working-with-external-resources
6: Installing Stimulus in Your Application
Stimulus Starterのしくみを理解できる。
Using Without a Build System
上記のビルドシステムを用いない方法でHello, Stimulusを実装してみた。
<!doctype html>
<html>
<head>
 <meta charset="utf-8">
 <link rel="stylesheet" href="main.css">
 <script src="https://unpkg.com/stimulus/dist/stimulus.umd.js"></script>
 <script>
   (() => {
     const application = Stimulus.Application.start()

     application.register("hello", class extends Stimulus.Controller {
       static get targets() {
         return [ "name" ]
       }

       connect() {
         console.log("Hello, Stimulus!", this.element)
       }

       greet() {
         console.log(`Hello, ${this.name}!`)
       }

       get name() {
         return this.nameTarget.value
       }
     })
   })()
 </script>
</head>
<body>
 <div data-controller="hello">
   <input data-target="hello.name" type="text">
   <button data-action="click->hello#greet">Greet</button>
 </div>
</body>
</html>
この記事が気に入ったらサポートをしてみませんか?