
Kanken Pre-2 Study (Step 1)

On Thursday (July 7th, 2022) I took the Level 3 Kanji Kentei examination. I did the CBT (computer-based test) version in a Naha test center. I'm pretty confident I passed so I have started studying for the Pre-2 level.
Why am I confident that I passed?
I took 10 practice tests before I took the official test and I passed each of them. I also felt that the official test was easier than the practice tests.
How am I studying for the Kanji Kentei?
The first step is always the same. I practice writing the kanji. I use an app on my phone to practice at first. There are several reasons that I use an app rather than paper to practice writing.
I always have my phone with me. I don't always have a textbook with me.
I can easily track and review kanji that need work.
It corrects my mistakes in real-time.
Point no. 3 is very important. It's like having a teacher looking over my shoulder as I write. The app doesn't wait for me to finish writing and then tell me I made a mistake. It checks stroke by stroke and tells me immediately that I made a mistake.
Which app do I use?
I use the Kanji Study app by Chase Colburn. It's an Android app. I thought there was an iOS version as well but I couldn't find it. This app has many features and functions but I don't use many of them. It's a premium app, which means you have to pay to use it. Luckily, it's not using a subscription model. I can't remember how much it costs but for me, it was definitely worth it. It has helped me get from Level 10 Kanji Kentei to Level 3 and hopefully, it will help me through another two levels.
How do I use this app?
I select "Kanji Kentei" as my Kanji Sequence.
Then I select my level (Level Pre-2).
Then I split the kanji into sets of 10. (There are 34 sets for Level Pre-2 with 10 in each set except for the last set which has only 3.)
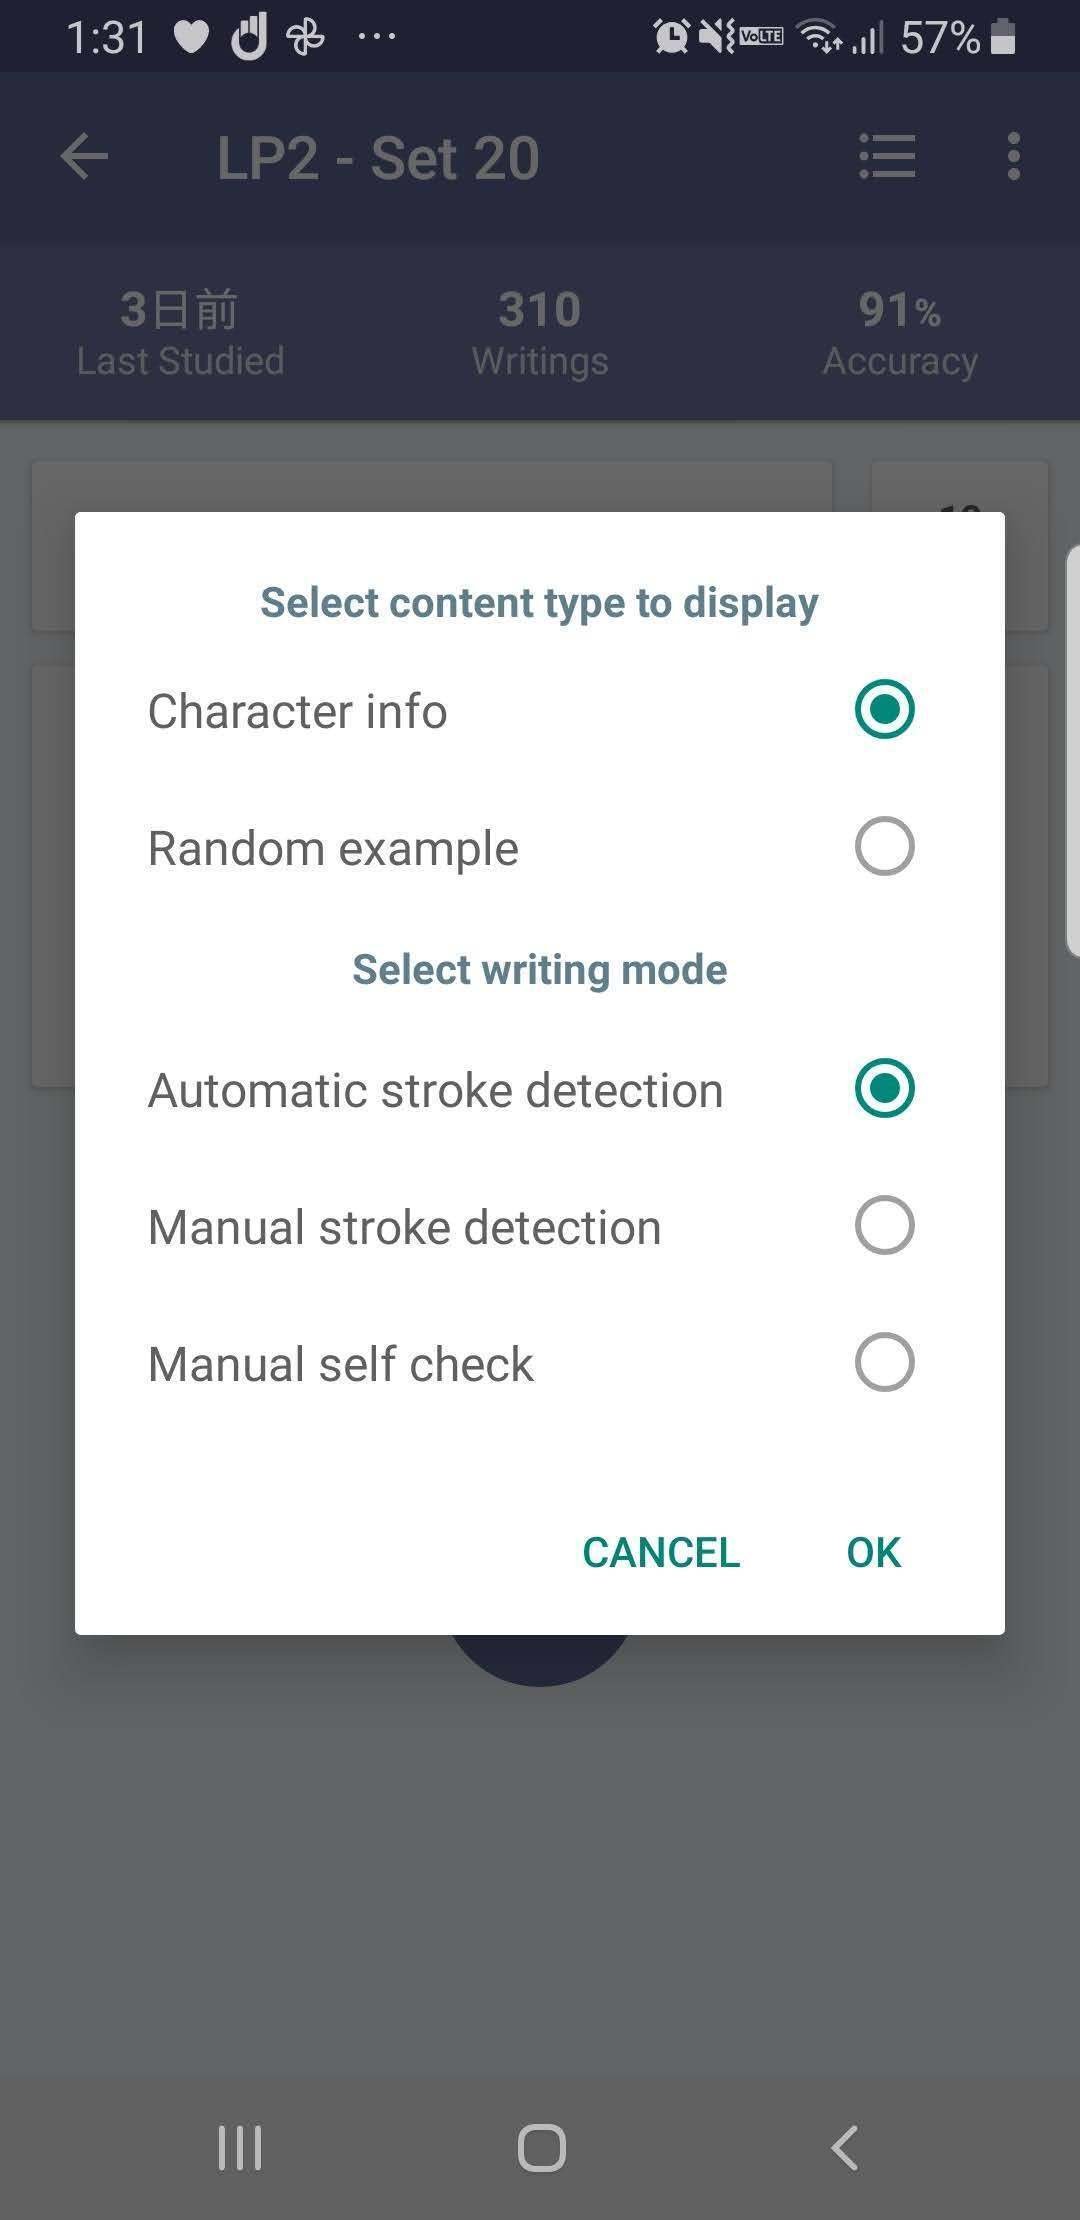
Then I click "Study" on the first set and choose "Writing Challenges".
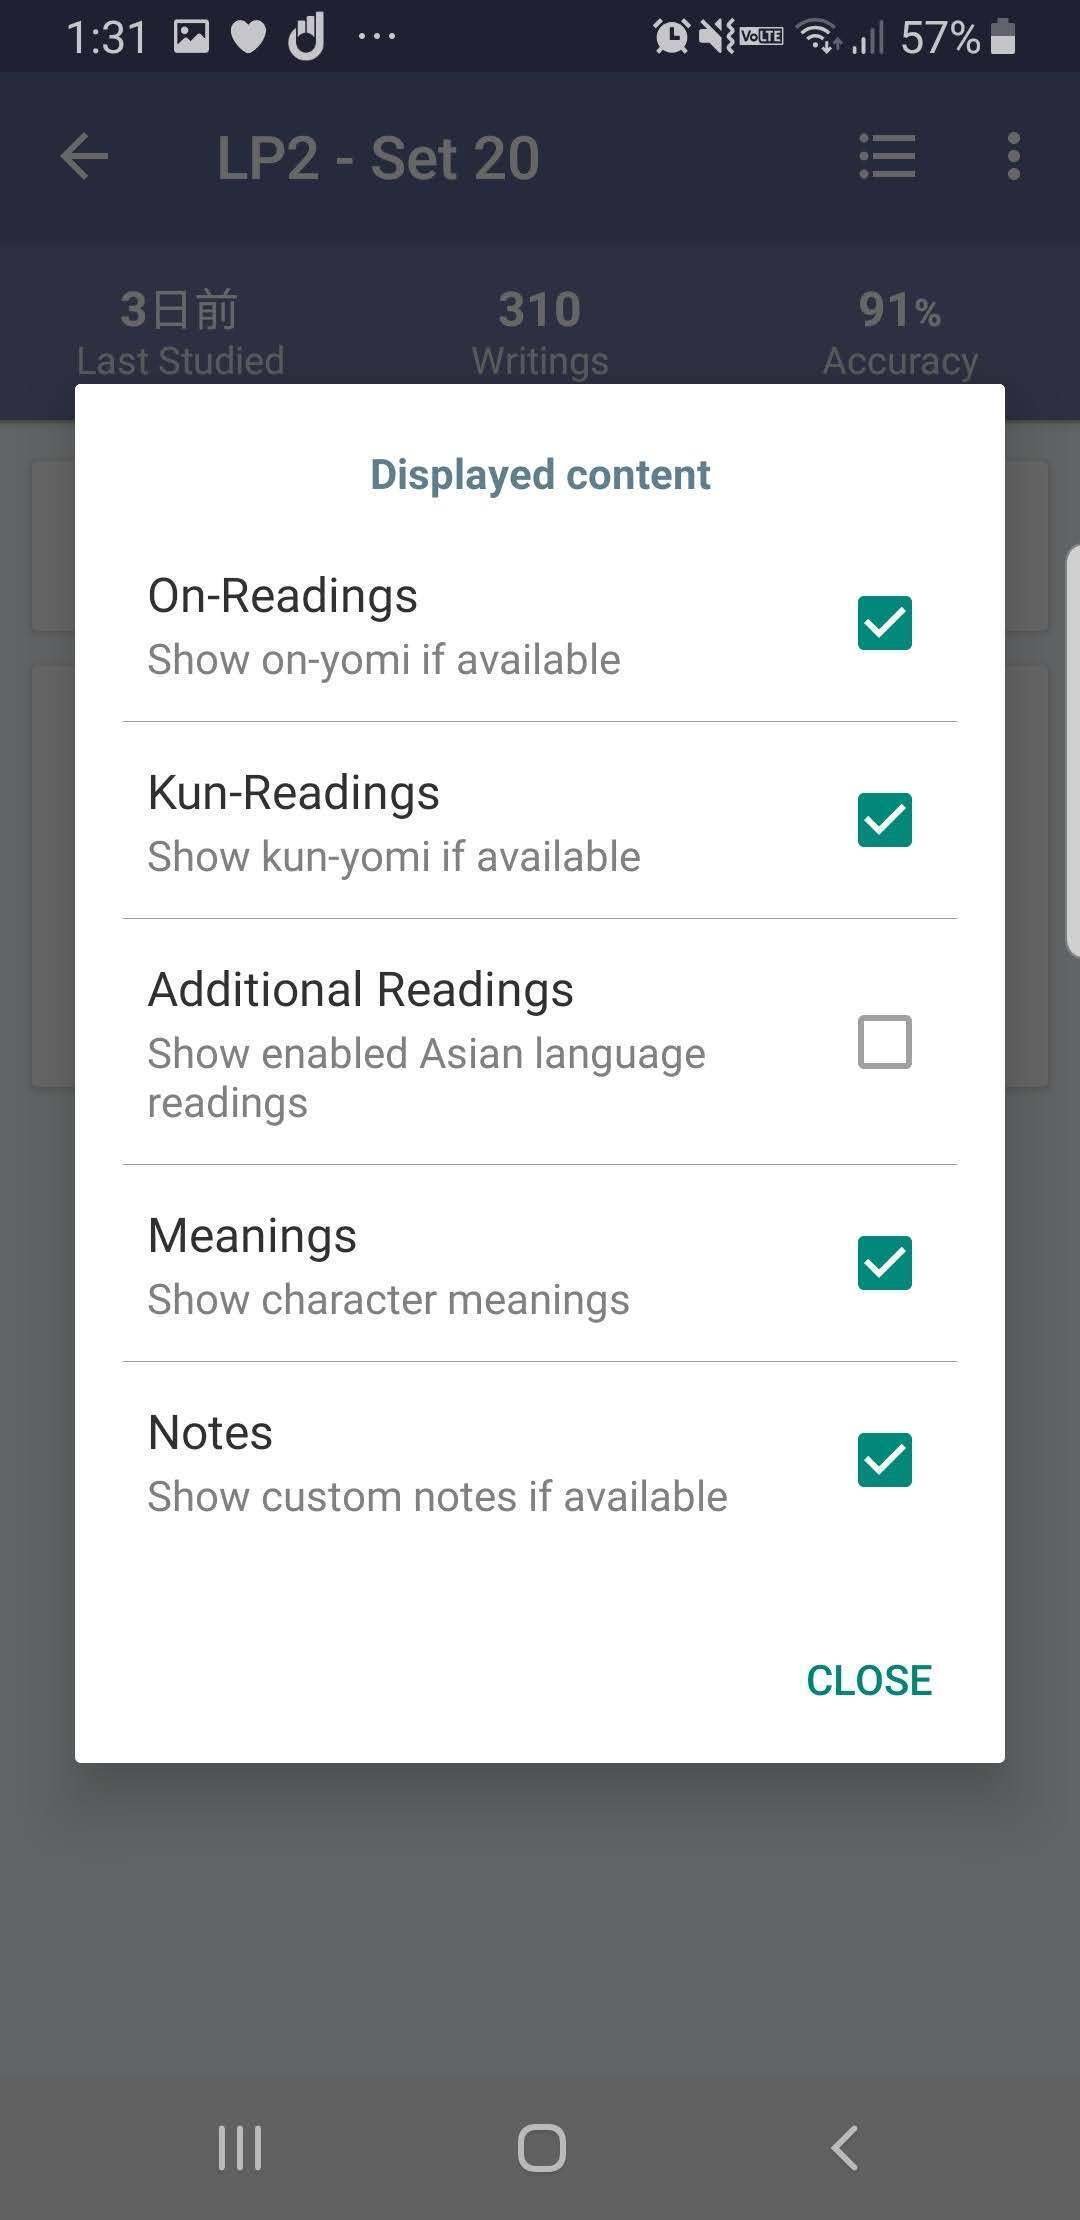
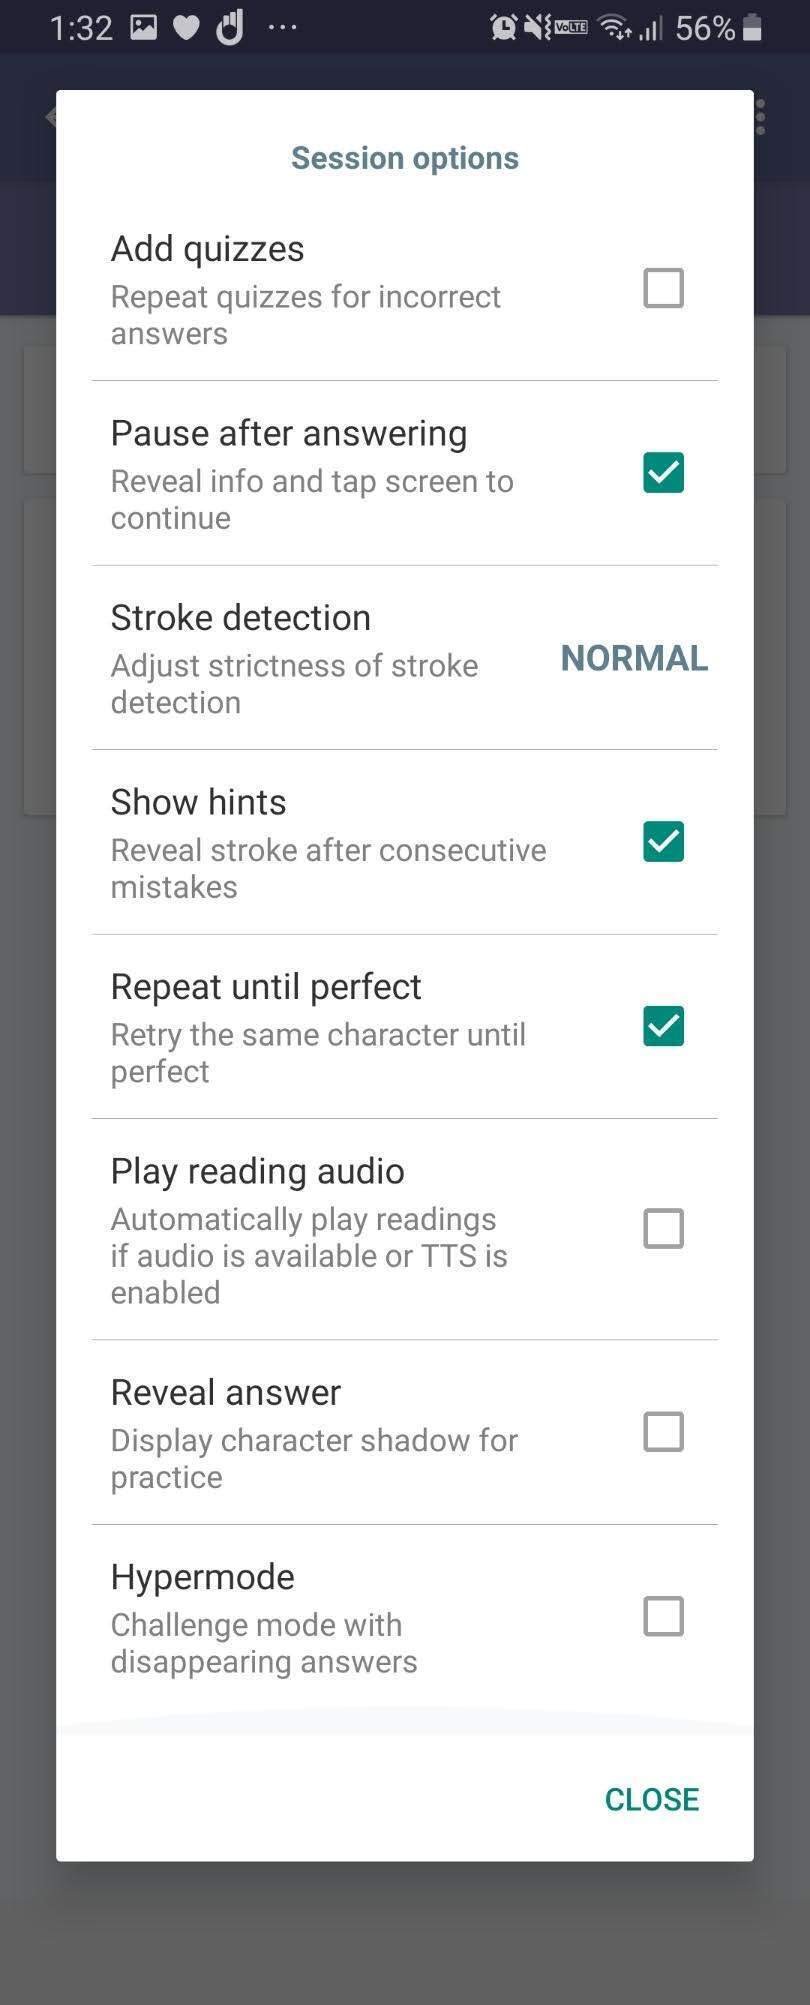
There are some settings that I have selected. (You can see the images below. )
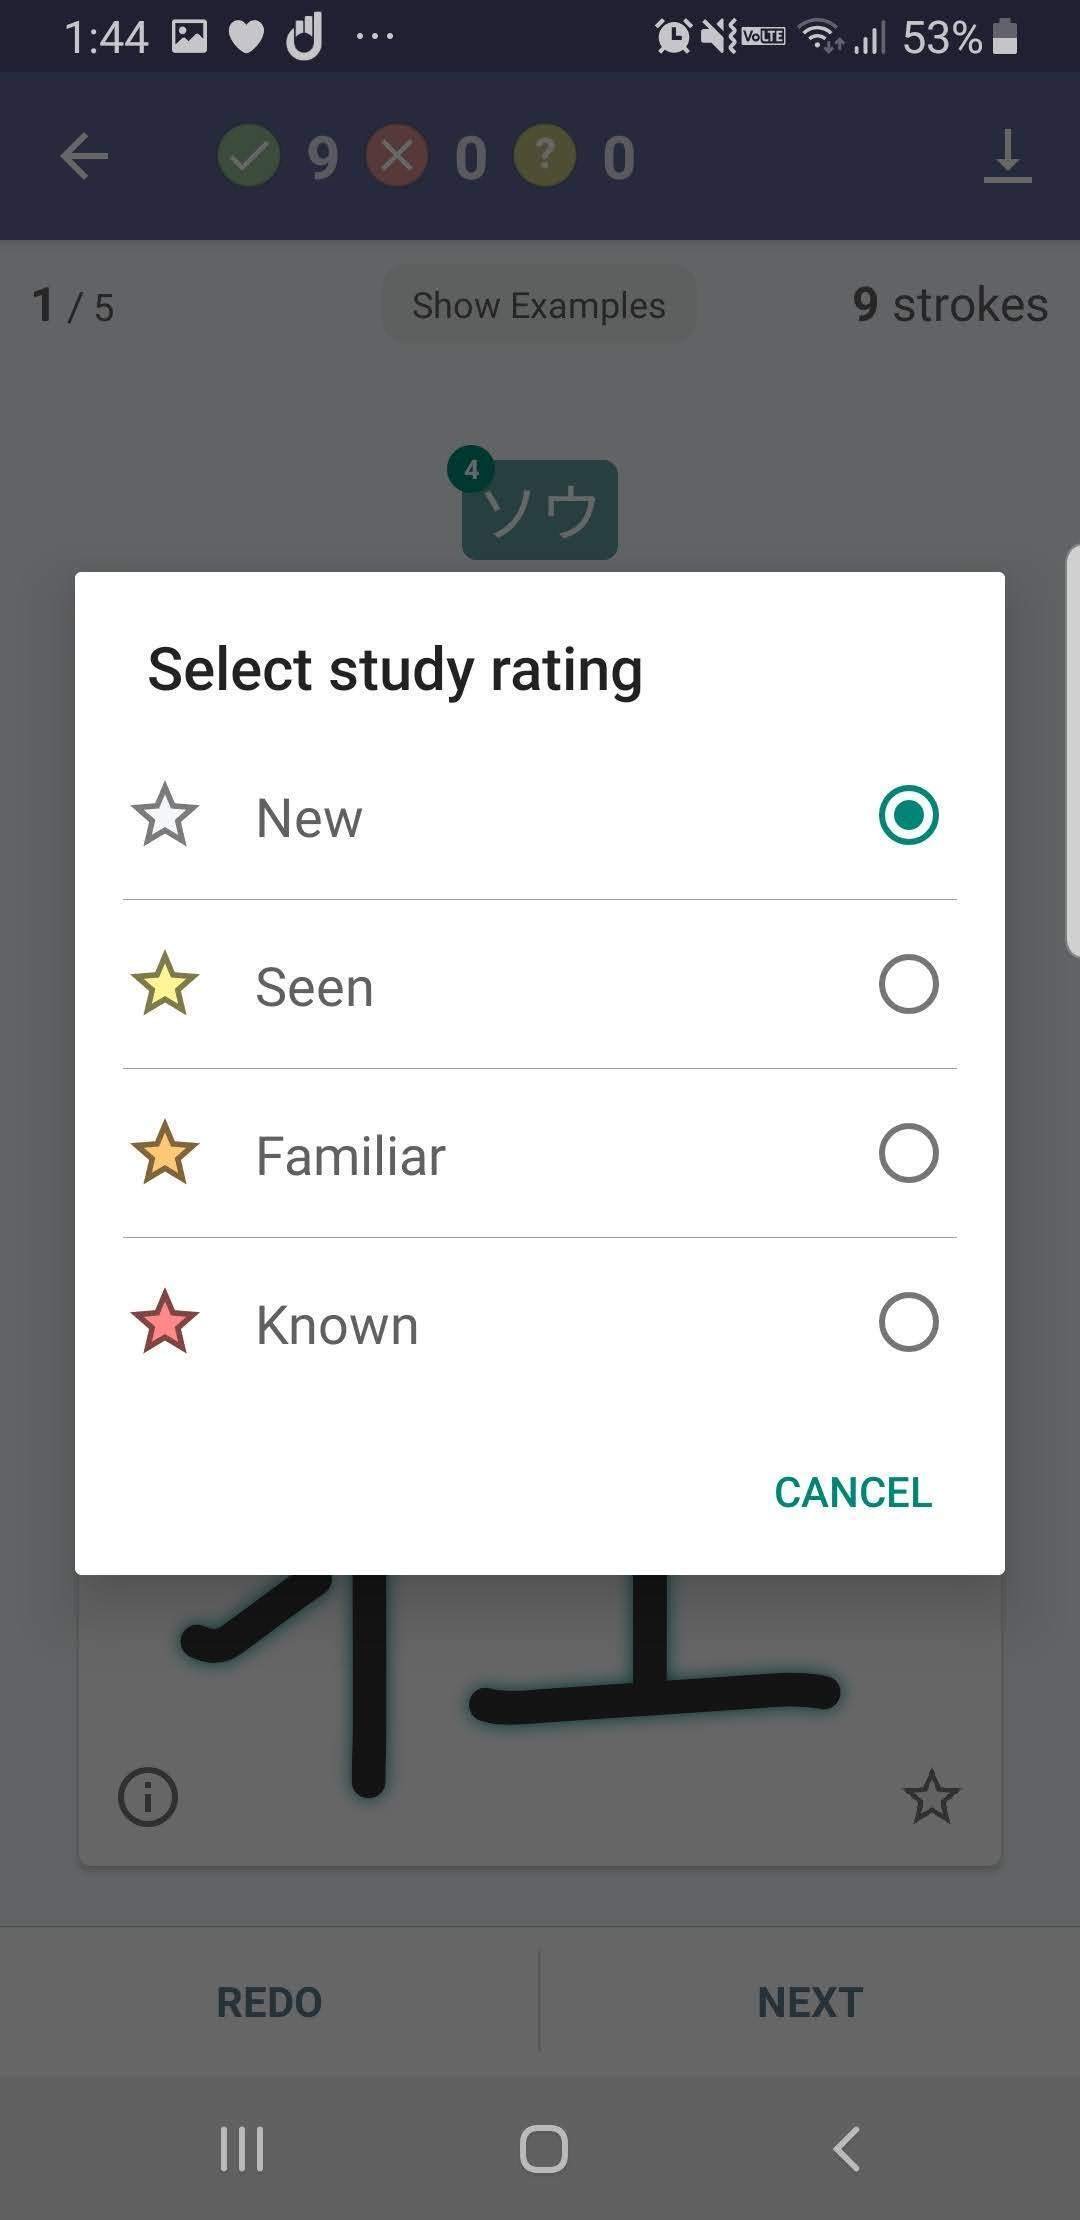
I start practicing. As this is my first time I usually don't get any right but if I do I mark it as "Seen". (See below for details.)
When I get to the end of the first batch, the screen displays my correct answers in green and my mistakes in red. I check "select results" --> "select wrong". Then click on "New Session".
I start practicing again but this time I don't mark my correct answers as "Seen".
I continue this process until I get all the kanji right and then I move on to the next set of ten. I keep going until all sets are complete.
When all sets are complete, I start again from the beginning. If I get a kanji right for the first time, I mark it "Seen". If I get a "Seen" kanji right, I mark it "Familiar". If I get a "Seen" kanji wrong, I downgrade it to "New".
I practice all sets again using the same method except this time, if I get a "Familiar" kanji right, I mark it as "Known".
I continue this process until all kanji as marked as "Known"
What settings do I use? (Screenshots)
As I write this post, I am on the third round which means I have marked a few as "Known" but I have still plenty marked as "New". This is the first stage of my Kanji Study process. In the next post, I will talk about Step 2.