RaspberryPi pico wでmicro-ROSを動かす(Bluetooth編 その2)

前回までのあらすじ
RaspberryPi pico w側ソフトの通信部をカスタムとしてBluetoothシリアルで実装した
今回のテーマ
PC側で動作するエージェントの準備を行う
エージェントはWSL上で動作するが、ホストOS(Windows側)で既に構築されたシリアルプロファイルだけをWSLにアクセスさせる方法はないため、WSL用にBluetoothアダプタをもう一つ用意する
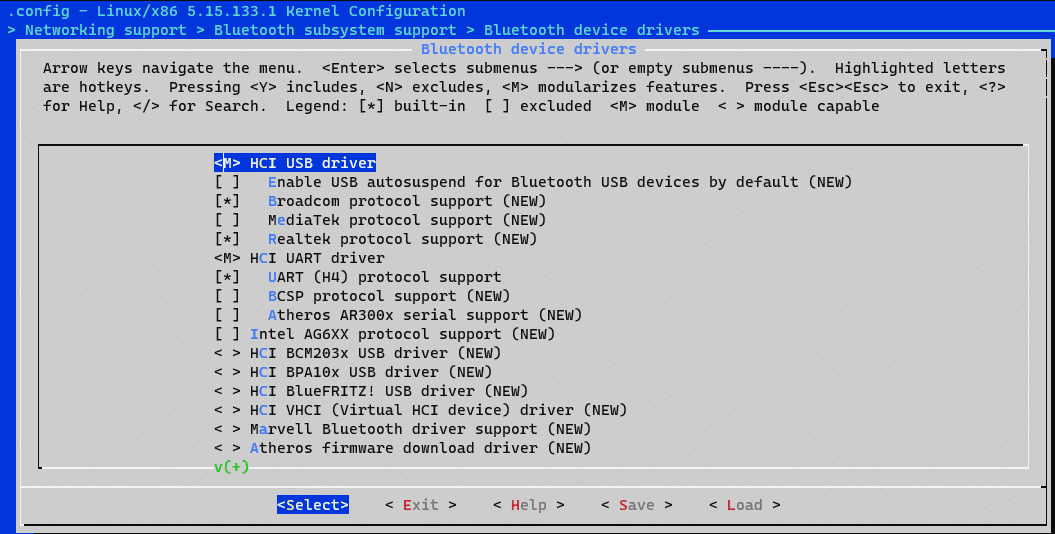
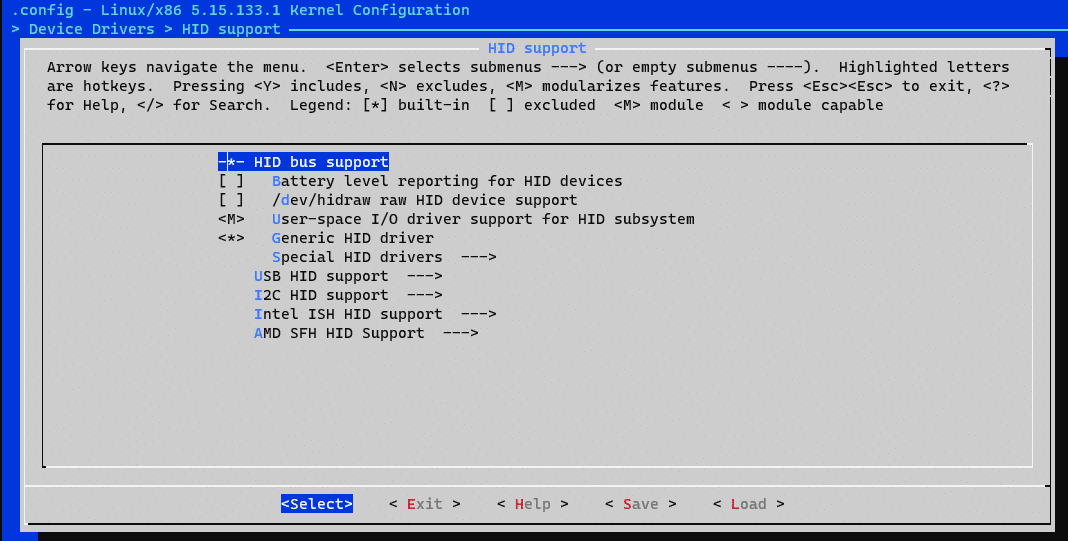
さらにデフォルトではBluetoothアダプタが有効になっていないため、カーネルの再構築が必要になる
USBIPD-WINプロジェクトをインストール
Windowsパッケージマネージャ(winget)を使ってインストールできる
winget install --interactive --exact dorssel.usbipd-winUSBIPツールとハードウェアデータベースをインストールする
sudo apt install linux-tools-generic hwdata
sudo update-alternatives --install /usr/local/bin/usbip usbip /usr/lib/linux-tools/*-generic/usbip 20
カーネルの再構築
以下のサイトを参考にした
ビルドツールのインストール
sudo apt install build-essential flex bison libssl-dev libelf-dev
sudo apt install libncurses-dev bc dwarves
現在のカーネルのバージョンを調べる

カーネルソースを入手する


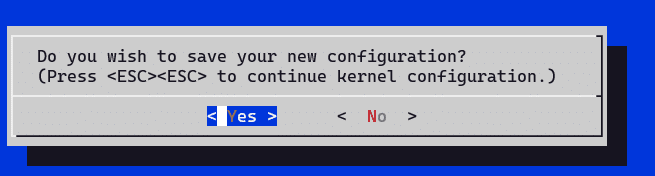
もちろん<Yes>を選択
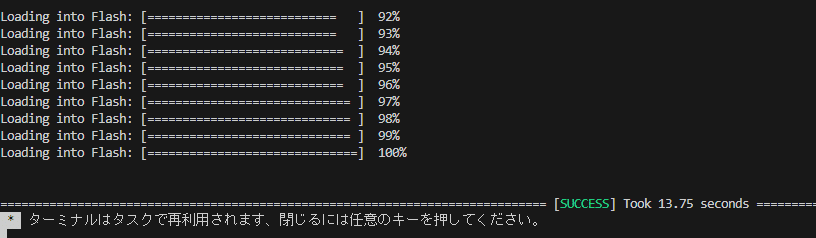
いよいよビルド・・・
sudo make -j$(nproc)
sudo make modules_install
sudo make install -j 16

私はCドライブのルートにしました

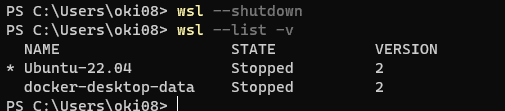
.wslconfigの編集


ビルドされた日時なら成功
Bluezをインストール
sudo apt install bluez*WSL用にBluetoothアダプタを引き渡す準備
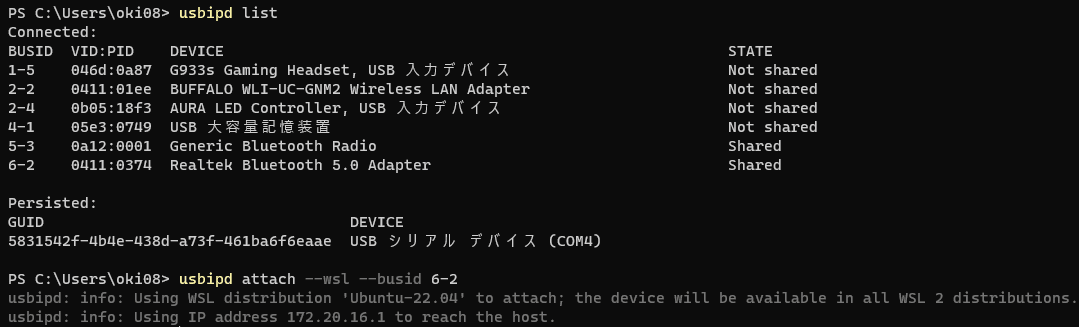
5-3はキーボードやマウスなど通常使用しているアダプタ
attachオプションを使ってwsl側へアタッチしておく

Bluetoothサービスの開始
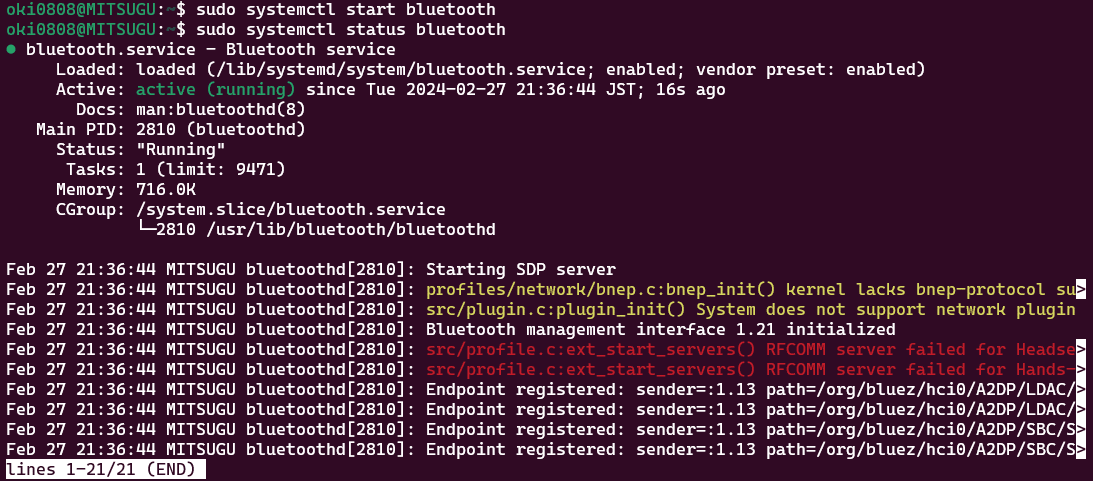
赤いの、黄色いのは気にしない

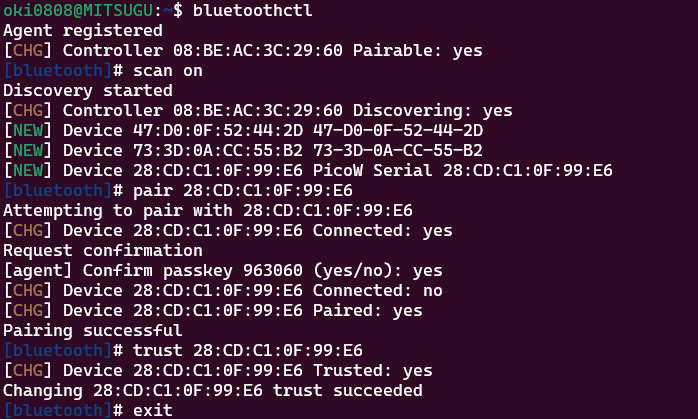
trustまでやっておく

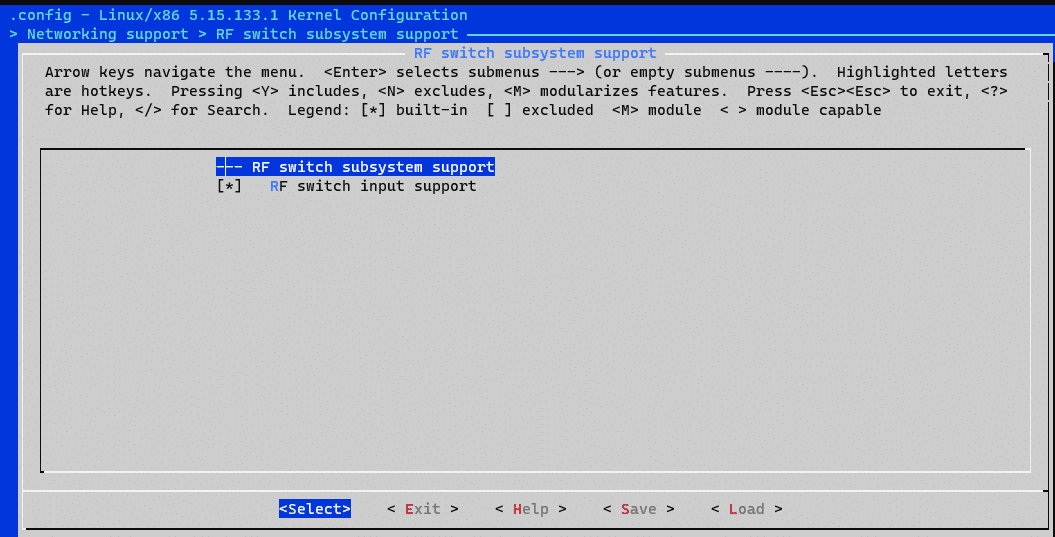
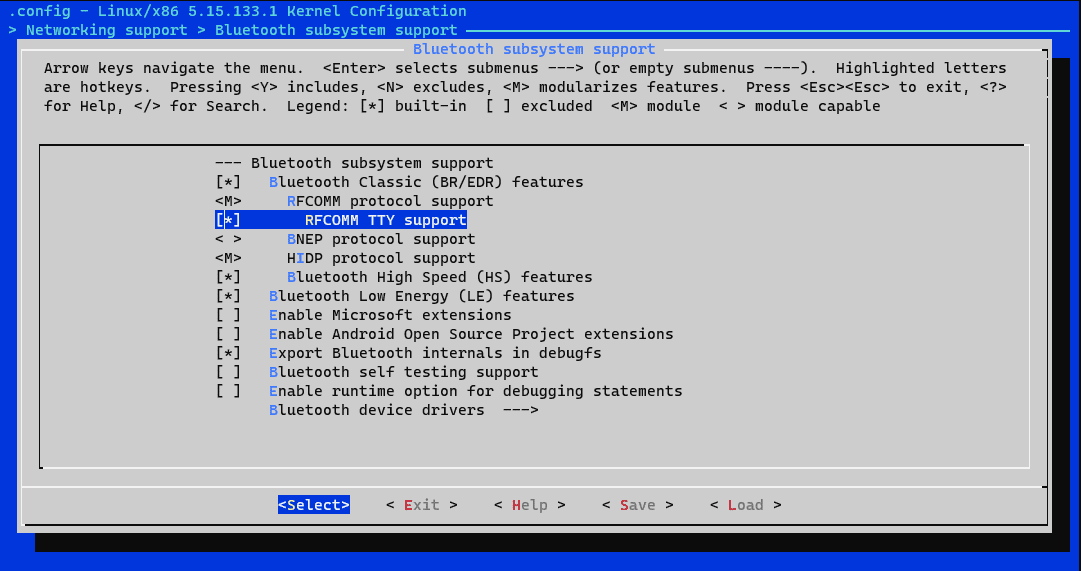
rfcommを有効にする
sudo modprobe rfcomm

これがBluetoothシリアルのアクセス先
Dockerでmicro-rosエージェント(シリアルモード)を起動する
デバイスは/dev/rfcomm0になる
docker run -it --rm -v /dev:/dev -v /dev/shm:/dev/shm --privileged --net=host microros/micro-ros-agent:rolling serial --dev /dev/rfcomm0 -v6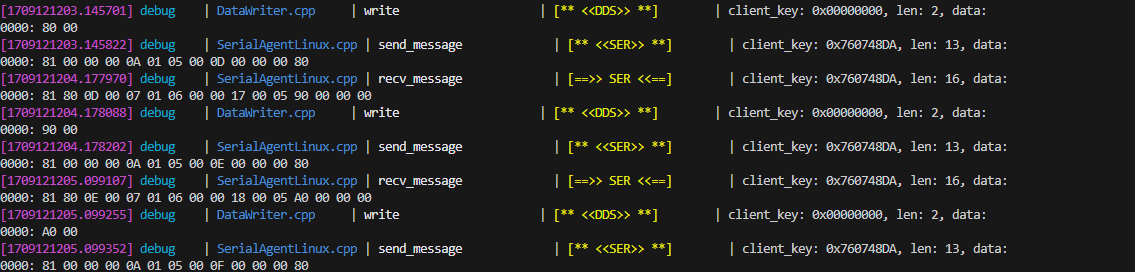
この記事が気に入ったらサポートをしてみませんか?