
Low-cost wireless hand tracking using light sensors【IllumiTrack】

This is a prototype of an inexpensive wireless hand tracking device that uses CdS.
By combining this hardware with dedicated software, the tracking of finger bending and hand rotation can be combined with Mocopi's motion tracking and transmitted via VMC protocol.Not suitable for finger spreading.
Issues with Xiao Speed ESP32S3
・Generates a little more heat than other modules (when connected to WiFi or charging)
・Battery charging current is too small at 100mA, so charging takes a long time (I would like at least 200-300mA. A separate charging circuit protection circuit may be necessary)
・Antenna is a little unstable. If you physically press the antenna, it will not connect at all (you need to leave some space in the case)
・If you use it without an external charging circuit, you need to attach a power switch to the battery connected to the ESP32S3, so it will be in an on state while charging.
How to make an IllumiTrack prototype
[Caution/Disclaimer]
The IllumiTrack DIYKit is merely a prototype, and the developer himself has assembled and used it to confirm that there are no major problems before releasing it to the public. However, since it is an indie hardware, we cannot take responsibility for any losses or damages that may result from its use. Please use it at your own risk. Please understand this before creating it.
Parts needed
IllumiTrack DIY Data,PCB, STL and dedicated software can be downloaded for free.
Booth URL
PCB Left and Right x1
Case Left and Rightx1
M2x8 screw x8
SK-12D07 x2
20㎜ Magic Belt x2
PHConnector pitch 2.0mm x2
IMU BNO080 or BNO085 x2 or MPU6050 x2
(Not necessary for those who only want to track finger bending)
BNO080
BNO085
https://shop.slimevr.dev/products/slimevr-imu-module-bno085
CdS 1MΩ 5mm x10
https://akizukidenshi.com/catalog/g/g100110/
Seeed Studio XIAO ESP32S3x2
https://akizukidenshi.com/catalog/g/g118078/
Lipo (Not required for those using USB power)
Size 30x40x10 or less, capacity 500mah or less recommended, PH connector pitch 2.0mm.
Be careful of the polarity of the + and - terminals! If necessary, switch the cables on the battery side. Also, be careful when handling Lipo batteries. Never puncture them or subject them to strong impacts!
https://www.amazon.co.jp/gp/product/B09DPPMX14/ref=ox_sc_saved_title_7?smid=A6AC39XNLAVZ4&th=1
Assembly
① Solder the ESP32S3 to the IllumiTrack PCB (pre-solder the battery terminals lightly)
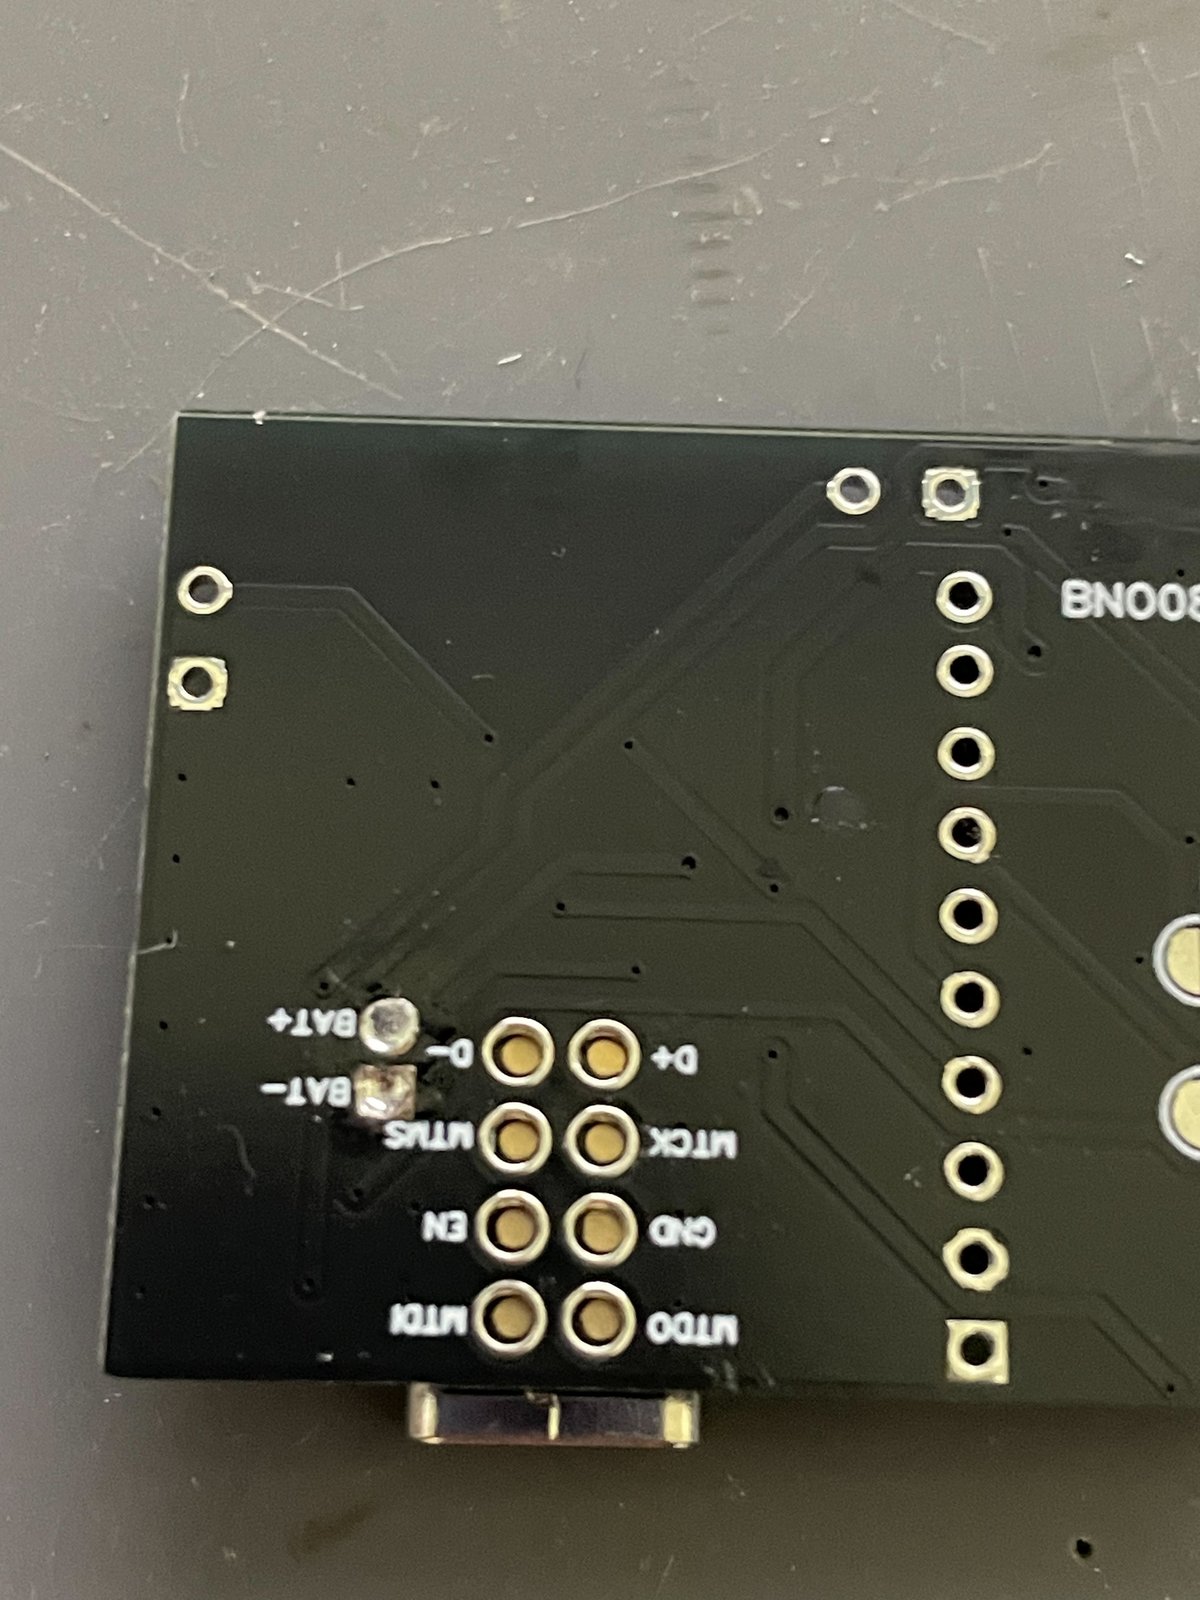

② Solder the CdS and IMU sensors (BNO080 and 085 and MPU6050 only need to solder VCC, GND, SCL, and SDA. The bridge on the back does not need soldering)

③ Solder the switch and connector

④ Attach the antenna

⑤ Connect the battery
⑥ Attach the case (adjust the position so that the antenna does not interfere as much as possible)
⑦ Fix with screws and wrap the band around it to complete
Firmware writing
① Download and install VScode
https://azure.microsoft.com/ja-jp/products/visual-studio-code
② Download and unzip IllumiTrackFW.
③ Start VScode and install PlatformIO IDE from the EXTENSIONS tab on the left. After installation, make sure it is enabled.
④ Open the unzipped folder from File → Open Folder.
⑤ Connect to the PC with a USB cable and press Upload in the blue bar below. (→)
⑥ If an error occurs, try changing the USB port, changing the cable, removing the case, pressing the Boot button while connecting the USB cable, and see if you can upload.
IllumiTrack Initial Settings
① Turn on the power switch or power it via USB, open the WiFi settings of your smartphone, tablet, or laptop, select ESP32_Config, enter configpass as the password, and connect. (Settings are done one at a time)

② Open a browser, enter 192.168.4.1 in the address bar, and press Enter

③ You will be connected to the ESP32 web server, so enter the WiFi SSID (2.4GHz), password, destination PC IP address, and destination port number (basically 3333), and press save. If you enter the wrong SSID password, start over from the ESP32 connection in the WiFi settings. If the WiFi settings are fine but you made a mistake in the IP address or port number, turn off the WiFi router, access the ESP32 again, save, and then start the WiFi router.

④ Once saving is complete, do the same for the other side.

Tracking
① Download and unzip Flexiosyncer.
② When the access permission screen appears at the first startup, press Allow.
③ Load VRM.
④ Turn on IllumiTrack (USB power if battery is not installed).
⑤ Check that you can rotate the hand and bend the fingers. (If you can't, check the soldering.)
⑥ Set up Mocopi in normal mode and send it to the PC (UDP port number is 12351).
⑦ Check Mocopi reception.
⑧ Adjust the angle, smoothing, and opening of the hand as needed.
⑨By adjusting the image values you can fine-tune the sensor values for brightness.

Actual tracking
この記事が気に入ったらサポートをしてみませんか?