
アイスボックスの基礎(マップ変更後)

2024/1/19
おすすめ構成
・ジェット、セージ、キルジョイ、ソーヴァ、ヴァイパー(FNC)
最も王道な構成
ジェットをkay/oに(NRG)、セージをハーバーに(DRX)などのアレンジ

ヴァイパーのポイズンクラウドのミッドコントロール、カーテンの幅広い射線切り、設置が難しいのでセージやハーバーなど
(2024競技シーンでメタが固まり、自分自身の理解度が高まったら追記か新しく書きます)
アタッカー
Aメイン
ロープへのプッシュ、パイプ上などを警戒するために最速でリコン

Aに攻めカーテンを出すとき、守りにカーテンを使わせて切れたタイミングで攻めはカーテンを上げる

・相手にオペレーターが出たとき
サーバー上からの射線を切るようにスモーク

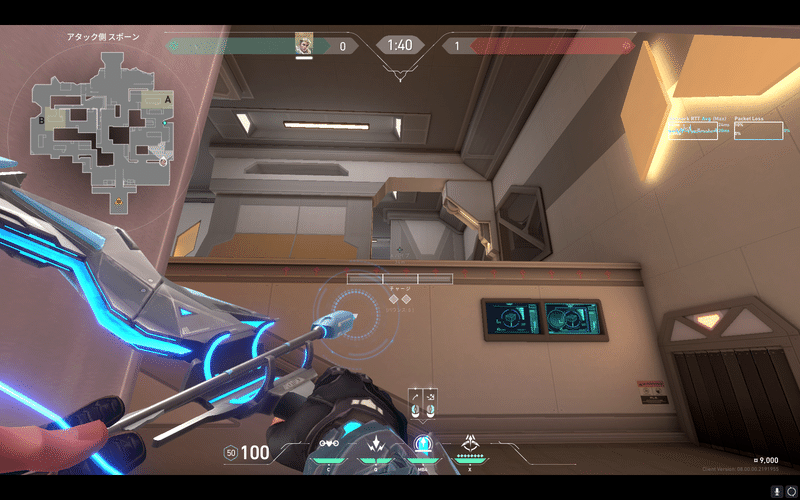
A設置①
ネストから見える設置


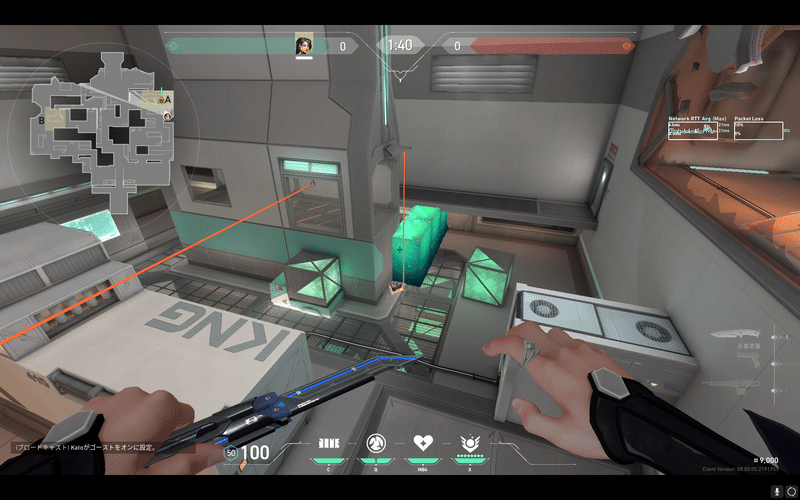
設置②
ベルトなどから見える
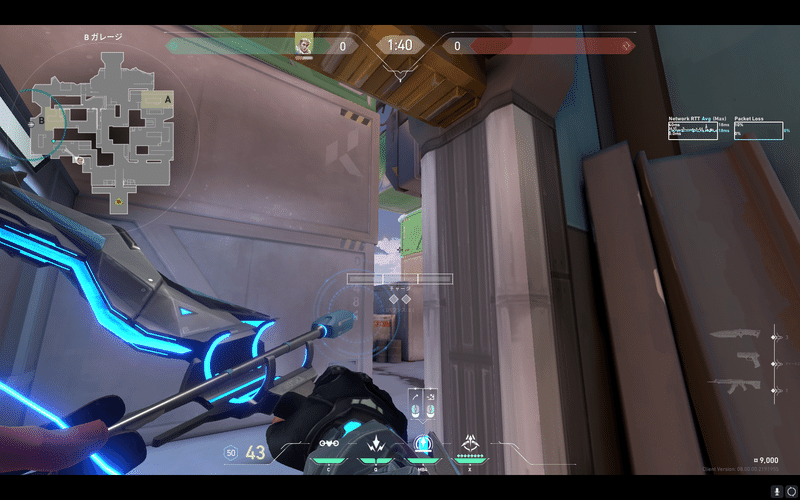
Bサイト
1人カバーを付けてドローンでロングクリア

イエローへのリコンとジェットのエントリー

コンテナの間少し上くらいワンチャージ


設置壁①


設置壁②

設置のとき、ジェット,スキルがなくなったキャラ(ソーヴァなど)はラインを上げて設置のサポート!!

設置後のエリア、人数状況が厳しい時はミッドにまわる(ヴァイパー、キルジョイ)
ミッド
キルジョイのアビリティを壊す


ディフェンダー
デフォルト配置
(オペレーターを出すときはこの限りではない)

配置②

Aサイト
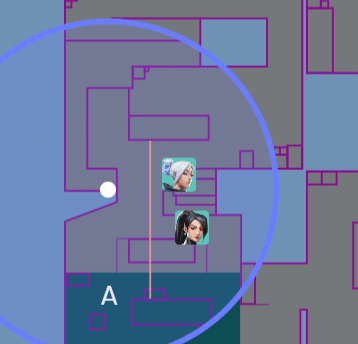
・ジェットが強気で勝負するときに、相手の手前リコンを壊す
・セージは壁を出すのではなくスロウオーブで遅延し、壁の遅延が効果的な秒数(20秒くらい)か、解除に残す(解除壁がめちゃ強い)(A,B共通)


メインの真ん中に出すくらいなら、サイトのどっちかに出してエリアを広げさせないほうが強い
設置遅延
・ヴァイパー
スクリーン側から


CT階段から

結構てきとーでも入る

角設置(ソーヴァと一緒に打てるよ)


・ソーヴァ
ロープ下設置、雑魚設置


スクリーンから

角設置

ミッド

相手のスモークにアラームボットを置く、スモークが上がったらリコン,ドローンを返す
Bサイト

ヴァイパーがAに行くときのスモーク定点

イエローと設置ポジをつなぐスモークで耐える動き、ナノスワーム,スネークバイトで遅延(設置のセージ壁は絶対に壊す)


リテイク
壁の有無で難易度が変わる
Aサイト
サイト上、キング上に注意する
サイト上にスローオーブ、スネークバイト
Bサイト
イエロー裏にスロウオーブ、スネークバイトなどを入れ、イエローを取り返す

横解除壁も無難に強い

味方のカバーがあるとき、竪壁も強い

意見やコメントなどございましたら
この記事が気に入ったらサポートをしてみませんか?