
[Shopify]テーマに画像設定項目を設置する

メタフェイズではShopifyを利用したストア構築を行っています。
今回はテーマに画像設定項目を設置する方法を紹介いたします。
1. config/settings_schema.jsonへ下記を追記する。
[
  {
    "name": "xxx",
    "theme_name": "xxx",
    "theme_version": "xxx",
    "theme_author": "xxx",
    "theme_documentation_url": "https:\/\xxx",
    "theme_support_url": "https:\/\/yyy"
  }
//---------ここから---------
  ,{
    "name": "トップページ",
    "settings": [
      {
        "type": "image_picker",
        "id": "main_image",
        "label": "メイン画像",
        "info": "メイン画像です"
      }
    ]
  }
//--------ここまでを追記-----------
]
2. 画像を表示したい場所へ下記コードを追記する。
{% if settings.main_image != blank %}<img src="{{ settings.main_image.src | image_url: width: 1040, format: 'pjpg' }}">{% endif %}3. 管理画面 > オンラインストア > テーマ > カスタマイズをクリックします。
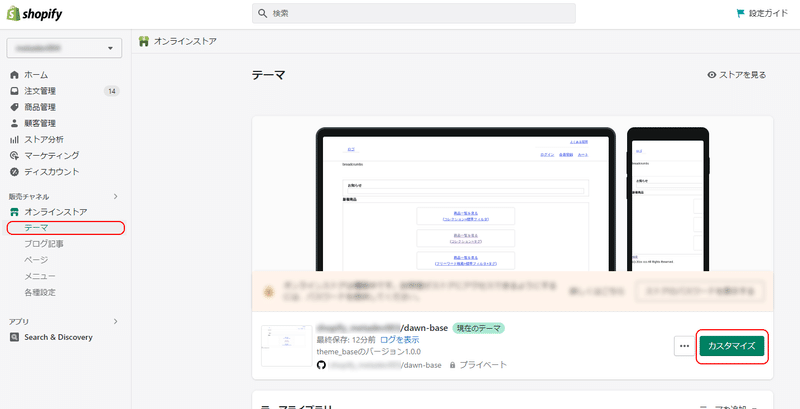
4. 表示したい画像を設定します。
画面左テーマ設定をクリックします。
トップページをクリックします。
画像を選択をクリックして画像を設定します。
ヘッダー「保存する」をクリックします。

Shopifyを利用したストアの構築・運用のご相談は株式会社メタフェイズまで!
この記事が気に入ったらサポートをしてみませんか?