プリザンター.NET Core版×AppServiceでSAML認証してみる(SAML設定編)

よーやくここまでこれました。
プリザンターがSSL化できたのでAzure ADとSAMLの設定をしていきたいと思います。この記事もようやく終わりです。
終わるにあたりSAMLの設定自体はすぐ終わるんですが、それまでの準備が結構かかるなぁーという印象でした。
前回までの記事はこちら
参考にさせていただいたもの
感謝です。
■プリザンター(.NET Framework)にSAML認証機能を追加する(公式)
https://pleasanter.org/manual/saml-net-framework
■プリザンター(.NET Core版)でSAML認証する
https://qiita.com/tatsuya_info/items/19c33558a853501e68b0
Azure ADにアプリケーションの登録
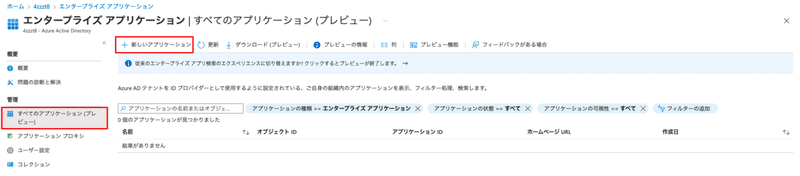
1.「AzureAD」→「エンタープライズアプリケーション(全てのアプリケーション)」→「新しいアプリケーション」をクリックします
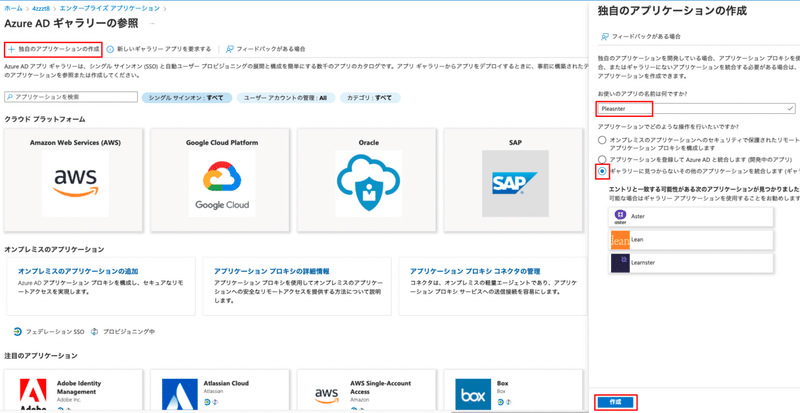
2.「独自のアプリケーション」の作成を選択し、「アプリの名前」を入力した後、「ギャラリーに見つからないその他アプリケーションを作成します」を選択して「作成」ボタンをクリックします。
作成したアプリケーションの設定
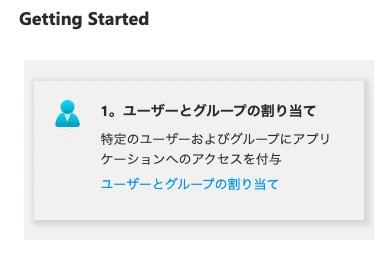
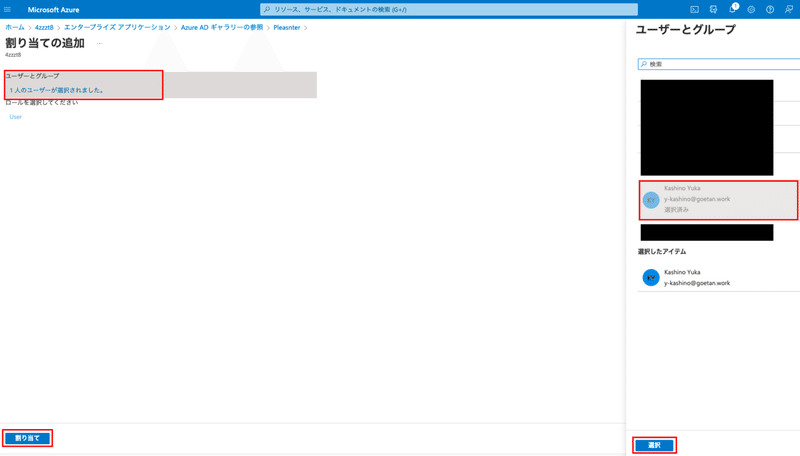
1.作成したpleasanterアプリケーションに遷移するので「ユーザーとグループの割り当て」をクリックします。
2.「ユーザーとグループ」からプリザンターにアクセスさせたいユーザーを「選択」し「割り当て」をクリックします。
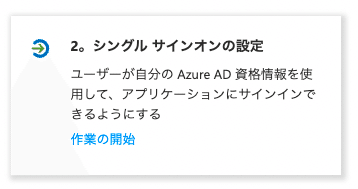
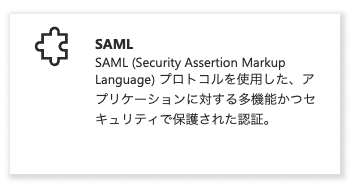
3.pleasanterアプリケーションに戻り「シングルサインオンの設定」をクリックし遷移した画面で「SAML」をクリックします。
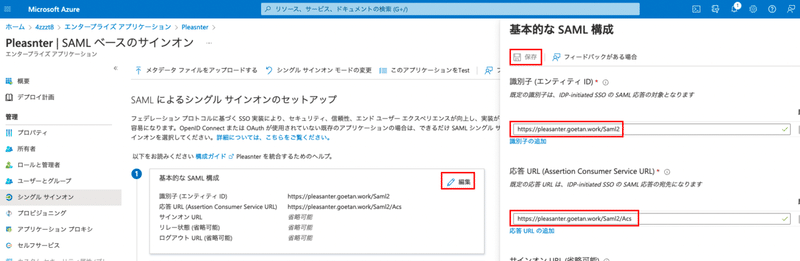
4.基本的なSAML構成の右上の「編集」をクリックします。
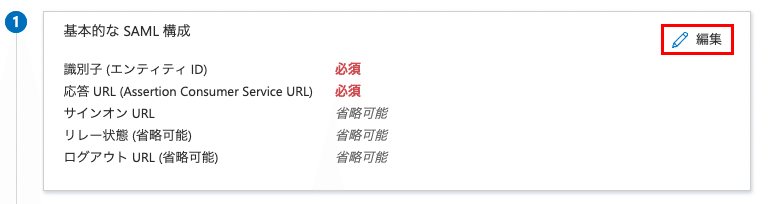
5.「基本的なSAML構成」で、下記パラメータ入力し「保存」をクリックします。
識別子:https://プリザンターのURL/Saml2
応答URL:https://プリザンターのURL/Saml2/Acs
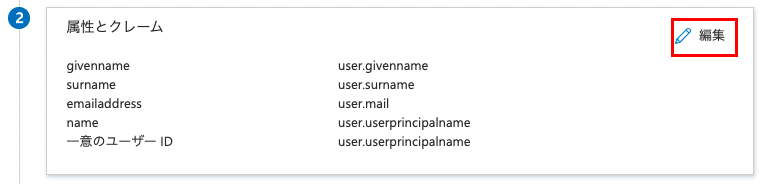
6.「属性とクレーム」の右上の「編集」をクリックします。
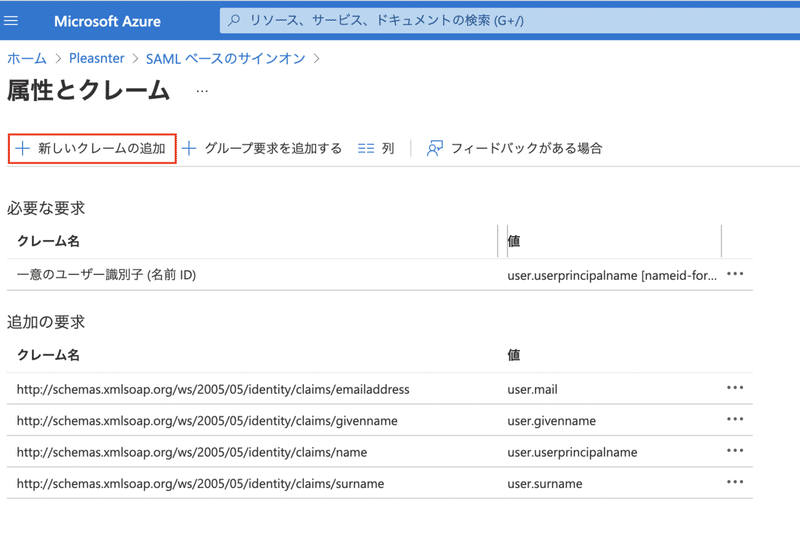
7.「新しいクレームの追加」をクリックします。
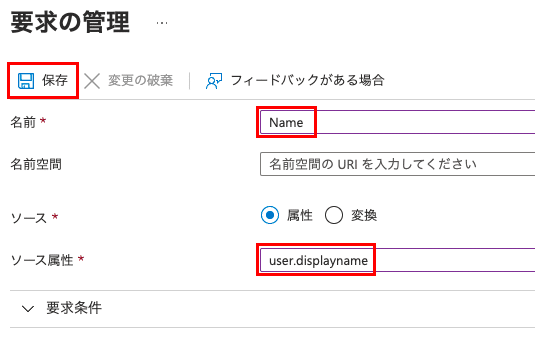
8.「要求の管理」の画面で「名前」と「ソース属性」に下記パラメータを入力し「保存」をクリックします。
名前:Name
ソース属性:user.displayname
SAMLパラメータの確認
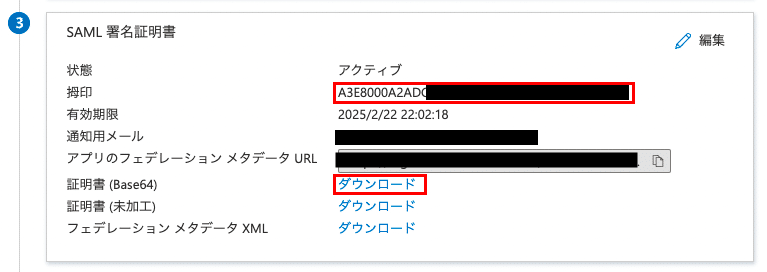
プリザンターに設定するためのSAMLパラメータを確認します。
「SAML 署名証明書」の項目の中から「拇印」のパラメータをコピーし「証明書(Base64)」の証明書をダウンロードします。
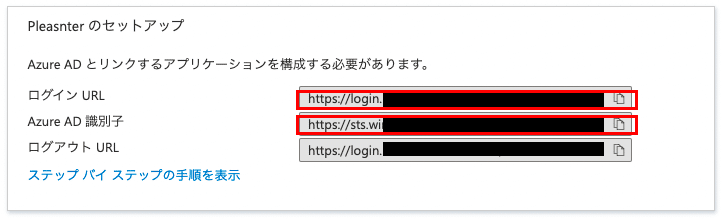
「Pleasnter のセットアップ」の項目の中から「ログイン URL」と「Azure AD 識別子」のパラメータをコピーします。
AppServiceへのSAML署名証明書の追加
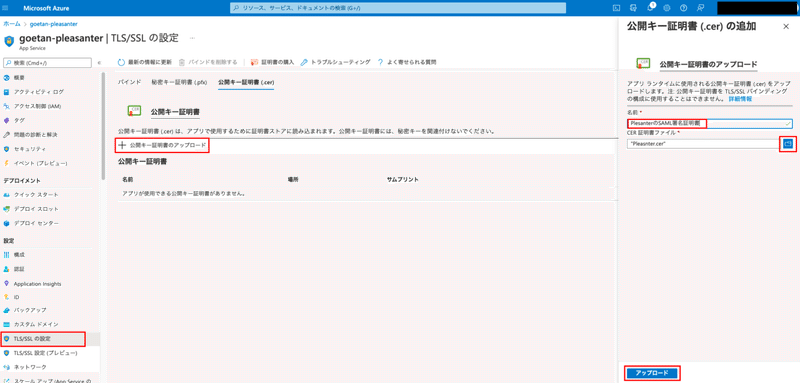
1.先ほどダウンロードした「証明書(Base64)」をAppServiceへ追加します。
「AppService」→TLS/SSL証明書」→「公開キー証明書」のアップロードを選択し「名前」に適当な名前を入力しダウンロードした証明書(Base64)の「CER証明書ファイル」をアップロードした後「アップロード」をクリックします。

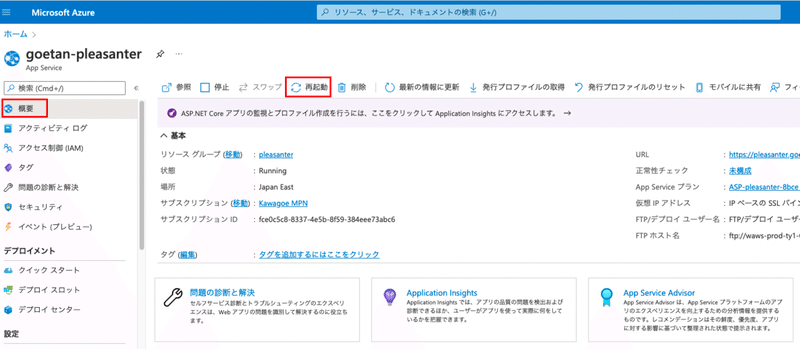
2.SAML署名証明書のストアが終わったら念の為AppServiceを再起動します。
「AppService」→「概要」→「再起動」をクリックしてアプリケーションの再起動を行います。
プリザンターのSAML設定
1.VisalStudio2019を起動し「Implem.Pleasanter/App_Data/Parameters/Authentication.json」
のファイルを書き換えます。
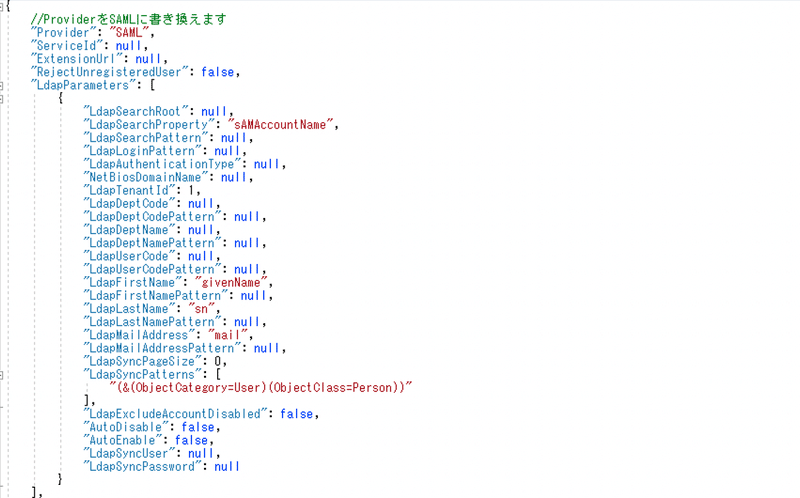
{
//ProviderをSAMLに書き換えます
"Provider": "SAML",
"ServiceId": null,
"ExtensionUrl": null,
"RejectUnregisteredUser": false,
"LdapParameters": [
{
"LdapSearchRoot": null,
"LdapSearchProperty": "sAMAccountName",
"LdapSearchPattern": null,
"LdapLoginPattern": null,
"LdapAuthenticationType": null,
"NetBiosDomainName": null,
"LdapTenantId": 1,
"LdapDeptCode": null,
"LdapDeptCodePattern": null,
"LdapDeptName": null,
"LdapDeptNamePattern": null,
"LdapUserCode": null,
"LdapUserCodePattern": null,
"LdapFirstName": "givenName",
"LdapFirstNamePattern": null,
"LdapLastName": "sn",
"LdapLastNamePattern": null,
"LdapMailAddress": "mail",
"LdapMailAddressPattern": null,
"LdapSyncPageSize": 0,
"LdapSyncPatterns": [
"(&(ObjectCategory=User)(ObjectClass=Person))"
],
"LdapExcludeAccountDisabled": false,
"AutoDisable": false,
"AutoEnable": false,
"LdapSyncUser": null,
"LdapSyncPassword": null
}
],
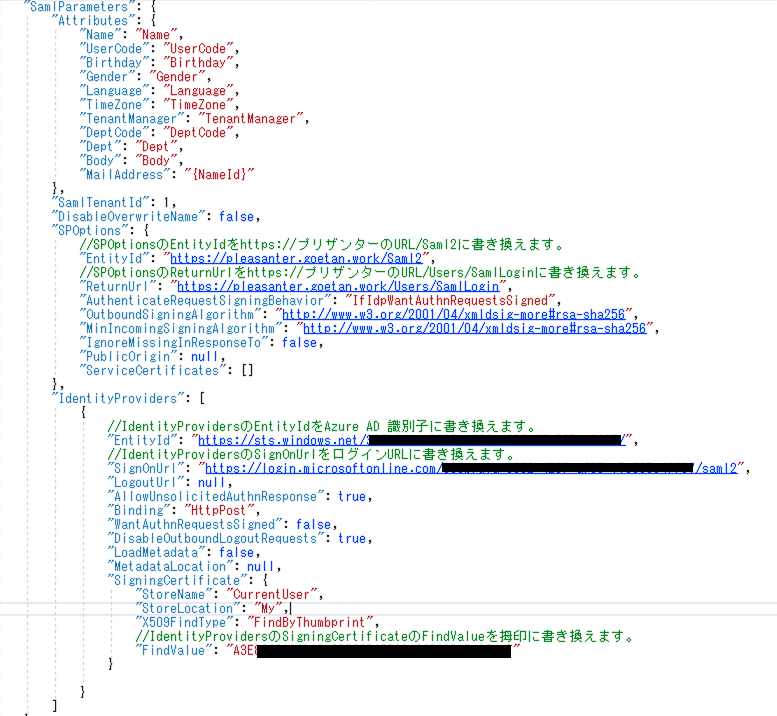
"SamlParameters": {
"Attributes": {
"Name": "Name",
"UserCode": "UserCode",
"Birthday": "Birthday",
"Gender": "Gender",
"Language": "Language",
"TimeZone": "TimeZone",
"TenantManager": "TenantManager",
"DeptCode": "DeptCode",
"Dept": "Dept",
"Body": "Body",
"MailAddress": "{NameId}"
},
"SamlTenantId": 1,
"DisableOverwriteName": false,
"SPOptions": {
//SPOptionsのEntityIdをhttps://プリザンターのURL/Saml2に書き換えます。
"EntityId": "https://pleasanter.goetan.work/Saml2",
//SPOptionsのReturnUrlをhttps://プリザンターのURL/Users/SamlLoginに書き換えます。
"ReturnUrl": "https://pleasanter.goetan.work/Users/SamlLogin",
"AuthenticateRequestSigningBehavior": "IfIdpWantAuthnRequestsSigned",
"OutboundSigningAlgorithm": "http://www.w3.org/2001/04/xmldsig-more#rsa-sha256",
"MinIncomingSigningAlgorithm": "http://www.w3.org/2001/04/xmldsig-more#rsa-sha256",
"IgnoreMissingInResponseTo": false,
"PublicOrigin": null,
"ServiceCertificates": []
},
"IdentityProviders": [
{
//IdentityProvidersのEntityIdをAzure AD 識別子に書き換えます。
"EntityId": "https://sts.windows.net/XXXXXXXX-XXXX-XXXX-XXXX-XXXXXXXXXXXX/",
//IdentityProvidersのSignOnUrlをログインURLに書き換えます。
"SignOnUrl": "https://login.microsoftonline.com/XXXXXXX-XXXX-XXXX-XXXX-XXXXXXXXXXXX/saml2",
"LogoutUrl": null,
"AllowUnsolicitedAuthnResponse": true,
"Binding": "HttpPost",
"WantAuthnRequestsSigned": false,
"DisableOutboundLogoutRequests": true,
"LoadMetadata": false,
"MetadataLocation": null,
"SigningCertificate": {
"StoreName": "CurrentUser",
"StoreLocation": "My",
"X509FindType": "FindByThumbprint",
//IdentityProvidersのSigningCertificateのFindValueを拇印に書き換えます。
"FindValue": "XXXXXXXXXXXXXXXXXXXXXXXXXXXXXXXXXXXXXXX"
}
}
]
}
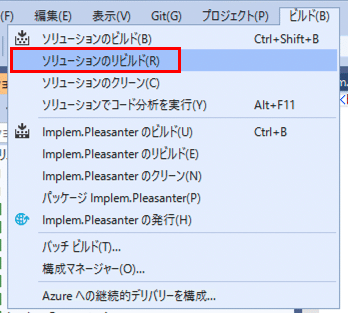
}2.書き換えが終わったら保存して一番上のメニューから「ビルド」→「ソリューションのリビルト」を選択しリビルドを行います。
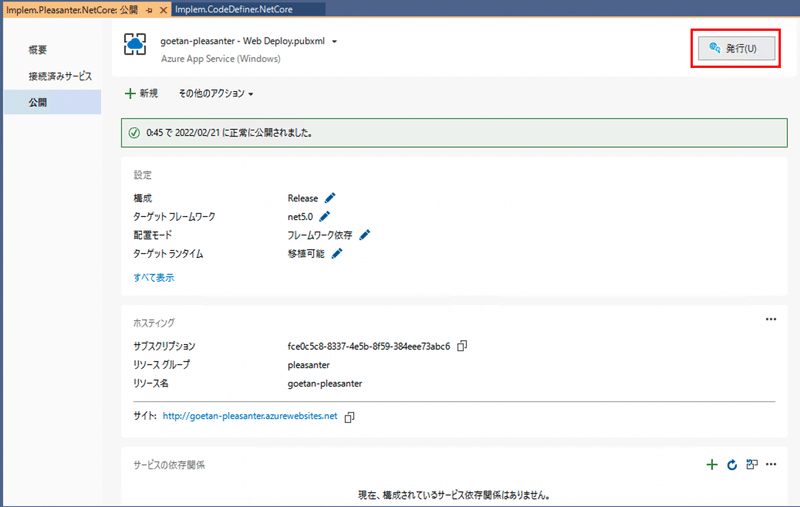
3.「Implem.Pleasanter.Parameter.NetCore」を右クリックして「発行」を選択します。
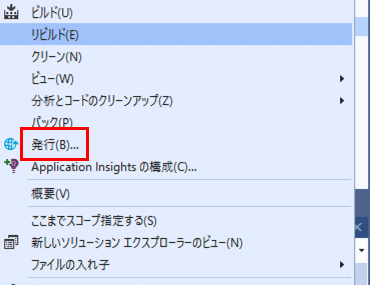
4.「発行」をクリックしてAzure AppServiceに公開します。
プリザンター側にユーザーを追加
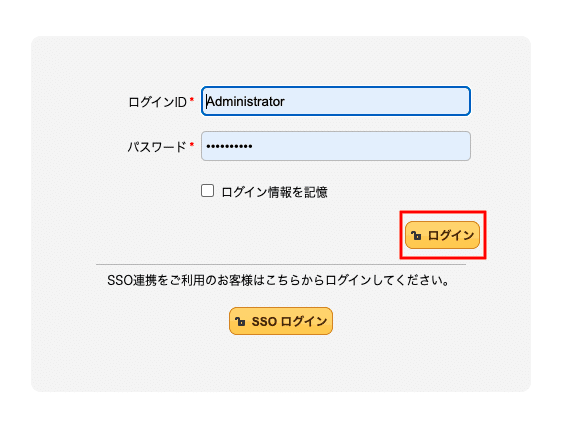
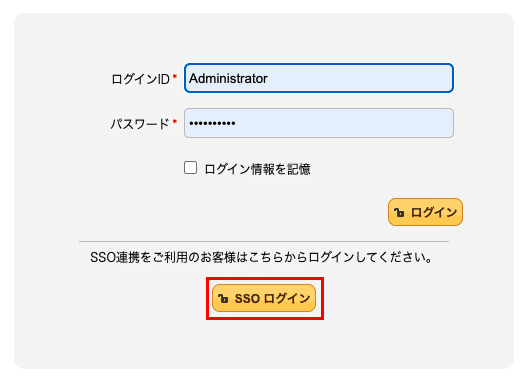
ログイン画面にSSOログインのボタンが表示されているかと思います。そのままではSSOログインできないのでプリザンター側にユーザーを作成します。
1.Administratorの権限でログインしてください。
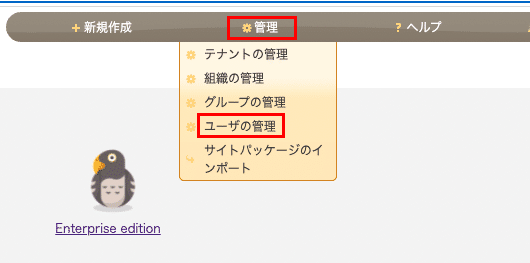
2.プリザンターにログインし「管理」→「ユーザの管理」をクリックします。
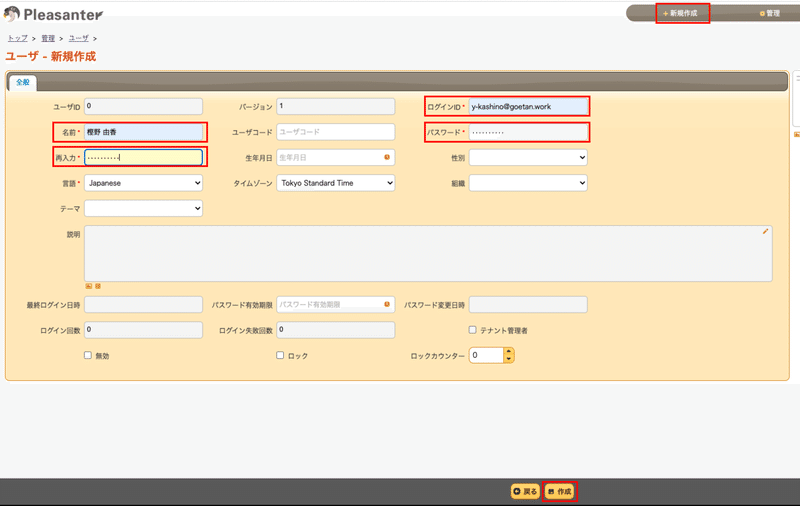
3.ユーザ-新規作成の画面で「新規作成」をクリックします。
「ログインID」「パスワード」「名前」「再入力」の項目を入力して「作成」をクリックします。
4.ログアウトして再度「SSOログイン」からログインするとAzure ADのクレデンシャルを利用してログインができます。
検証
こんな感じでログインできます。
プリザンターにSSOログインできるよーになったー。
— GOETAN(小さな粒) (@GOETAN_GOETAN) February 13, 2022
AppService+Azure SQLで爆速構築
まぁハマりまくって2日かかったけどw pic.twitter.com/LBwWXVo4wq
この記事が気に入ったらサポートをしてみませんか?