
【AI画像生成】ComfyUIのAPIを使って物語の挿絵生成を試す

ChatGPTが業務分担してゲームを作る「ChatDev」がすごく面白かった。
同じような発想で、エージェント化したAIが分業して漫画を作るアプリとかあったら楽しいので、誰か作って公開してほしい…
…漫画はムリでも絵本くらいなら自分でもイケるかも、という安直な考えを抱いたので、とりあえずAPIの使い方を調べた。
「ChatDev」では画像生成にOpenAIのAPI(DALL-E)を使っている。手軽だが自由度が低く、創作向きではない印象。今回は「ComfyUI」のAPIを試してみた。
ComfyUIの起動
まず、通常どおりComfyUIをインストール・起動しておく。これだけでAPI機能は使えるっぽい。
# ComfyUIのインストール
!git clone https://github.com/comfyanonymous/ComfyUI
%cd ComfyUI

# 依存関係のインストール
!pip install xformers!=0.0.18 -r requirements.txt --extra-index-url https://download.pytorch.org/whl/cu118 --extra-index-url https://download.pytorch.org/whl/cu117

# 画像生成モデルとVAE、Embeddingのダウンロード
!wget -c https://huggingface.co/dallinmackay/Van-Gogh-diffusion/resolve/main/Van-Gogh-Style-lvngvncnt-v2.ckpt -P ./models/checkpoints/
!wget -c https://huggingface.co/jomcs/NeverEnding_Dream-Feb19-2023/resolve/main/CarDos%20Anime/cardosAnime_v20.safetensors -P ./models/checkpoints/
!wget -c https://huggingface.co/stabilityai/sd-vae-ft-mse-original/resolve/main/vae-ft-mse-840000-ema-pruned.safetensors -P ./models/vae/
!wget -c https://huggingface.co/datasets/gsdf/EasyNegative/resolve/main/EasyNegative.safetensors -P ./models/embeddings/

# ComfyUIの起動
!python main.py画像生成モデルは、ゴッホ風の絵画モデル(Van-Gogh-Style-lvngvncnt-v2)とアニメ調のモデル(cardosAnime_v2.0)をダウンロード。
なおComfyUIをAPIサーバーとして扱う都合上、今回はGoogle Colabは利用せず。

表示されたURLをAPIで利用する。ComfyUIを起動したまま、次の作業へ。
物語の生成
次に、テキスト生成AIを使ってごく短い物語を生成してみた(TinyStoriesという300MBくらいのプチ言語モデルでテスト)。
!pip install transformers

from transformers import AutoModelForCausalLM, AutoTokenizer, GenerationConfig

model = AutoModelForCausalLM.from_pretrained('roneneldan/TinyStories-33M')
tokenizer = AutoTokenizer.from_pretrained("EleutherAI/gpt-neo-125M")
prompt = "Once"
input_ids = tokenizer.encode(prompt, return_tensors="pt")

# テキストの生成
output = model.generate(input_ids, max_length = 1000, num_beams=1)
output_text = tokenizer.decode(output[0], skip_special_tokens=True)

# アウトプットの表示
print(output_text)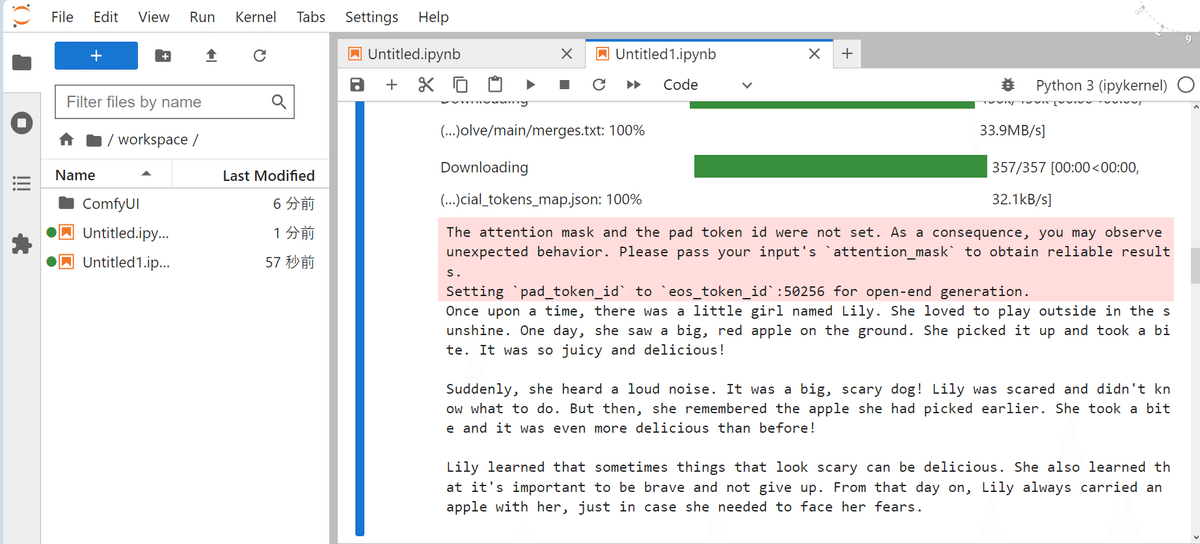
130 Wordsほどの他愛のないストーリーが出力された(小さな女の子がリンゴを好きになる話)。この物語テキストをoutput_textとして取得。
物語テキスト(output_text)
"Once upon a time, there was a little girl named Lily. She loved to play outside in the sunshine. One day, she saw a big, red apple on the ground. She picked it up and took a bite. It was so juicy and delicious!\n\nSuddenly, she heard a loud noise. It was a big, scary dog! Lily was scared and didn't know what to do. But then, she remembered the apple she had picked earlier. She took a bite and it was even more delicious than before!\n\nLily learned that sometimes things that look scary can be delicious. She also learned that it's important to be brave and not give up. From that day on, Lily always carried an apple with her, just in case she needed to face her fears."
画像生成用プロンプトの作成
次に、ComfyUIに投げるためのプロンプトを用意する。
今回は、とりあえず物語テキストの冒頭3センテンスほどを抜き出してプロンプトにくっつける雑な方法をとった。
sentences = output_text.split(".") # 物語テキストをセンテンス毎に分割
first_three = ".".join(sentences[:3]) # 最初の3文だけを結合
comfy_prompt = f"Fairy tale-style pencil painting. {first_three}." # プロンプトの作成
print(comfy_prompt)
画像生成用プロンプト(comfy_prompt)
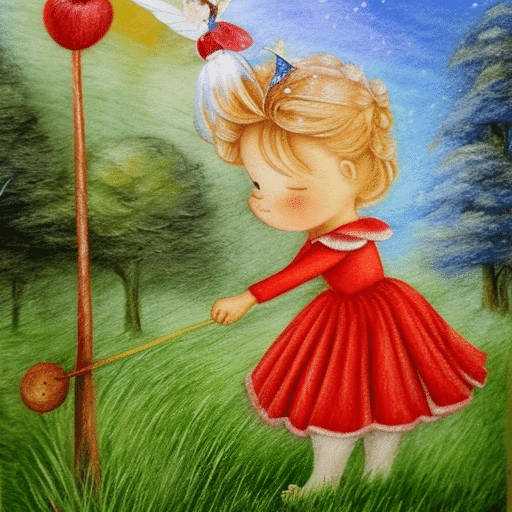
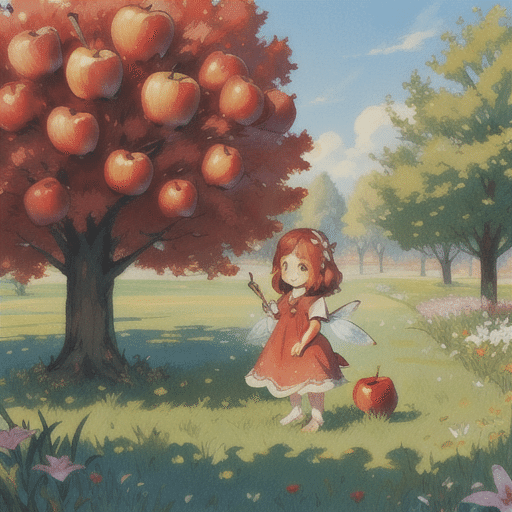
"Fairy tale-style pencil painting. Once upon a time, there was a little girl named Lily. She loved to play outside in the sunshine. One day, she saw a big, red apple on the ground."
(童話風の鉛筆画。 昔々、リリーという小さな女の子がいた。彼女は太陽の光の下で外で遊ぶのが大好きだった。ある日、彼女は地面に大きな赤いリンゴが落ちているのを見つけた。)
ComfyUIのAPIで画像生成
あとは、このプロンプトをAPIに投げる。公式のスクリプト例にAPIを実行するためのコードが紹介されている。
JSON形式のワークフローを全部読み込み、それを丸ごとAPIに投げるっぽい。なので、先ほどのプロンプトをワークフローに入れ込む。
冒頭で起動したComfyUIのローカルIPアドレスをここで使用。
# ワークフローの設定

workflow = """
{
    "3": {
        "class_type": "KSampler",
        "inputs": {
            "cfg": 8,
            "denoise": 1,
            "latent_image": [
                "5",
                0
            ],
            "model": [
                "4",
                0
            ],
            "negative": [
                "7",
                0
            ],
            "positive": [
                "6",
                0
            ],
            "sampler_name": "euler",
            "scheduler": "normal",
            "seed": 0,
            "steps": 20
        }
    },
    "4": {
        "class_type": "CheckpointLoaderSimple",
        "inputs": {
            "ckpt_name": "model"
        }
    },
    "5": {
        "class_type": "EmptyLatentImage",
        "inputs": {
            "batch_size": 1,
            "height": 512,
            "width": 512
        }
    },
    "6": {
        "class_type": "CLIPTextEncode",
        "inputs": {
            "clip": [
                "4",
                1
            ],
            "text": "prompt"
        }
    },
    "7": {
        "class_type": "CLIPTextEncode",
        "inputs": {
            "clip": [
                "4",
                1
            ],
            "text": "embedding:EasyNegative"
        }
    },
    "8": {
        "class_type": "VAEDecode",
        "inputs": {
            "samples": [
                "3",
                0
            ],
            "vae": [
                "4",
                2
            ]
        }
    },
    "9": {
        "class_type": "SaveImage",
        "inputs": {
            "filename_prefix": "ComfyUI",
            "images": [
                "8",
                0
            ]
        }
    }
}
"""

#ComfyUIのAPIの設定

import json
from urllib import request, parse
import random

def queue_prompt(prompt):
    p = {"prompt": prompt}
    data = json.dumps(p).encode('utf-8')
    req =  request.Request(f"{url}/prompt", data=data)
    request.urlopen(req)

prompt = json.loads(workflow)

url = "http://127.0.0.1:8188" # 冒頭のComfyUIのURLを指定
prompt["4"]["inputs"]["ckpt_name"] = "cardosAnime_v20.safetensors" # モデルの指定
prompt["6"]["inputs"]["text"] = comfy_prompt

# 実行

queue_prompt(prompt)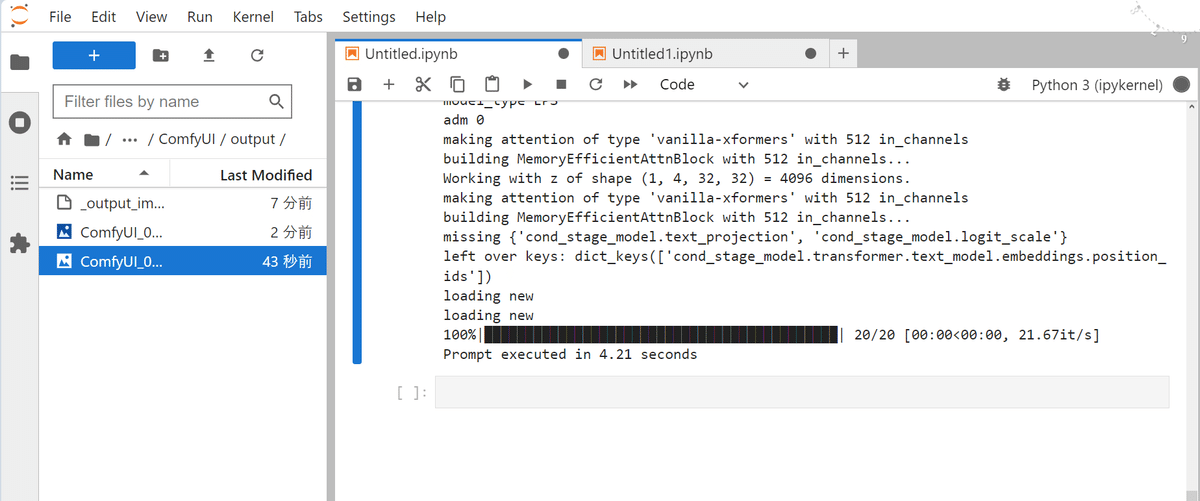
実行するとoutputフォルダに画像が保存。ComfyUIは軽くて速い。
感想
ということで、ひとまずComfyUIのAPI機能を使ってみた。
WebUI(AUTOMATIC1111)にもAPI機能はあるっぽいが、ComfyUIの方がワークフローで生成方法を指定できるので、API向きな気がする。
というか、画像生成のスキルが低すぎていい感じの絵が生成できないのでまずはそこから(APIとか以前の問題)
物語の展開に沿って複数の挿絵を生成するとなると、キャラや画風の一貫性を維持する工夫も必要。ControlNet?