Stable Diffusionメモ

なんとかローカルで環境構築できたので参考にしたものなどの記録を。
ただし、私は非エンジニアなので普段からプログラミングをする人ではなく、手順を正確に理解していない部分が多いので、実行する際は自己責任でお願いします。
メインで参考にした記事
ただ今はexeでできるようになったとか。私は試していませんがこちらのほうが楽かもしれません。
stable diffusionのexe一発パックが出たのか
— ところてん (@tokoroten) August 25, 2022
環境構築だるいなーと思ってたので、ありがたい……https://t.co/eHvMYeNXjW
環境構築
環境
win11
NVIDIA GeForce RTX 3060 (vRAM 12G)
そもそもpythonが入っていなかったのでpythonのインストールから。
PyTorchが必要→condaとCUDA11.3が必要らしいのでインストール。
CUDA11.3のインストールはインストーラーで

cuDNNも上記サイトの通りに。
Anacondaのインストールも上記手順通りに。でインストール完了後はAnacondaで実行すること。

ちなみに(前提すぎて記事には載っていないが)gitをインストールしている必要があるので、入ってないならインストールする。
Stable Diffusionセットアップ
基本的には上記記事通りにやればOK。ただし、一度落としたなら以下コマンドを打っておくこと。
conda activate ldmhugging face でユーザー登録して規約に同意したらcloneができるようになる。

ここ要はフォルダの名前変えて場所を移動すればok。sd-v1-4.ckptはstable-diffusion-v-1-4-original以下にあるはず。
ここまで来たら後は実行するだけなのだけど、参照記事にもあるように余程PCスペックに自信がない限りVRAMが不足する。
RuntimeError: CUDA out of memory. Tried to allocate 1024.00 MiB (GPU 0; 8.00 GiB total capacity; 6.13 GiB already allocated; 0 bytes free; 6.73 GiB reserved in total by PyTorch) If reserved memory is >> allocated memory try setting max_split_size_mb to avoid fragmentation. See documentation for Memory Management and PYTORCH_CUDA_ALLOC_CONF上記エラーが出たらフォーク版をclone。やることは同じ。
ただ私の場合cloneしたらオリジナルと比べてフォルダーがいくつか無くそのままでは実行できず。これに関してはオリジナルから無いフォルダを持ってくることで一応の解決を得た。
実行
text2img例
python optimizedSD/optimized_txt2img.py --prompt "プロンプト" --H 512 --W 512 --seed 27 --n_iter 2 --n_samples 10 --ddim_steps 50変数はgitに書いてあったので以下の通り。
usage: txt2img.py [-h] [--prompt [PROMPT]] [--outdir [OUTDIR]] [--skip_grid] [--skip_save] [--ddim_steps DDIM_STEPS] [--plms] [--laion400m] [--fixed_code] [--ddim_eta DDIM_ETA]
                  [--n_iter N_ITER] [--H H] [--W W] [--C C] [--f F] [--n_samples N_SAMPLES] [--n_rows N_ROWS] [--scale SCALE] [--from-file FROM_FILE] [--config CONFIG] [--ckpt CKPT]
                  [--seed SEED] [--precision {full,autocast}]

optional arguments:
  -h, --help            show this help message and exit
  --prompt [PROMPT]     the prompt to render
  --outdir [OUTDIR]     dir to write results to
  --skip_grid           do not save a grid, only individual samples. Helpful when evaluating lots of samples
  --skip_save           do not save individual samples. For speed measurements.
  --ddim_steps DDIM_STEPS
                        number of ddim sampling steps
  --plms                use plms sampling
  --laion400m           uses the LAION400M model
  --fixed_code          if enabled, uses the same starting code across samples
  --ddim_eta DDIM_ETA   ddim eta (eta=0.0 corresponds to deterministic sampling
  --n_iter N_ITER       sample this often
  --H H                 image height, in pixel space
  --W W                 image width, in pixel space
  --C C                 latent channels
  --f F                 downsampling factor
  --n_samples N_SAMPLES
                        how many samples to produce for each given prompt. A.k.a. batch size
  --n_rows N_ROWS       rows in the grid (default: n_samples)
  --scale SCALE         unconditional guidance scale: eps = eps(x, empty) + scale * (eps(x, cond) - eps(x, empty))
  --from-file FROM_FILE
                        if specified, load prompts from this file
  --config CONFIG       path to config which constructs model
  --ckpt CKPT           path to checkpoint of model
  --seed SEED           the seed (for reproducible sampling)
  --precision {full,autocast}
                        evaluate at this precision
最低限宣言させたほうがよさそうなのは
H 高さ
W 幅
n_iter
n_samples (n_iter*n_samples個の画像が出力される)
あたり。W,Hは2のべき乗じゃないとだめだったような気がするので注意。
img2img例
python optimizedSD\optimized_img2img.py --init-img 参照画像 --prompt "プロンプト" --H 512 --W 512 --ddim_steps 50 --n_samples 5 --n_iter 2 --strength 0.5--strength は変化のかかり具合のパラメタ。0に近いほど変化が小さく、1に近いほど変化が大きい。
こっちのほうが主要パラメタを見るだけならわかりやすいかもしれない。
プロンプト備忘録
a portrait of a cute girl,Girl with dark hair and wearing a school uniform, detailed face with gorgeous eyes, by mucha, by Range Murata, by Akihiko Yoshida, C95, C96, trending on pixiv, trending on Artstationどんな雰囲気になるかは上記記事先参照。
Medium shot, alone, an anime girl, Otaku, Daisuki, Senpai, Kawaii, hq, wallpaper, style of Moe, VTuber, Manga, character introduction,sharp eyes,best scene, import, official, capture, winning works, winning creative, best illustration, ranking, support artist, angle, how to draw, demo, import, comic con, expo, gallery,art book呪文1/2
— Jun Tamaoki / 玉置絢 (@OKtamajun) August 26, 2022
Medium shot, alone, an anime girl, Otaku, Daisuki, Senpai, Kawaii, hq, wallpaper, style of Moe, VTuber, Manga, character introduction,
sharp eyes,(続く)
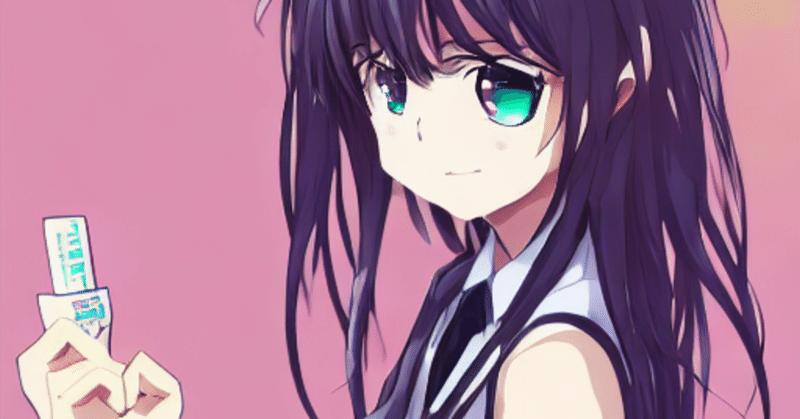
サムネの画像はこちらで生成した(seed=27)
プロンプト生成の参考になりそうな記事
よろしければサポートお願いします!