CoreTextでテキストを描画する(CoreTextSwift)

SwiftでCoreTextを使う方法をまとめます。今回は、Swift用にCoreTextを使いやすくしたCoreTextSwiftというパッケージを使います。
CoreTextとは
テキスト関連の機能の低レベルインターフェースで、自由度の高いテキスト描画が可能です。
CoteTextは属性付きの文字列(attributed string)を用いて、CoteTextのレイアウトエンジンによって表示されます。
CoreTextのプログラミングガイドより引用
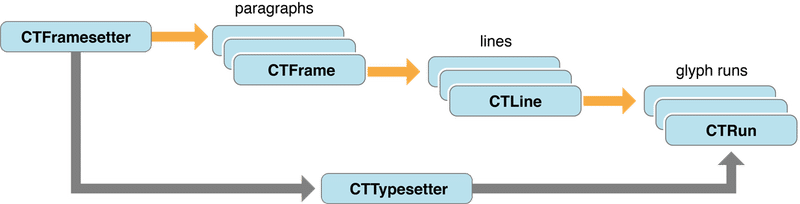
CoreTextで利用する型は以下のようなものがあります。(頭文字のCTはCoreText、CGはCore Graphicsを取ったもの)
CTFramesetter - 属性付き文字列(Attributed String)とグラフィックパス(CGPath)からテキストフレーム(CTFrame)を生成。
CTTypesetter - テキストの配置や行間などのスタイルをCTLineに適用する。
CTFrame - 文字列がレイアウトされたフレーム。CTLineが複数含まれる。
CTLine - 行を管理。グリフラン(CTRun)の配列が含まれる。
CTRun - グリフランは一連の連続したグリフのこと。
(補足)グリフとは?
日本語にすると、グリフは字体、フォントは書体です。
字体は、文字の形状の図形表現で、字体を集めたものが書体となります。
参考:
CoreTextを使った実装
今回は、Swift向けにCoreTextをラップしたCoreTextSwiftを使って、CoreTextを利用します。直接CoreTextのAPIを呼び出すのに比べ、少し実装がシンプルになります。
新規のSwiftUIプロジェクトを作成し、File > Add Packagesからhttps://github.com/krzyzanowskim/CoreTextSwift を検索し、Add Packageでパッケージを追加します。
また、今回はMac Catalystで実行するため、XcodeのGeneral > Supported DestinationsにMac (mac catalyst) を追加します。
行を描画
UIViewのdrawでCoreTextの文字を描画することができます。
今回はSwiftUIのプロジェクトを作成するため、UIViewRepresentableを実装し、UIKitのUIView経由でCoreTextを呼び出します。
import Foundation
import SwiftUI
import CoreTextSwift

struct CoreTextView: UIViewRepresentable {
    func makeUIView(context: Context) -> UICoreTextView {
        let view = UICoreTextView()
        view.isOpaque = false
        return view
    }

    func updateUIView(_ uiView: UICoreTextView, context: Context) {
    }
}

class UICoreTextView: UIView {
    override func draw(_ rect: CGRect) {
        guard let ctx = UIGraphicsGetCurrentContext() else {
          return
        }

        // フォントサイズを指定
        let attributes: [NSAttributedString.Key : Any] = [
            .font: UIFont.systemFont(ofSize: 40)
        ]

        // 属性付き文字列を作成
        let attributedString = NSAttributedString(string: "Hello World!", attributes: attributes)

        // 描画
        ctx.draw(attributedString.line())
    }
}ひとまずCTLine(1行分)のみを描画しています。isOpaqueをfalseに設定しないと黒背景となります。
Core Graphics の描画コンテキスト(GraphicsContext)上に、属性付きの文字列(NSAttributedString)を描画します。今回は見やすいように大きめのフォントサイズ(40)を設定しています。
line()メソッドを呼び出すことで、CTLineを作成しています。
// 属性付き文字列を作成
let attributedString = NSAttributedString(string: "Hello World!", attributes: attributes)

// 描画
ctx.draw(attributedString.line())
次の画像のように描画されます。
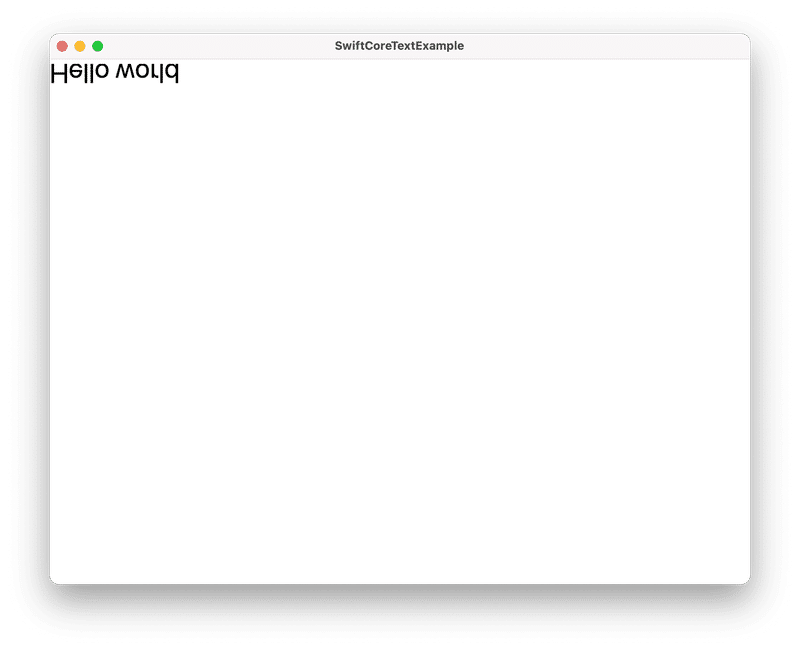
上下反転を修正する
そのまま出力すると、文字の上下が逆さまの状態で書き出されてしまいます。
これは、iOSとCore Graphicsの座標系が異なるためで、正しく描画するには上下反転させる必要があります。

以下のように修正します。
// 属性付き文字列を作成
let attributedString = NSAttributedString(string: "Hello World!", attributes: attributes)
// CTLineを作成
let line = attributedString.line()
// 座標系の原点を変更
ctx.translateBy(x: 0.0, y: rect.height)
// 座標系のスケールを変更(y軸を上から下に)
ctx.scaleBy(x: 1, y: -1)
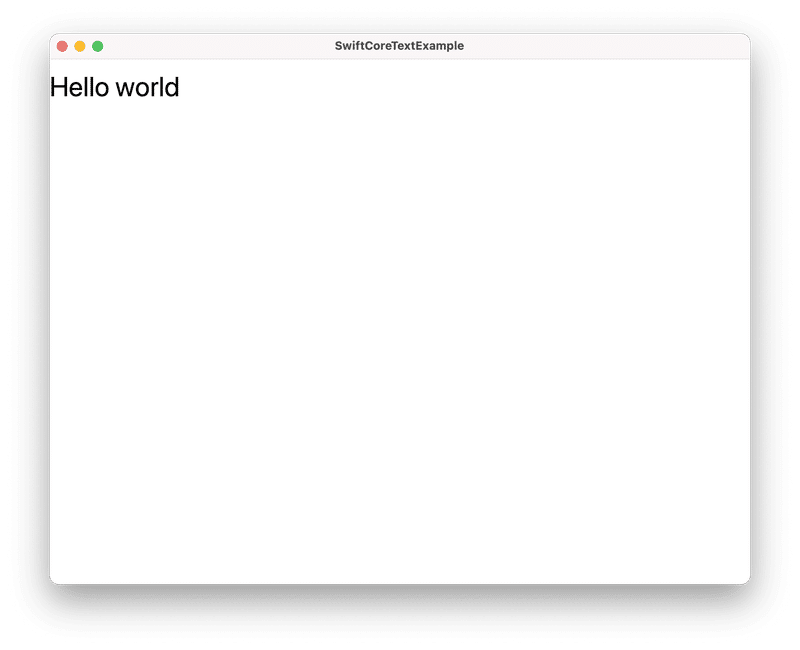
// 行を描画
ctx.draw(line)変更すると正しい向きで表示されます。
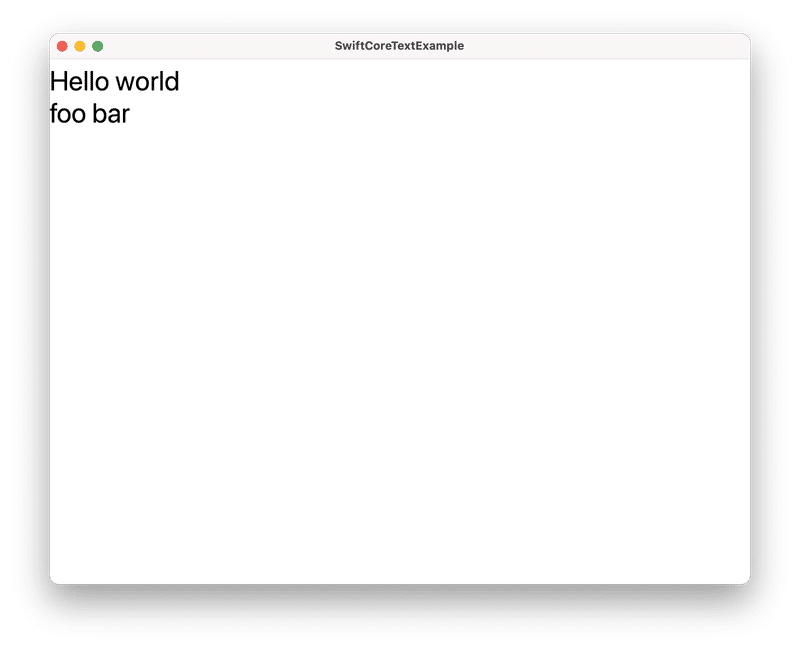
Framesetterで文字列を描画
CTLineだけでは複数行を改行して表示できないため、FramesetterからCTFrameを作成して改行を含む文字列を描画します。
framesetter()でattributedStringからCTFramesetterを作成し、createFrame()でCTFrameを作成します。
class UICoreTextView: UIView {
    override func draw(_ rect: CGRect) {
        guard let ctx = UIGraphicsGetCurrentContext() else {
          return
        }

        // フォントサイズを指定
        let attributes: [NSAttributedString.Key : Any] = [
            .font: UIFont.systemFont(ofSize: 40)
        ]

        // 属性付き文字列を作成
        let attributedString = NSAttributedString(string: "Hello world\nfoo bar", attributes: attributes)

        // Framesetterを作成
        let framesetter = attributedString.framesetter()

        // フレームを作成
        let frame = framesetter.createFrame(rect)

        //座標系の原点を変更
        ctx.translateBy(x: 0.0, y: rect.height)

        // 座標系のスケールを変更(y軸を上から下に)
        ctx.scaleBy(x:1.0, y :-1.0)

        // フレームを描画
        ctx.draw(frame)
    }
}
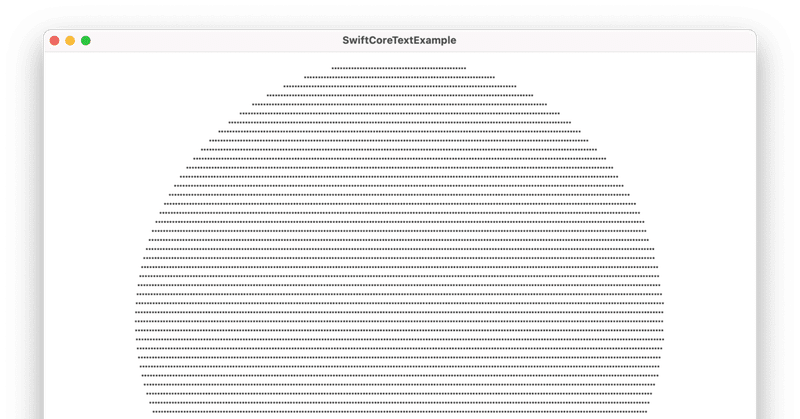
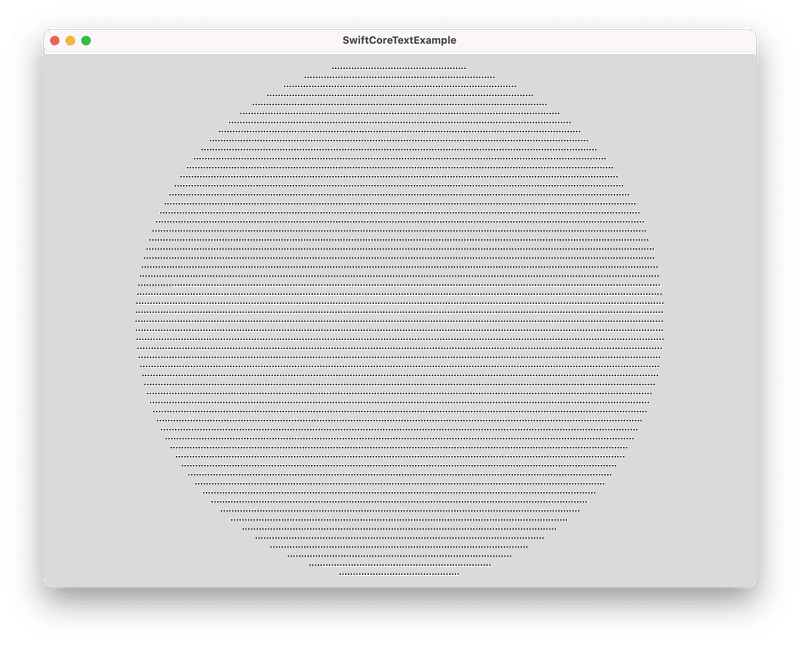
任意のパスからフレームを作成
Framesetterは矩形(CGRect)からフレームを作成しましたが、任意のパスオブジェクト(CGPath)からフレームを作成することもできます。
framesetter.createFrame(rect)例えば、以下のように円形のパスを作成する関数を定義します。
func circlePath(rect: CGRect) -> CGPath {
    let path = CGMutablePath()
    let center = CGPoint(x: rect.midX, y: rect.midY)
    path.addArc(center: center, radius: rect.midY, startAngle: 0, endAngle: CGFloat.pi * 2, clockwise: false)
    return path
}
こちらのパスを使ってフレームを作成すると、下図のように円形のフレーム上に文字列を描画することができます。
class UICoreTextView: UIView {
    override func draw(_ rect: CGRect) {
        guard let ctx = UIGraphicsGetCurrentContext() else {
            return
        }

        // 属性付き文字列を作成
        let attributedString = NSAttributedString(string: String(repeating: "*", count: 10000))

        // Framesetterを作成
        let framesetter = attributedString.framesetter()

        // 円形のパスを作成
        let path = circlePath(rect: rect)

        // パスからフレームを作成
        let frame = framesetter.createFrame(path)

        // 座標系の原点を変更(y軸を行の高さに合わせる)
        ctx.translateBy(x: 0.0, y: rect.height)

        // 座標系のスケールを変更(y軸を上から下に)
        ctx.scaleBy(x: 1, y: -1)

        // フレームを描画
        ctx.draw(frame)
    }
}
参考
CoreTextSwiftの利用法については、以下のリポジトリを参考にしました。https://github.com/krzyzanowskim/SwiftUI.TextEdit
CoreTextについては以下の記事を参考にしました。
最後まで読んでいただきありがとうございます。 他の記事はこちらからどうぞ → https://note.com/sat0b3ee/