
How to create a 360 panoramic photo with Midjourney and Photoshop

This text explains how to create a 360° panorama image for users of the official Midjourney Facebook group.
1.Image generation by Midjourney.
The first important thing is the proportions of the image and the indication that it is a panoramic image.
Let's examine the images to clarify.
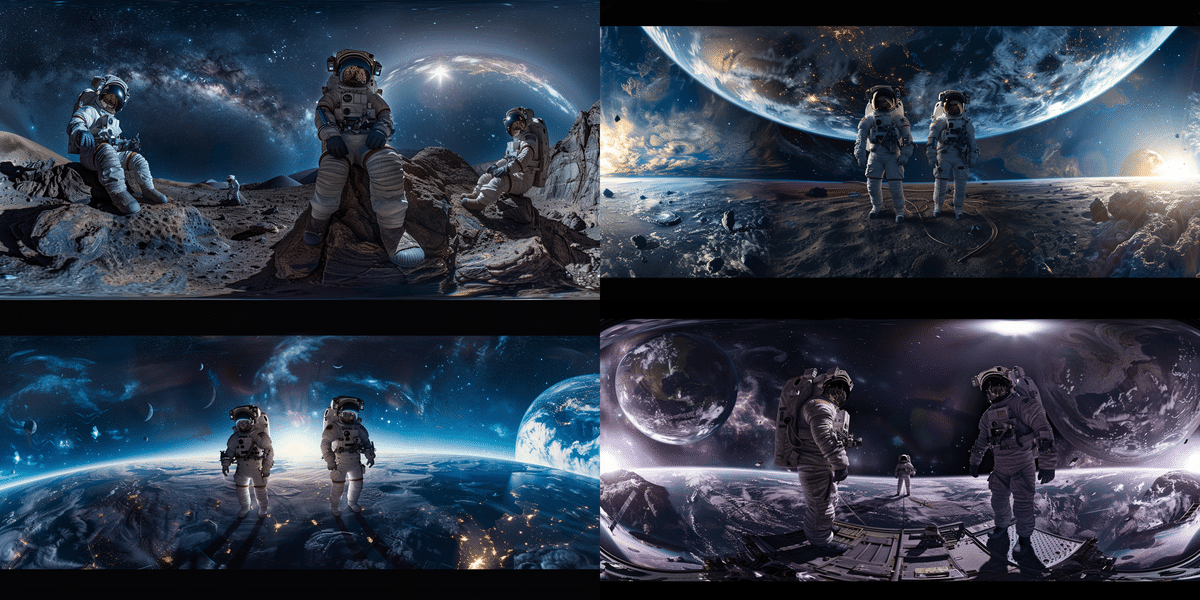
The prompt '360-degree panoramic photo in seamless equirectangular projection.' specifies a 360-degree panoramic photo and can be used as a phrase as it stands.
The prompt could be completed simply by adding the description of the scene you want them to write after this phrase.
Select and upscale
If you want to post this photo on Facebook, the following recommended sizes are available
Resolution.
Minimum: 6144 x 3072 pixels
Recommended: 7168 x 3584 pixels
I'm not entirely certain, as I checked using Google Gemini, but it is definite that the width should be increased to at least 6000 pixels.
Try both Upscale (Subtle) and Upscale (Creative). This time I used an image created with (Creative).
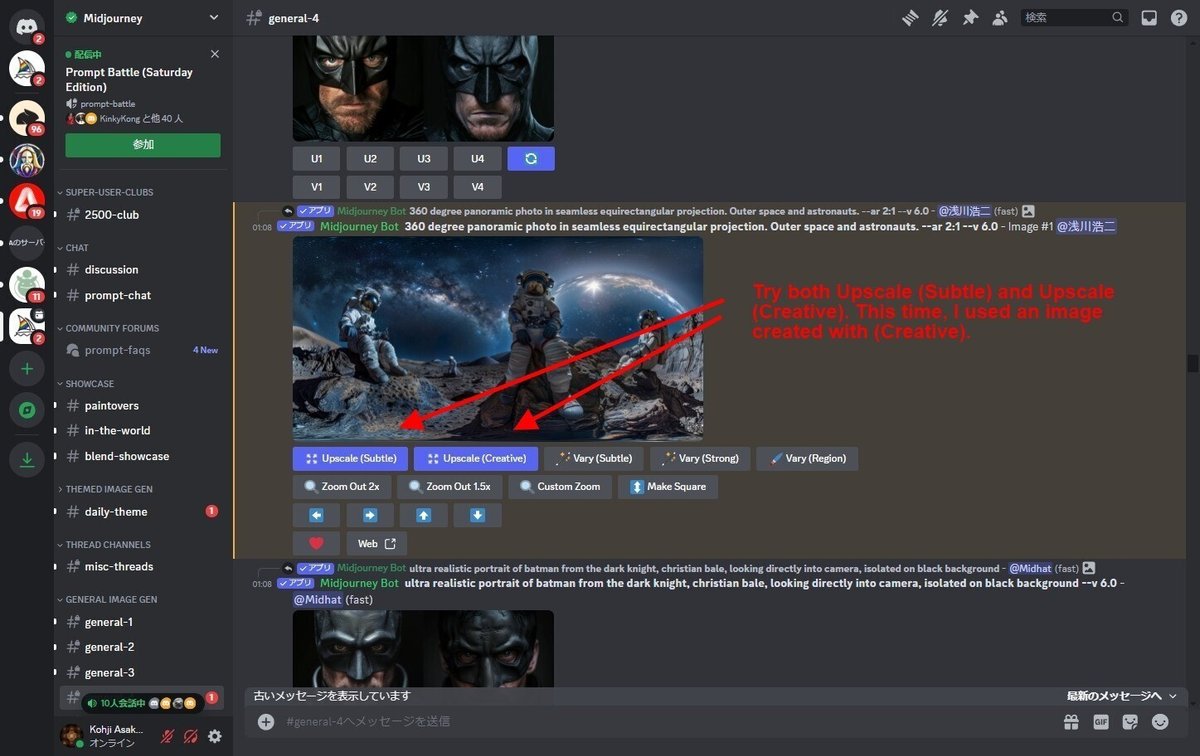
This increased the size of the image to 3072*1536 pixels. I will enlarge the image further later, as I know from past experience that a large image is necessary for a good display of panoramic photos.

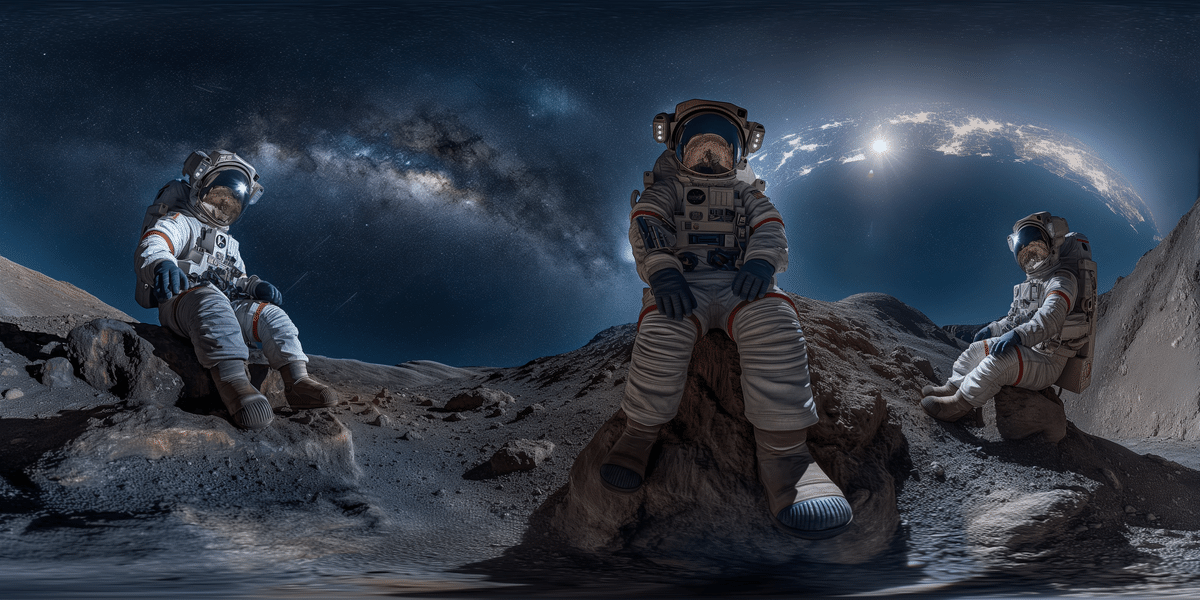
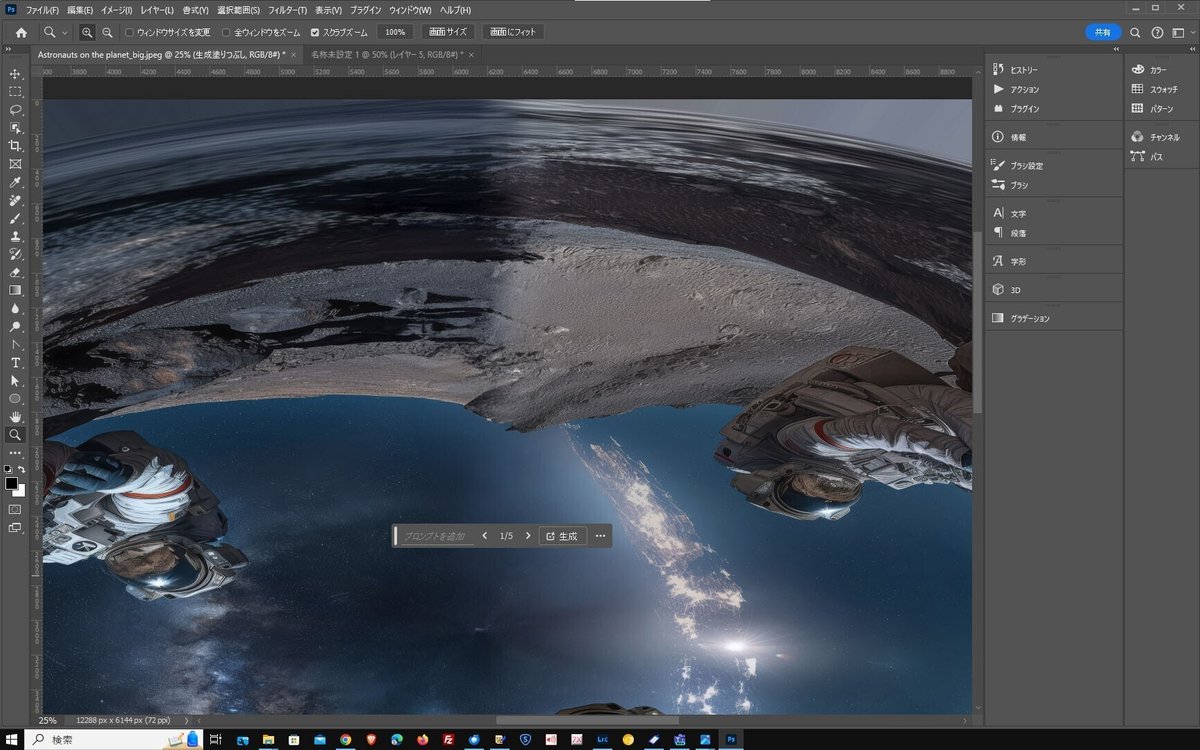
In this photo, there are no black borders at the top and bottom, but even photos with black borders may be complemented by Photoshop's AI-generated fill.
2.To further improve image quality
It is possible to use the created images as they are, but the resolution is still insufficient.
It is possible to increase the resolution of images created using Photoshop or a web service, but in my case I used AI to increase the resolution and achieve a higher resolution.
The final result was magnified by a factor of 4 in Topaz GIGA pixel AI.
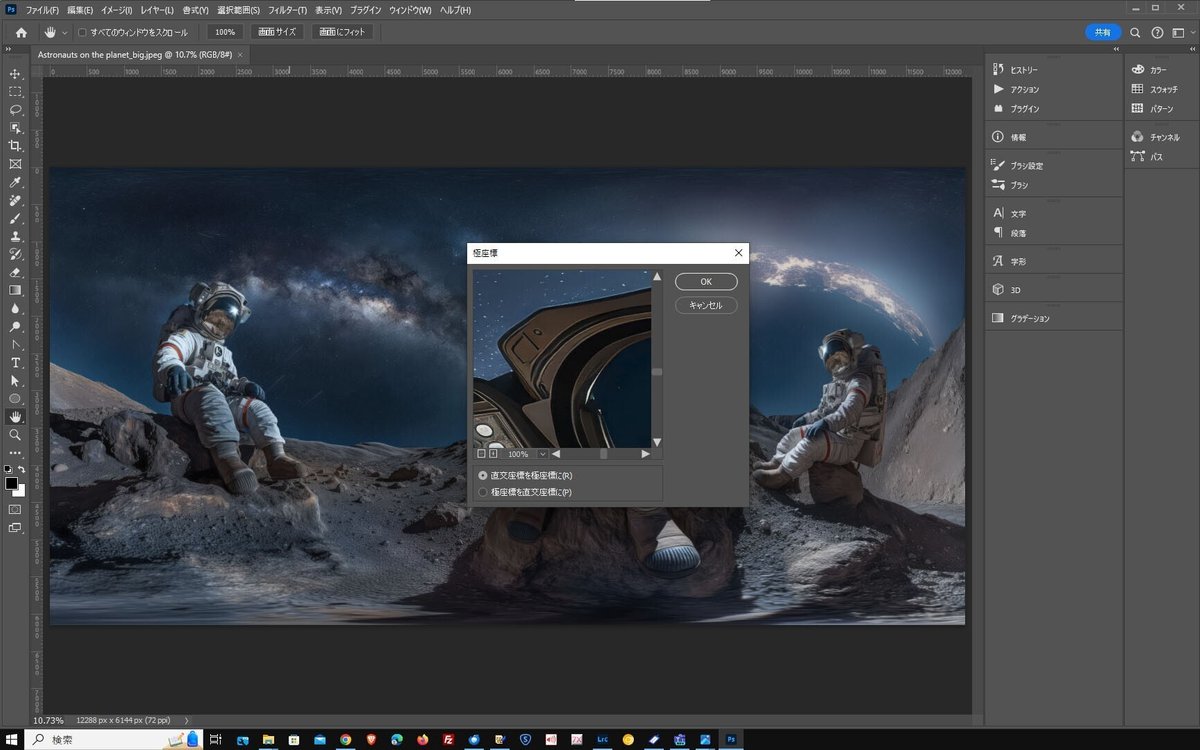
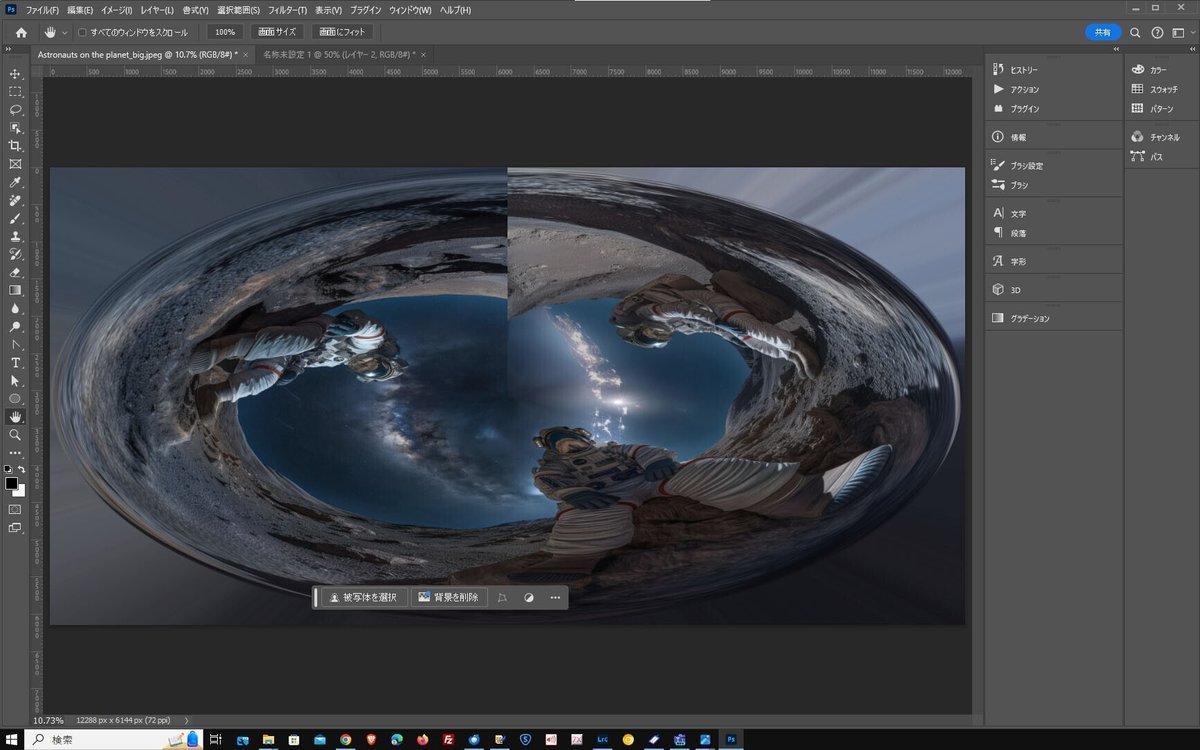
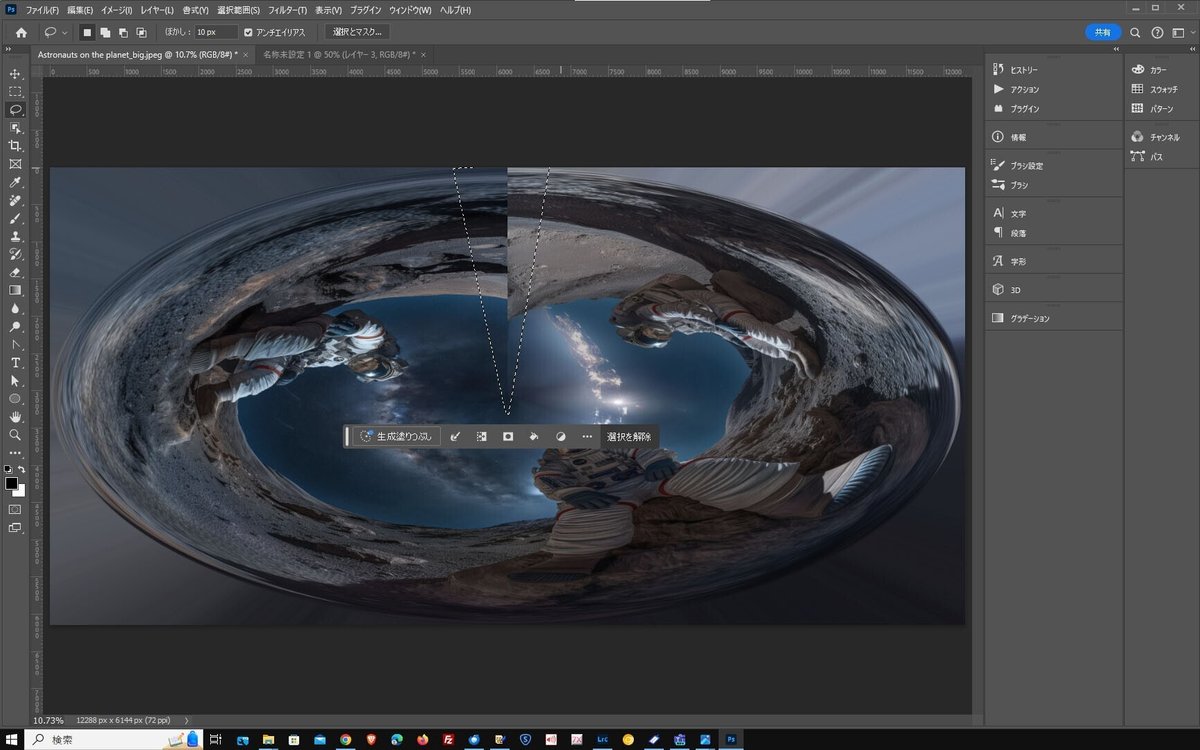
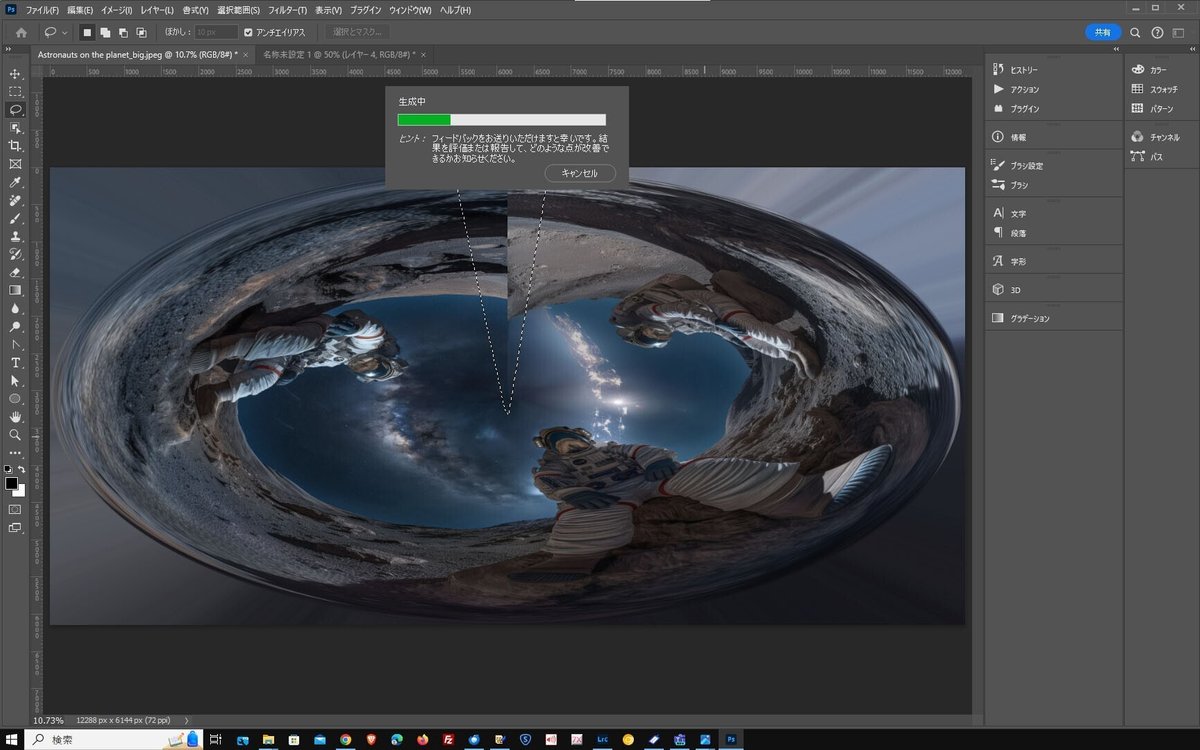
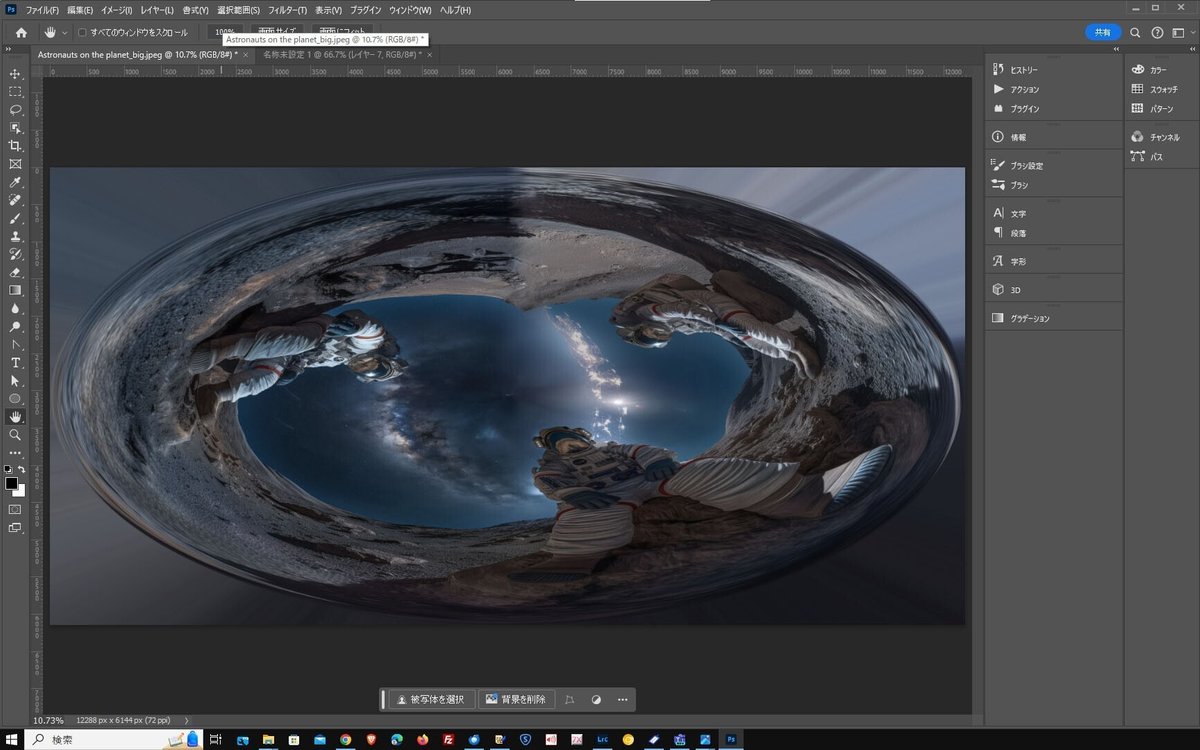
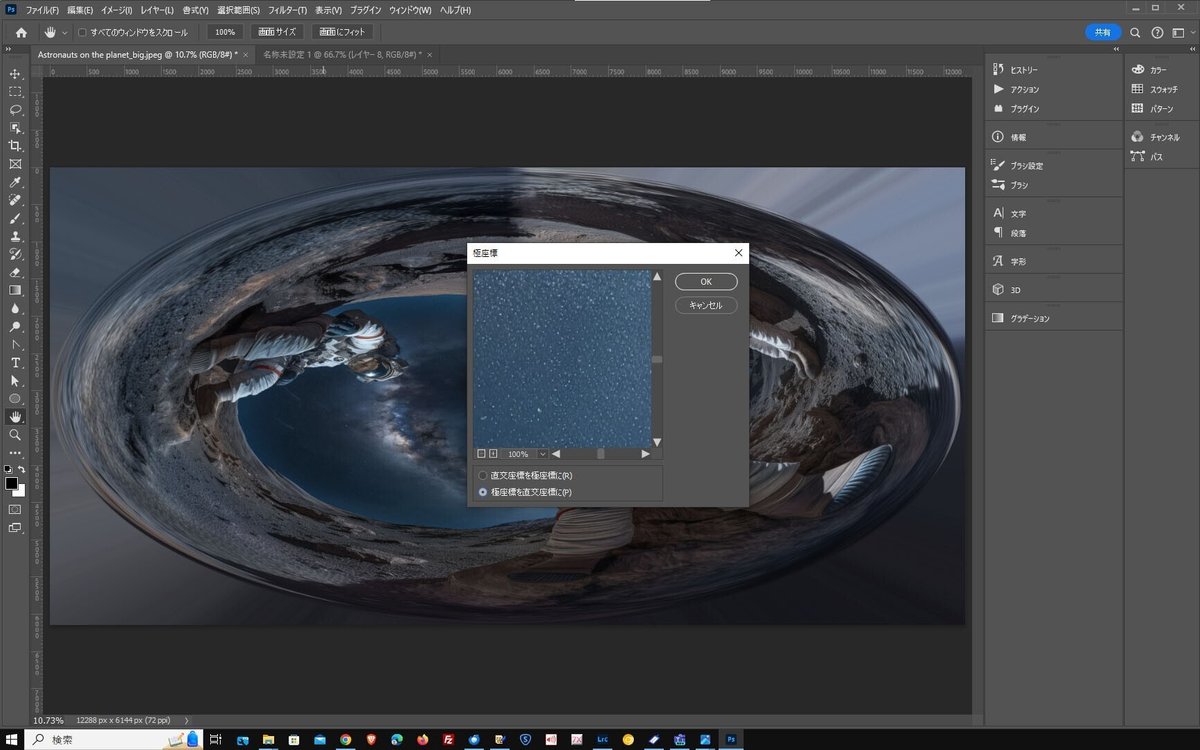
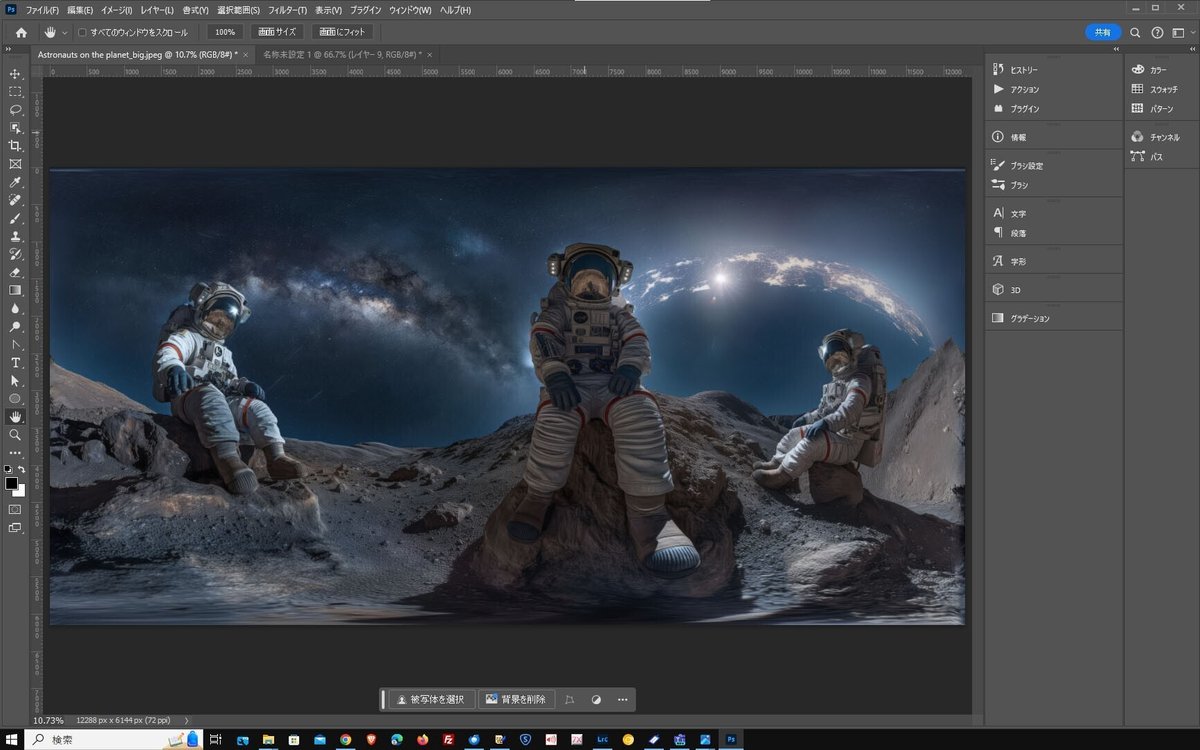
3.Correcting the connection between the left and right images using Photoshop.
If used as is, the left and right images are not connected, so Photoshop is used to seamlessly connect the left and right images.
The first step is to perform a polar coordinate transformation from the filter transformation.
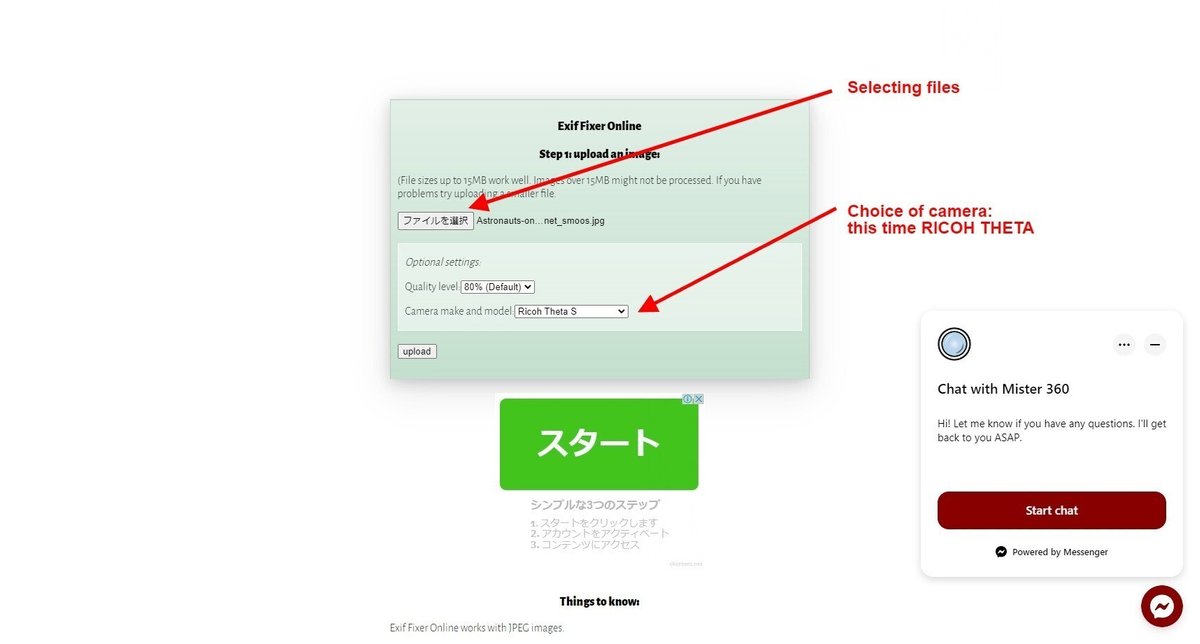
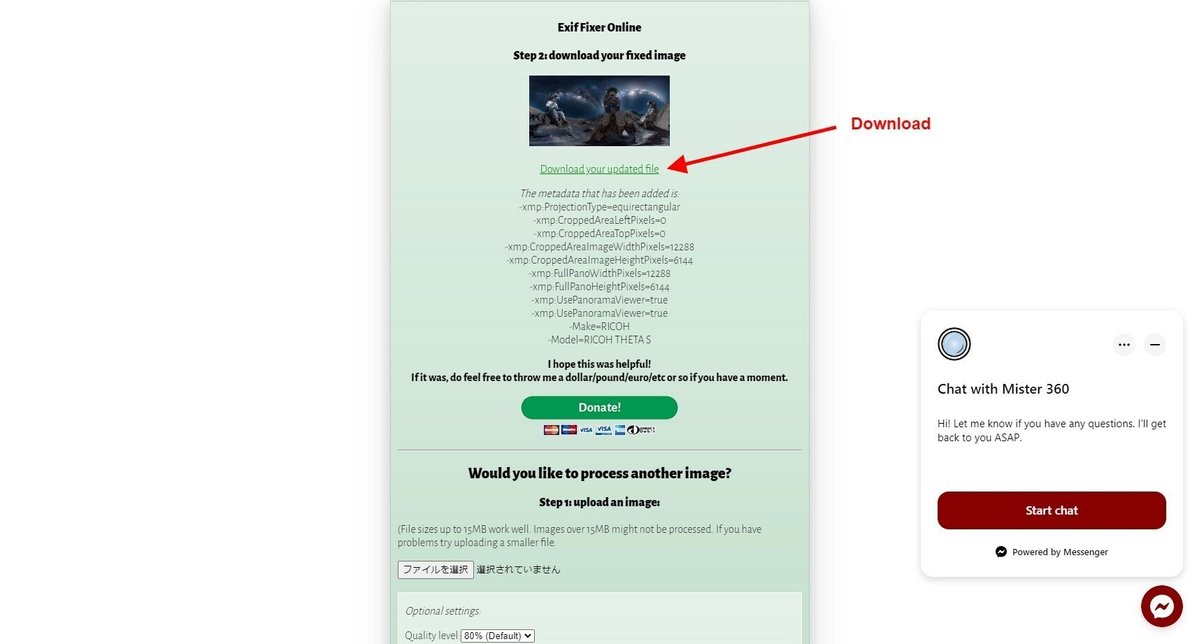
4.Tampering with EXIF so that it is recognised as a panoramic image.
This completes the panorama image, but if you upload it as is, it will not be recognised as a panorama image. So, let's falsify a part of the image data called EXIF.
宇宙飛行士の高画質版です。
Posted by デルタ ワークス on Saturday, April 27, 2024
I made it to the best of my knowledge this time, but there may be ways to make it more complete.
If you have interesting 360° panorama photos, we have created a dedicated community on Facebook for you to experiment with.