
DataBindingチュートリアル第3回 – BindingAdapter(バインディングアダプター)

第1回でデータをレイアウトにバインディングして中身を表示する方法を、第2回ではイベントのハンドリングを説明しました。 この回ではBindingAdapterという仕組みを使ってレイアウトにより高度なアクションを”Adapt(適用)”する方法について説明したいと思います。
今回使うサンプルコードはこちらになります↓↓↓
BindingAdapter
BindingAdapterの使い方はクリエイティビティをもっとも発揮しやすい箇所ではあるのですが、逆に言えば最初は何のために使って良いかわからないものでもあります。
ここではAndroidアプリを作る時にかなりの確率で実装することになる 画像のダウンロード -> ImageViewへの表示 というタスクをBindingAdapterを使って便利に実装する方法について説明します。
第1回、第2回で使ったプロジェクトにUserの画像を表示するようにしてみます。
モデルクラスの準備
まずUserクラスに新たにprofileImageUrlというメンバーを足してここに画像のUrlを格納できるようにします。
data class User(
   var name: String,
   var profileImageUrl: String
)この画像をactivity_main.xmlでImageViewに表示させるようにします。
従来のやり方
通常ですとMainActivityでUserのイメージをダウンロードして、ダウンロードが終わったらactivity_mainのImageViewをfindViewByIdで取得してそこにセットします。
BindingAdapterを使ったやり方
今回は下のようにapp:imageUrlというタグを足すだけでイメージが勝手にダウンロードされてダウンロードが終わったら表示させるようにします。
<ImageView
   android:layout_width="100dp"
   android:layout_height="100dp"
   app:imageUrl="@{user.profileImageUrl}"
/>app:imageUrlというタグは見たことがないと思いますが、それはこのタグがBindingAdapterを使って独自に定義したタグだからです。
それではこのタグの定義を見ていきます。
object BindingAdapter {
   @BindingAdapter("imageUrl")
   @JvmStatic
   fun loadImage(
       imageView: ImageView,
       profileImageUrl: String
   ) {
       Picasso.get()
           .load(profileImageUrl)
           .into(imageView)
   }
}
このタグは上のようにBindingAdapter object宣言の中に定義されています。(object宣言を使うことでKotlinでは簡単にSingletonクラスが作れるようになります) このなかで、@BindingAdapter("imageUrl")というアノテーションをメソッドの前に書いて、あとはスタティックメソッドを定義します。スタティックメソッドを実装するために@JvmStaticというアノテーションを忘れずにつけましょう。(@JvmStaticの説明は記事の最後にあります)
メソッドの名前はなんでも構わないですが、パラメータの1番目にこのタグが定義されたImageView、2番目にタグに渡されたUrl文字列が来るためパラメータの型と順番には注意してください。
メソッドの中ではPicassoライブラリを使って画像をダウンロードしてImageViewに表示しています。Picassoを使うためにappモジュールのgradleのdependenciesに以下のようにPicassoを足してください。
dependencies {

   ...

   implementation 'com.squareup.picasso:picasso:2.71828'
必要なコードはこれだけです!もう一度レイアウトXMLに戻って見てみますと、このタグにUserオブジェクトのprofileImageUrlを渡すだけでイメージのロードが行われます。
<ImageView
   android:layout_width="100dp"
   android:layout_height="100dp"
   app:imageUrl="@{user.profileImageUrl}"
/>1つハマリポイントがあり、app:imageUrlタグを使うためにトップレベルのlayoutタグの中に下のようにappというネームスペースがなければいけません。xmlns:appネームスペースがあることを確認してください。
<layout xmlns:android="http://schemas.android.com/apk/res/android"
   xmlns:app="http://schemas.android.com/apk/res-auto"
   xmlns:tools="http://schemas.android.com/tools"
tools:context=".MainActivity">BindingAdapterを作ることでImageViewが表示されるときにプロフィール画像のダウンロードが始まりダウンロードが完了するとImageViewに画像が表示されます。
あとはMainActivityでUserを初期化するときに↓↓のようにユーザーのプロフィール画像のリンクを渡すようにします。
val user = User("Benjamin",
"https://upload.wikimedia.org/wikipedia/commons/2/25/Benjamin_Franklin_by_Joseph_Duplessis_1778.jpg")
binding.user = user
最終的なレイアウト
確認までにactivity_main.xmlの最終的な形は下のようになります。
<?xml version="1.0" encoding="utf-8"?>
<layout xmlns:android="http://schemas.android.com/apk/res/android"
   xmlns:app="http://schemas.android.com/apk/res-auto"
   xmlns:tools="http://schemas.android.com/tools"
   tools:context=".MainActivity">

   <data>
       <variable
           name="user"
           type="com.goldrushcomputing.databindingtutorial.model.User" />

       <variable
           name="handler"
           type="com.goldrushcomputing.databindingtutorial.MainActivity" />
   </data>

   <LinearLayout
       android:layout_width="match_parent"
       android:layout_height="match_parent"
       android:orientation="vertical">

       <ImageView
           android:layout_width="100dp"
           android:layout_height="100dp"
           app:imageUrl="@{user.profileImageUrl}"
           />

       <TextView
           android:layout_width="wrap_content"
           android:layout_height="wrap_content"
           android:text="@{user.name}" />

       <Button
           android:id="@+id/sendButton"
           android:layout_width="300dp"
           android:layout_height="wrap_content"
           android:onClick="@{handler::onClickSend}"
           android:text="SEND" />

       <Button
           android:layout_width="300dp"
           android:layout_height="wrap_content"
           android:onClick="@{() -> handler.onClickInvite(user)}"
           android:text="INVITE" />

       <Button
           android:layout_width="300dp"
           android:layout_height="wrap_content"
           android:onClick="@{(view) -> handler.onClickLike(user)}"
           android:text="LIKE" />

       <Button
           android:layout_width="300dp"
           android:layout_height="wrap_content"
           android:onClick="@{(view) -> handler.onClickShare(view, user)}"
           android:text="SHARE" />
   </LinearLayout>
</layout>
実行結果
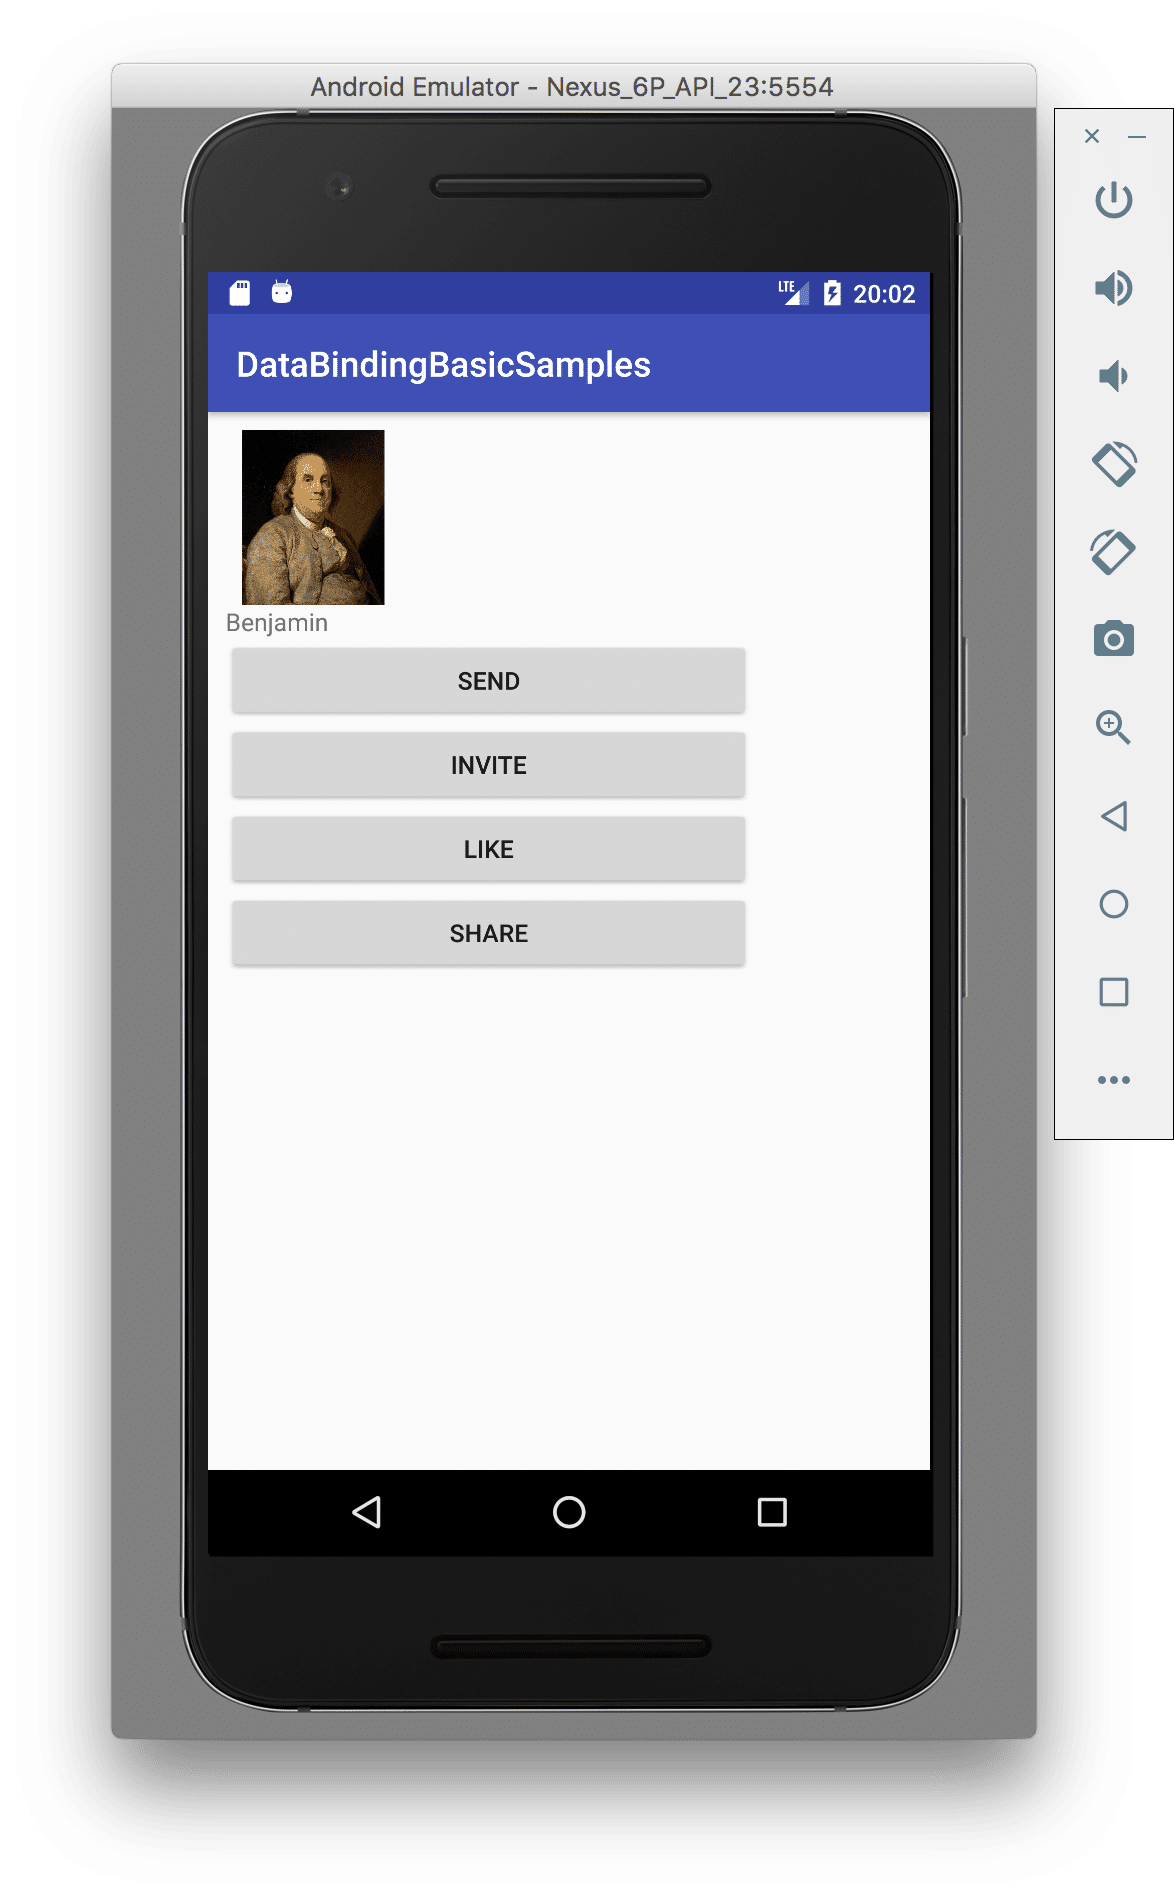
起動するようと下のようにベンジャミンフランクリンの写真がロードされると思いますので是非実行して見てください。
まとめ
サンプルプロジェクトはこちら↓↓からダウンロードできます!
ニュースやコミュニケーションアプリを作ると、画像のロードと表示をする箇所がたくさん出てきてすぐにコード量が増えてしまいますがBindingAdapterを使うとこのようにスッキリと書くことができます。
タグの定義はグルーバルに有効なのでどのクラスに書いてもapp:imageUrlというタグが使えます。今回はBindingAdapterというSingletonクラスに記述しましたが、ImageViewのサブクラスなどを作る場合はそこにcompanion object宣言をして、その中にBindingAdapterのクラスメソッドを書くのも一般的なやり方です。
今回はBindingAdapterを”イメージのロード”という頻出するタスクのために使いましたが、BindingAdapterはもっと多くの使い道があります。
筆者が公開しているオープンソースライブラリInAppTranslation for Androidでは、BindingAdapterの中でUI中のテキストをユーザの言語に翻訳して表示するということをしています。興味のある方はソースも非常にシンプルですので読んでみてください!
次回以降、BindingAdapterの色々な使い方を紹介していこうと思います。
おまけ - @JvmStaticについて
BindingAdapterを実装したメソッド(loadImage())にこの@JvmStaticを付けないと次のエラーがでます。
Caused by: java.lang.IllegalStateException: Required DataBindingComponent is null in class ActivityMainBindingImpl. A BindingAdapter in com.goldrushcomputing.databindingtutorial.util.BindingAdapter is not static and requires an object to use, retrieved from the DataBindingComponent. If you don't use an inflation method taking a DataBindingComponent, use DataBindingUtil.setDefaultComponent or make all BindingAdapter methods static.
BindingAdapterがstaticメソッドとしてアクセスできないということをいわれています。
BindingAdapterの実装関数をstaticメソッドにするために@JvmStaticをつけましょう。
@JvmStaticは実際はインスタンスメソッド(この例ではloadImage())へstaticアクセスをするための同名のstaticメソッドを自動的に生成してくれるようで、メソッド自体をstaticメソッドに変えているわけではないようです。(↓参考文献)
https://medium.com/@takusemba/do-you-need-jvmstatic-annotation-e21269277453
この記事が気に入ったらサポートをしてみませんか?