SwiftUIでいこう! - 時計を作る。
WWDC20を追いかけていますが、今回は今のSwiftUIです。
時計のアナログ時計の作り方を紹介されているのを見つけたので、ちょっとやってみます。
まずは時間を取得しないといけません。
@State var hour = Calendar.current.component(.hour, from: Date())これで、今の時間が変数"hour"に入っていきます。
struct ContentView: View {

   @State var hour = Calendar.current.component(.hour, from: Date())

   var body: some View {
       Text("今の時間は \(hour)")
   }
}として表示させてみると、" \(hour)"のところに今の時間が表示されます。分と秒も追加しましょう。
@State var minute = Calendar.current.component(.minute, from: Date())
@State var second = Calendar.current.component(.second, from: Date())
これで時間は取得できたので、次に時計の針を作っていきます。これはpath(パス)を書いて動かします。
その前にスクリーンサイズを取得しておきます。
var screenWidth = UIScreen.main.bounds.width
var screenHeight = UIScreen.main.bounds.heightそして、時計の針をPathで作っていきます。
struct ClockHands:View {
 var body: some View {
   Path{path in
       path.move(to: CGPoint(x: screenWidth/2, y: screenHeight/2))
       path.addLine(to:CGPoint(x: screenWidth/2, y: screenHeight/2 - (screenWidth * 2/5)))
   }.stroke()
 }
}
path.move(to: CGPoint(x: screenWidth/2, y: screenHeight/2))
でまず開始点を移動しておいて、
path.addLine(to:CGPoint(x: screenWidth/2, y: screenHeight/2 - (screenWidth * 2/5)))
で上むきに向けて、.stroke()で線をひきます。線に色と太さを決めてやります。
まず変数を作って、
 @State var color:UIColor
 @State var lineWidth:CGFloat
.stroke()に線の色と太さを指定できるようにします。
.stroke(Color(color),lineWidth: lineWidth)ContentViewの中に、時計の針3本"ClockHands()"を入れます。この時ですが針は重なって動くので、重なりの時に使うZStack {}を使います。
struct ContentView: View {

   @State var hour = Calendar.current.component(.hour, from: Date())
   @State var minute = Calendar.current.component(.minute, from: Date())
   @State var second = Calendar.current.component(.second, from: Date())


   var body: some View {
       ZStack {
           ClockHands(color: .black, lineWidth: 4)
           ClockHands(color: .black, lineWidth: 4)
           ClockHands(color: .red, lineWidth: 4)
       }
   }
}あとは時計の針に動きをつけていきます。時、分、秒の"時"からです。
ClockHands(color: .black, lineWidth: 4).scaleEffect(0.7).rotationEffect(.degrees(Double(hour * 30 + minute * Int(0.5))))
rotationEffect(.degrees(Double(hour * 30 + minute * Int(0.5))))で回転の動きです。".degrees"が角度です。時計は1周、12時間。角度は360度なので360/12= 30。minute * Int(0.5)は1分立つたびに0.5度回していきます。同じように、分、秒についても計算して動かします。
ClockHands(color: .black, lineWidth: 4).rotationEffect(.degrees(Double(minute * 6)))
ClockHands(color: .red, lineWidth: 2).scaleEffect(0.8).rotationEffect(.degrees(Double(second * 6)))
これで、時計のはりが動く仕組みができました。あとは時間通りに動いてくれれば良いことになります。この時間通りに動かす仕組みを作ります。
let timer = Timer.publish(every: 1, on: .current, in: .common).autoconnect()Timer()を作ります。1秒ごとに進んで行きます。このタイマーを使うタイミングは、 ZStack{}の直下、すぐあと、
 ZStack {
  // 時計の針を作る
}.onReceive(timer){ _ in
           self.hour = Calendar.current.component(.hour, from: Date())
           self.minute = Calendar.current.component(.minute, from: Date())
           self.second = Calendar.current.component(.second, from: Date())
       }
.onReceive(timer){ _ in
// 処理
}
これでタイマーを動かすことができます。1秒ごとに
self.hour = Calendar.current.component(.hour, from: Date())
self.minute = Calendar.current.component(.minute, from: Date())
self.second = Calendar.current.component(.second, from: Date())
を行います。hour,minute,secondsに現在の時間を取り込んで行きます。
この取得した時間で時計の針を動かします。

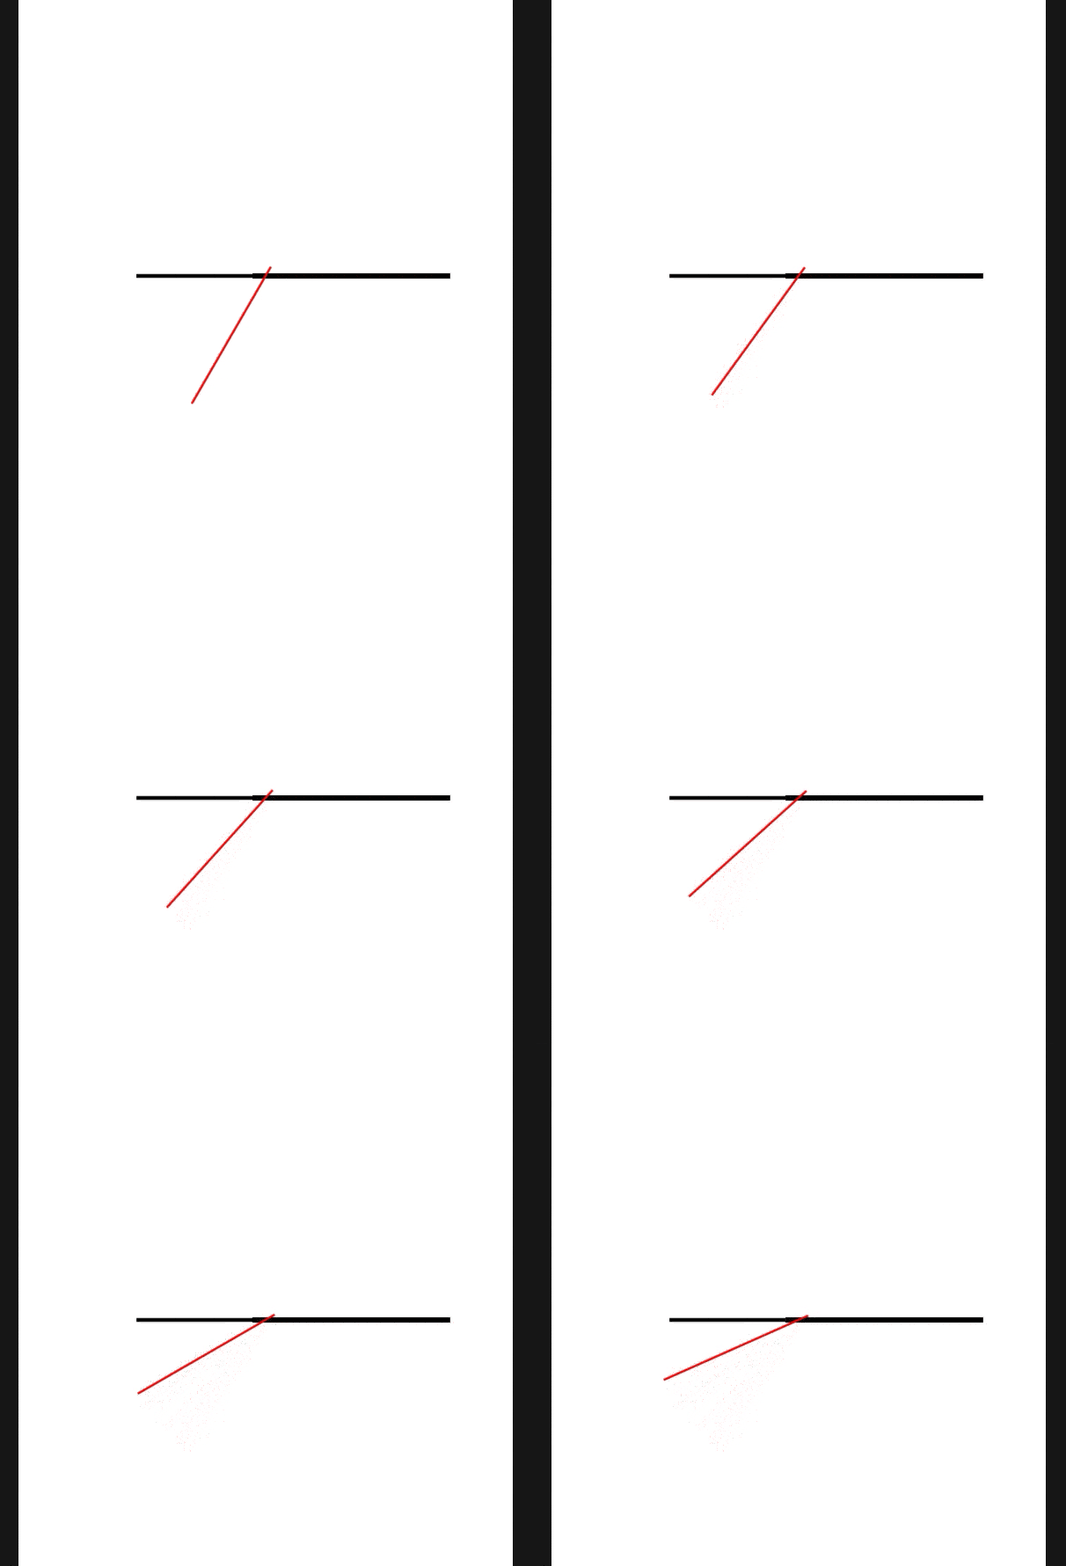
時計が動くようになりました。
この記事が気に入ったらサポートをしてみませんか?
