Nuxt.jsとNest.jsで表裏TypeScriptな環境をつくる(1. フロント編)

最近、業務も含めてjsを極力tsにして書いていきたいという気持ちがあり、クライアント/サーバともにType Scriptな環境を作ってみた。
最終的なコード: https://github.com/daitasu/nuxt-nest-app
バックエンド編:
Nuxt.jsとNest.jsで表裏TypeScriptな環境をつくる(2.バックエンド編)
構成
- client: Nuxt.js(Vue)
- server: Nest.js (Node.js)
フロントはNuxt.js、バックエンドはNode.jsのTypeScriptフレームワークであるNest.jsというのがあったのでそれを使ってみた。
フロントエンドの作成(Nuxt.js)
以前、 create-nuxt-app から作成したアプリをts対応したことがあるけれど、なにかと苦戦したため、0ベースから作っていく。公式にサンプルコードがあり、こちらをそのまま持ってきても動くので、面倒な場合はおすすめ。
今回は極力最小構成で人物のprofileを出力するページを localhost:3000/profile で表示するようにする。
構成は以下の通り。
client
 |- components/
 |  |-Profile.vue
 |- node_modules/
 |- models/
 |  |- User.ts
 |- pages/
 |  |- profile.vue
 |- tsconfig.json
 |- nuxt.config.ts
 |- package.json
 |- package-lock.json
Nuxt.jsは2.4.0からTypeScript対応が実施されたが、その時は nuxt コマンドの代わりに nuxt-ts コマンドを使う必要があった。
しかし、Nuxt@2.5.0以降、nuxt-ts は不要になり、nuxt で対応可能となっている。
実施
まずは、@nuxt/typescriptをdevDependenciesに、ts-nodeをdependenciesにインストールする。
また、Typescriptでcomponentsを書く際は、vue-class-component、vue-property-decoratorを利用することが推奨されている。
これを使うことで、componentをclass構文で書くことができ、TypeScriptコンパイラがcomponentの型の解釈ができなくなることを解消する。
npm i -D @nuxt/typescript

npm i nuxt ts-node vue-class-component vue-property-decorator
次に、 tsconfig.json を生成する。一旦は空のファイルでもおけ。
tsconfig.json は nuxt コマンドを初回実行した際に、自動的にデフォルト値が入るようになっている。
touch tsconfig.json
次に、nuxt.config.ts を作る。いつもの nuxt.config.js をtsにするだけだが、config用の型定義ファイルがあるのでそれをimport必要がある。
import NuxtConfiguration from '@nuxt/config'

const config: NuxtConfiguration = {
}

export default config
次に、必要なディレクトリを作成していく。
mkdir models components pagesそれぞれの中身のファイルを書いていく。
# models/User.ts

export default interface Post {
 id: number
 name: string
 age: number
}
# pages/profile.vue
<template>
<div>
<Profile v-for="user in users" :key="user.id" :user="user" />
</div>
</template>
<script lang="ts">
import { Component, Vue } from "vue-property-decorator"
import User from "../models/User"
import Profile from "../components/Profile.vue"
@Component({
components: {
Profile
}
})
export default class ProfilePage extends Vue {
users: User[] = [
{
id: 1,
name: "太郎",
age: 15
},
{
id: 2,
name: "二郎",
age: 13
},
];
}
</script>ひとまずデータはベタがき(あとでNestから持ってくる)。
# components/Profile.vue

<template>
 <div>
   <h2>ID: {{ user.id }}</h2>
   <div>NAME: {{ user.name }}</div>
   <div>AGE: {{ user.age }}</div>
 </div>
</template>

<script lang="ts">
import { Component, Vue, Prop } from "vue-property-decorator"
import User from "../models/User"

@Component
export default class Profile extends Vue {
 @Prop({ type: Object, required: true }) user!: User
}
</script>ここまでできたら一度実行してみる。package.jsonに以下を追加。
"scripts": {
  "dev": "nuxt",
  "build": "nuxt build",
  "start": "nuxt start",
  "generate": "nuxt generate"
},
以下を実行。
npm i
npm run dev
localhost:3000/profile に接続。
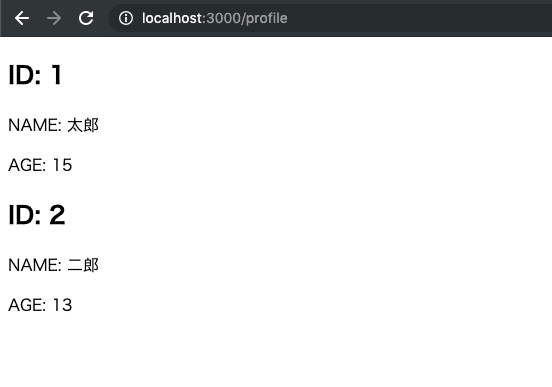
いけたっぽい!
次回はサーバ側(Nest.js)の作成をして、上記のID等をfetchで持ってくるようにしていく。
この記事が気に入ったらサポートをしてみませんか?